
Make Your Next Party Invitation Unforgettable
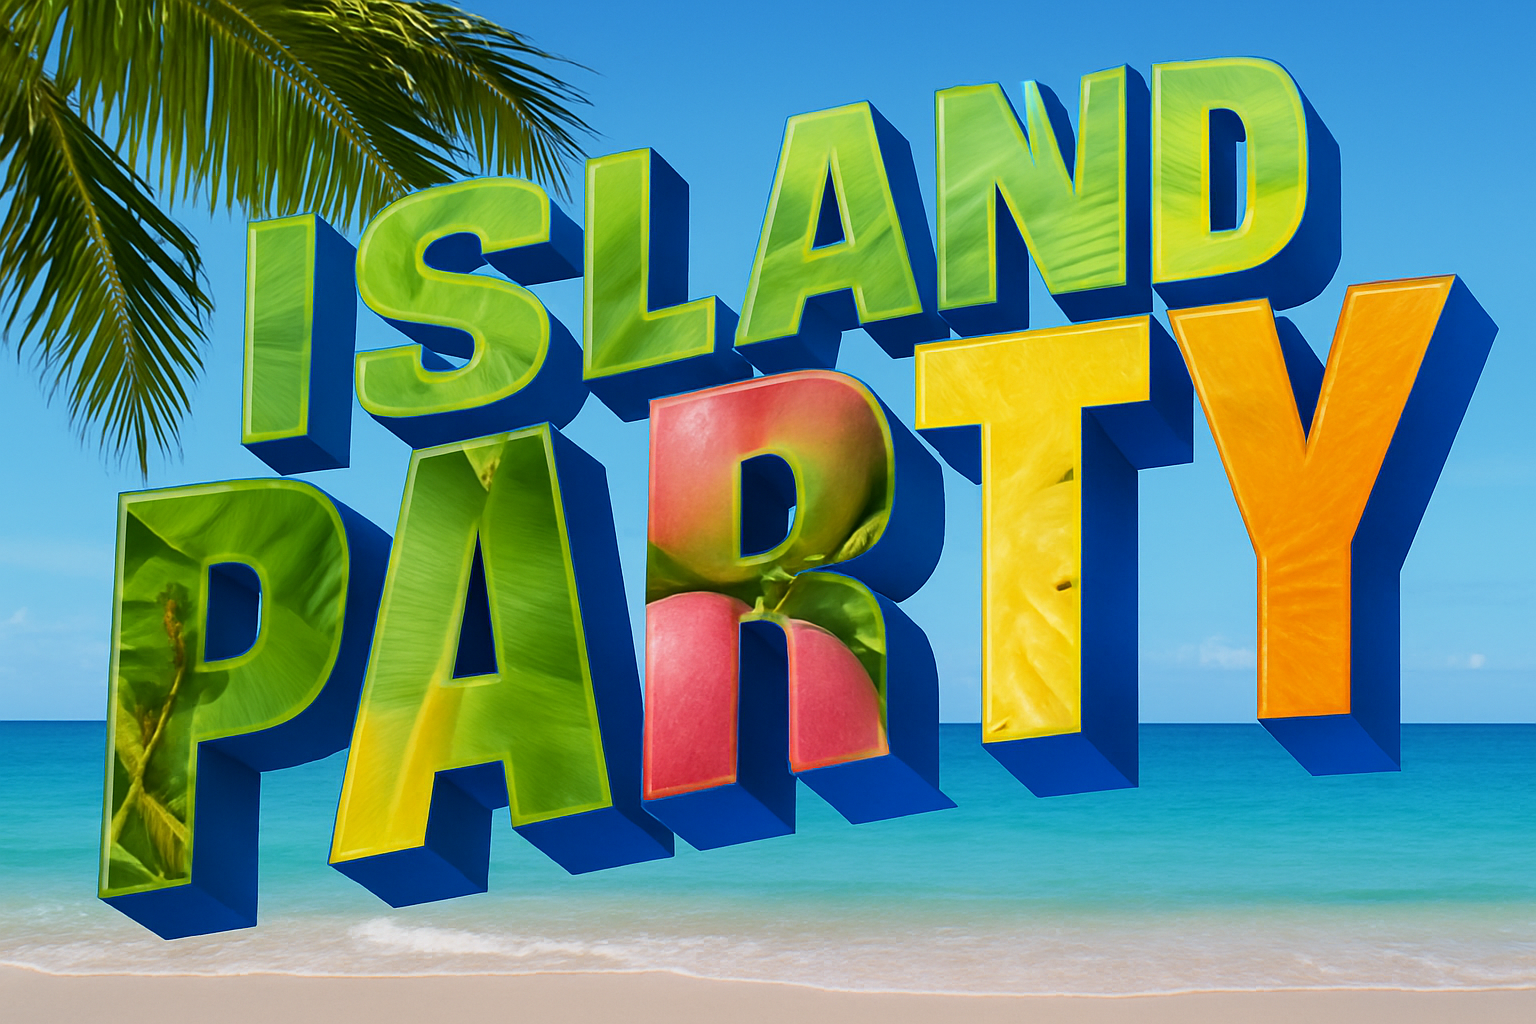
Party planning is an art, and personalizing the invitations is the first step in setting the tone for an unforgettable event. How about creating a party invitation that embodies the fun, retro charm of a campy tourism postcard? With Photoshop, the sky’s the limit on creativity. Whether you’re hosting a tropical island bash, a Super Bowl gathering, or even a cozy backyard barbecue, this guide will show you step-by-step how to design a unique invitation that screams “You’re invited” in the most colorful way possible!
Setting Up Your Creative Canvas
Let’s get those creative juices flowing! Begin by downloading the provided Photoshop file (1900 x 1250 pixels at a resolution of 150 ppi) which includes all the necessary graphics like palm leaves and other design elements. If you want to incorporate your own images into the invitation, simply drag and drop them into the Photoshop document.
Crafting the Background and Border
- Start by creating a new layer and filling it with white to form the base of your invitation.
- Use the stroke feature to add a coral-colored border (hex code: #1EFFF2) with a size of 80 pixels, centering it perfectly.
- To add a twist of whimsy, use the Wave filter to distort the border into a trendy wave effect.
- Finish this by applying a colorful stroke using a dark flamingo color (hex code: #DC4E93) to add a touch of contrast.
Design and Style Your Text
- Choose Impact font at 126-point size for a bold statement and set paragraphs to be centered.
- Use the warp text feature to give your letters a flowing wave form.
- The aim is to make your text feel as dynamic as your party!
Adding 3D Text and Effects
- Bring a whole new dimension to your invites by adding 3D text.
- This details how to craft an impressive 3D extrusion with royal blue (#0012FF) as the base color.
- Experiment with rotation tools to achieve the exact angle of projection you desire.
- Brighten your text with the light settings and prepare for rendering, which depends on your computer’s speed—get your snack ready while waiting!
Crafting an Authentic Texture
- To mimic the feel of a vintage postcard, impart a paper-like texture using Photoshop’s Filter Gallery.
- Simulate the feel and look of a textured surface by opting for the Texturizer option.
- Choose the ‘Brick’ texture with a 50% scaling to achieve an impactful relief.
Add The Last Flourish
- This design wouldn’t be complete without additional small text to amplify your main message.
- Use a free downloadable font like Honey Script Light from dafont.com.
The Result – A Truly Unique Invitation
That’s it, you’ve nailed it! Your one-of-a-kind, postcard-inspired invitation is ready to set the mood for your amazing event. Feel free to replicate these steps with different variations, adapting them to your theme for every special occasion you’re cooking up!
Whether you’re a Photoshop novice or a seasoned designer, this artistic process not only enhances your skill set but also equips you with a ready charm offensive element—your guests just can’t resist but RSVP with enthusiasm!
Note: Always credit the creator’s work if using or sharing publicly, ensure all necessary licenses have been obtained, and have fun with your creativity!
With this guide, you’ve harnessed the power of Photoshop to not only capture attention but to evoke a party mood long before the first guest arrives. Whether digital or printed, these invitations stand as a testament to what you can achieve by combining traditional aesthetics with modern digital tools. It’s more than just an invite; it’s a sneak peek into an unforgettable experience awaiting your guests. Now prepare your playlist, fire up the grill, and let’s party like it’s 1999—retro style!





