
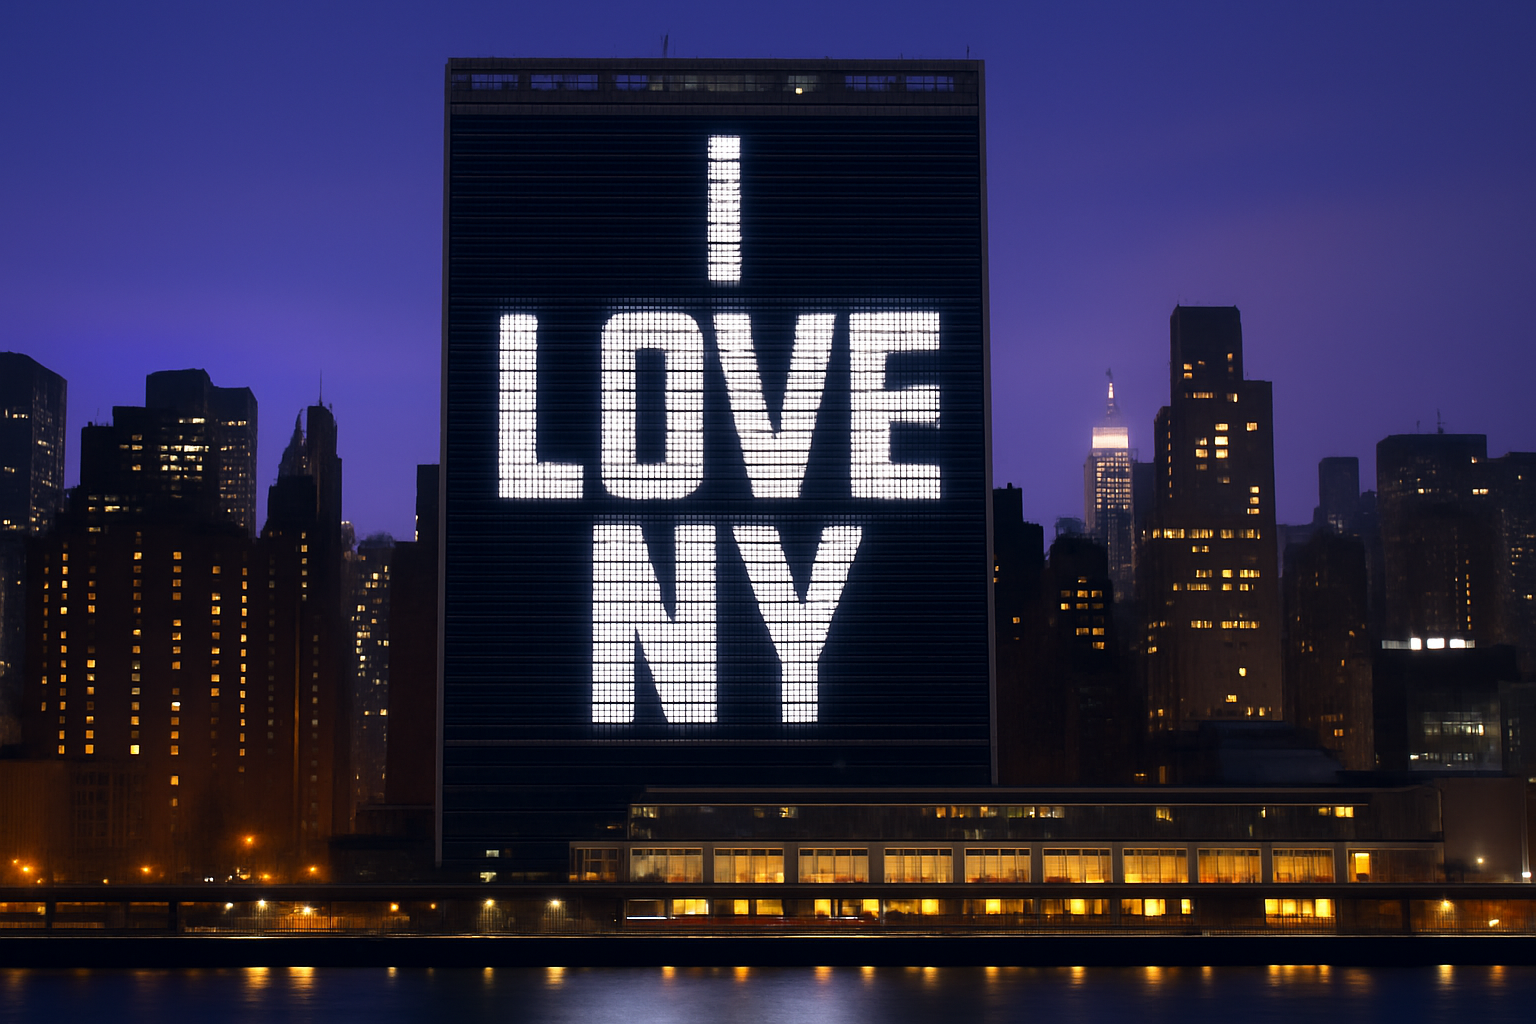
Bring the Urban Jungle to Life with Floodlight Text
Ever dreamt of crafting captivating, larger-than-life text displays on iconic buildings? What if I told you that you don’t need exclusive access to Times Square or an enormous budget to pull off a stunning floodlight text effect? Thanks to Photoshop, your digital dreams can come true, bringing the magic of illuminated urban text to life. Whether you’re a digital artist or a meme creator (or both—who says you can’t do it all?), this tutorial might just become your new favorite tool in your creative arsenal.
Setting the Scene
For this artistic endeavor, we’ll be using an image of the United Nations building in New York. You can find a suitable photograph online or, if you want to follow along precisely, check the project files mentioned in the video description. This kind of photo-driven text art uses the stark silhouette of a building as its canvas, with fonts and lighting effects to create a night-time scene that makes any statement pop.
Starting With the Basics
The first move is to channel your inner graphic designer and select a powerful font. You could go with something sleek and digital, such as Altair Pixel, or choose one that resonates with your style. Once you’ve picked your font, type out your text—this is your playground, play on those instinctual creative whims! Adjust the size according to your input and align it smoothly.
Be mindful of your choices: Colors are everything. In this scenario, press “D” to reset your Photoshop colors to black and white, and make sure white is your foreground color. You’ll be setting the stage for a brilliant, glowing appearance, so ensuring these colors are correctly set is key.
Getting into the Nitty-Gritty
Here’s where it gets interesting: We’re incorporating the vanishing point filter to create perspective on the surface of your chosen building. This might take a bit of time, and possibly a few loud exclamations of frustration, but rest assured, you’ll get it.
Draw a grid over the building’s facade by clicking at each corner. It’s all about getting that grid just right—red or yellow lines are a no-go, but as soon as you see blue, you know you’re onto a winner. By aligning the grid to the building’s perspective, your text will sit naturally on your new urban canvas.
Adding Illuminated Magic
Welcome to the glow-up phase! After your text is positioned correctly, add depth and light with a Photoshop layer mask and some clever manipulation with the Levels adjustment. By converting the photo to a smart object, brightness modifications and non-destructive edits become a piece of cake. Clip the adjustment to ensure it only affects the desired text layer, allowing your words to shine as if they were standing tall in the night sky.
Adjust your input levels to enhance both the shadows and highlights, creating dynamic contrasts akin to real, powerful floodlights casting over your text. And don’t worry if it takes a few tries to get right. We’re shooting for jaw-dropping, not merely okay.
The Finishing Touches
Now, let’s refine those edges and feather the mask to a soft 3 pixels for that smooth, polished finish. Shadows are your friends—they introduce volume and perception to your piece, sealing off your grand display with a level of refinement that seasoned professionals would commend.
Our tutorial, and this post, might end here, but the true essence of what Photoshop can do for you with a little creativity persists. Whether you’re exploring new design potential or simply trying your hand at something novel, the techniques here are your keys to crafting urban texts that demand attention.
You’ve done it! Go forth, creators, and let your newfound floodlight superpowers illuminate the digital skyline.





