
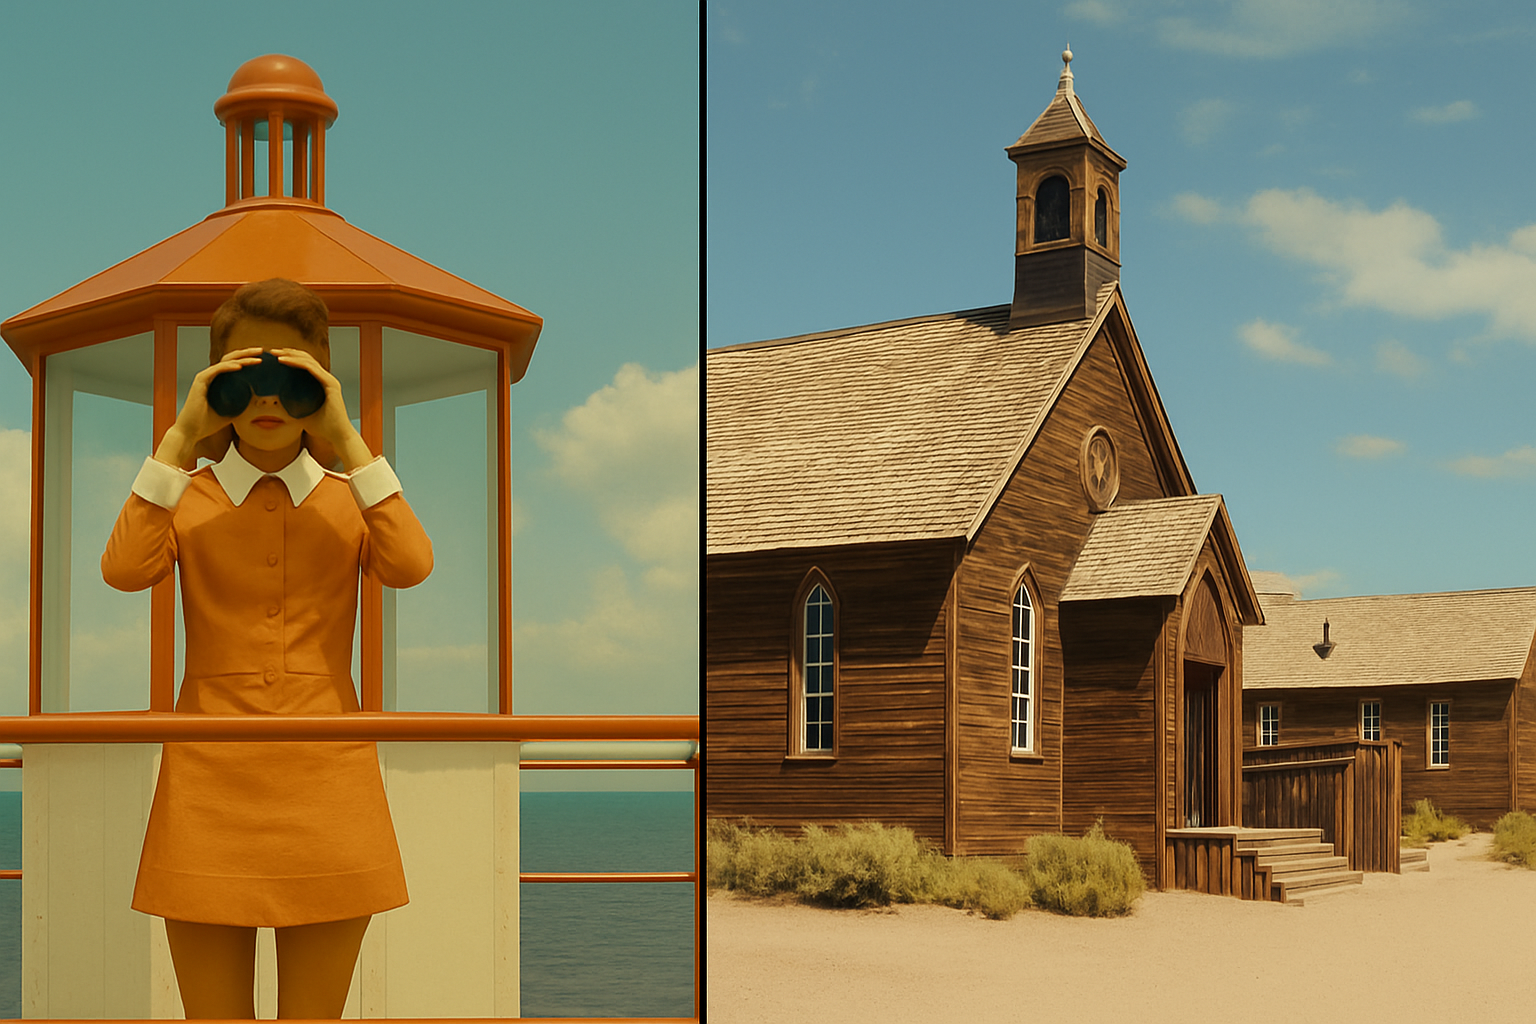
Unleash Cinematic Magic in Your Photography
Color grading is one of those secret weapons. It takes regular photos and drenches them with the mood, emotion, and style reminiscent of our favorite films. Ever wondered how some photographers achieve that epic cinematic look in their photographs? Today, we’re diving into how you can replicate the magic of movie color grading in your photos with Photoshop.
Color Matching Made Simple
Imagine this: You’re enamored with the eerie green tint of The Matrix’s color scheme and you wish to infuse that into your own snapshots. Well, it’s simpler than you’d think. In Photoshop, you can use the Match Color function to basically slap your favorite film’s colors onto any of your photos.
Quick and Easy Method
First up, the speedster’s way to color wonderland:
1. Head to Photoshop. Open the target photo where you wish to apply the movie’s color grading.
2. Navigate to Image > Adjustments > Match Color. In this magical window:
– The “Target” is your photo that’s about to get the movie makeover.
– The “Source” is your beloved movie screenshot (e.g., The Matrix).
3. Voilà! Instantaneous color-grade swap! You have sliders to adjust luminance (brightness), color intensity, and the fade of the effect to let your original photo peek through if you so desire.
Yet, this method might be the fast-food version of color grading – sometimes a tad satisfactory, but you might crave more depth and control. Let’s level up to something more meticulous.
Enter the Detailed Method
For those who love dwelling into the nitty-gritty, here’s how you can achieve a more accurate and personalized color grade:
Extracting Shadows, Midtones, and Highlights
This is where things turn pro.
1. Export Movie Screenshot: In your movie screenshot, go to File > Export > Save for Web. Change the default 256 colors to 3 – one for shadows, midtones, and highlights. Ensure you’re using “Perceptual” and “No Dither” and save it.
2. Change the Color Mode: Open the saved web image and transform it to RGB by selecting Image > Mode > RGB Color.
3. Select and Save: Using the Rectangular Marquee Tool, select the part that holds your shadows, midtones, and highlights.
4. Move and Layer: Drag the selected part onto the photo you wish to color grade. Use Ctrl+C to copy and Ctrl+V to paste.
5. Adjust Your Image: Click on your photo, then click the adjustment layer icon. Choose “Curves” from the list.
6. Ready the Eyedroppers: Select the highlights, midtones, and shadows eyedropper tools to capture these tones onto your photo, sculpting the precise mood of your movie scene. Don’t save target colors as defaults without verifying them.
Save for Future Use
Every mastermind needs to preserve their breakthrough. Save your new color adjustments, so you can easily whip up the same cinematic look on other photos with ease:
1. Saving the Blending Masterpiece: Select the icon in your Curves Adjustment Panel, save it under a snazzy name — say Matrix.
2. Apply It to Other Photos: Next time, just open another image, access the Curves preset, choose Matrix, and repeat the magic.
Beyond the Horizon of Film-inspired Artistry
Not only does this give you a direct line to infusing Hollywood’s charm, it also opens up a creative playground. Couple this with experimentation using different movie screenshots and your own ingenuity, and the sky—or screen—is the limit! Now, go ahead and give your photos that reel feel and let each click be its own blockbuster visual.
Just remember: The jewels of color grading lie in practice and personalization. And in the immortal words of The Matrix, there’s no spoon in defining your color narrative — just tools and imagination.
Unveil the creator within you and let your photos reflect the movie magic in ways only your artistic eye can perceive.





