
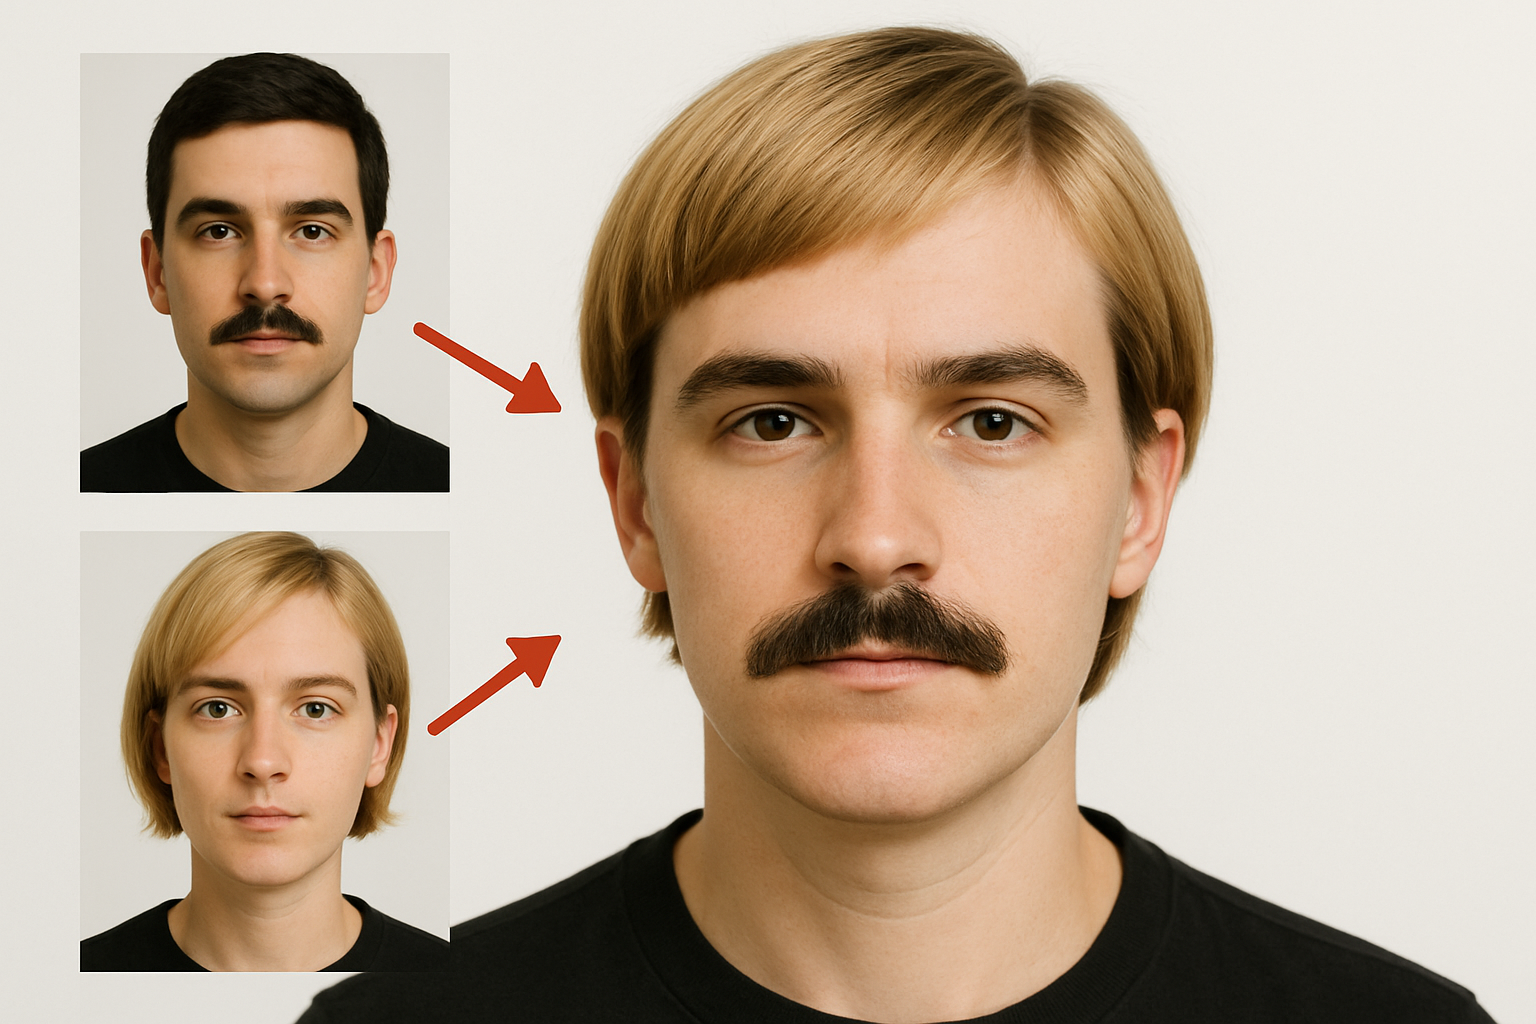
Mastering the Art of Face Swapping in Photoshop
Face swapping is the unsung hero of Photoshop magic. It might just be the ultimate mix of creativity and tech wizardry. Whether you want to make hilarious gag photos or create jaw-dropping visual effects, knowing how to swap faces effectively can be an invaluable skill in your creative toolbox. Ready to level up your Photoshop game? Here’s a breakdown of how you can swap faces in a blink and blend them naturally using Adobe Photoshop.
The Starting Point – Photos You’ll Need
Before diving into Photoshop, start by selecting two high-resolution photos where the faces are clear, facing forward, and well-lit. Textures, shadows, and differing skin tones can be ironed out later, but clear base images are crucial. Websites like Shutterstock can be helpful for finding stock photos that meet these criteria.
Preparing Your Canvas with Curves and Composites
Once you’ve got your photos, it’s time for a pre-swap tune-up. Adjust the general color and tonal ranges:
- Curves Adjustment: Open each photo, click the adjustment layer icon, and select “Curves”. Hit “Auto” to apply automatic color correction. This equalizes the basic tone setups.
- Create Composite Snapshots: For both images, press
Ctrl + Alt + Shift + E(Windows) orCmd + Option + Shift + E(Mac) to make a composite snapshot of each adjusted photo.
The Magical Swap
Here’s the real fun begins—cutting and moving the face.
- Select and Cut: Use the Lasso Tool to draw around the eyes, nose, and mouth of the face you’ll be moving. Press
Ctrl or Cmd + Jto cut and copy the selection. - Drag and Drop: Move this selection over to the destination photo. Reduce the opacity to see underlying details and align eyes by using the Transform Tool (
Ctrl or Cmd + T).
Perfecting the Blend
So you’ve slapped the face onto the other head, but they’re not fooling anyone yet. Blending is key.
- Delete the Area Below: After aligning, go to select and modify, contract the selection by around 20 pixels, and hit “Delete” on the under-layer to excise the old face bits.
- Auto-Blend Layers: Shift-click the layers to make all active, then go to “Edit” and select “Auto-Blend Layers.” Ensure “Seamless Tones and Colors” and “Content Aware Fill Transparent Areas” are checked.
Finessing for the Final Touch
Now, it’s time to finesse:
- Layer Mask and Brushing: Hide the original layers under the composite, and adjust the new layer mask with a soft brush. Carefully reveal parts like shadows or hair to add realism.
- Dodge and Sponge Tools: Use the Dodge Tool to lighten specific midtones and the Sponge Tool to desaturate any overly colorful areas. This ensures a natural color blend.
The Sweet Satisfaction of a Job Well Done
And that’s it! With these steps, you’ve traveled through the mystical land of face swapping with Photoshop, and emerged victorious. It’s the perfect mixture of technical skill and a bit of artistic intuition. So the next time you think about giving your friend a celebrity makeover or need to subtly tweak photo compositions, you’ll be ready — and you’ll do it like a pro.
Get creative, keep experimenting, and remember: the world of digital art is only as limited as your imagination! Why not share your favorite swaps in the comments below? We’d love to see what you come up with.
Happy Photoshopping!





