Dive into the World of Smoke Portraits with a Splash of Creative Flair
Ready to plunge into the ethereal world of smoke and shadows? Today, we’re pushing aside the air of mystery and diving into the captivating realm of smoke portraits. With a few tweaks in Photoshop, you can transform a standard photo into a mesmerizing artwork that seems to waft and swirl from the page. Say goodbye to tedious steps and hello to creativity streamlined. Without further ado, let’s add some smoke-show magic to your Photoshop prowess.
Unearthing the Essentials: Custom Brushes and Base Setup
To get started, download the custom smoke brush set provided in the video description. If you’re grappling with how to install these enchanting brushes, there’s a helpful tutorial on hand to guide you through the process. Once your brushes are set, create a new project in Photoshop. Set the width to 1920 pixels and the height to 1080 pixels, with a resolution of 72 pixels/inch. This is our canvas—the blank slate poised to transform into a smoky masterpiece.
Backgrounds That Matter: Grads That Glow
Prepare your background by delving into the gradients, dear creatives. We’re aiming for a sleek but dreamy vibe, so start with a gradient adjustment layer. Opt for the ‘black-white’ gradient, but switch up the color to a subtle, clean shade by typing in ‘80’ repeatedly in the color picker’s hexadecimal field. Classic radial style and a scale jacked up to 200% should do the trick, with an angular tilt of 45° for that added smokey swirl. Don’t forget to dismiss the original white background by throwing it into the trash—or simply hitting delete as you march onwards.
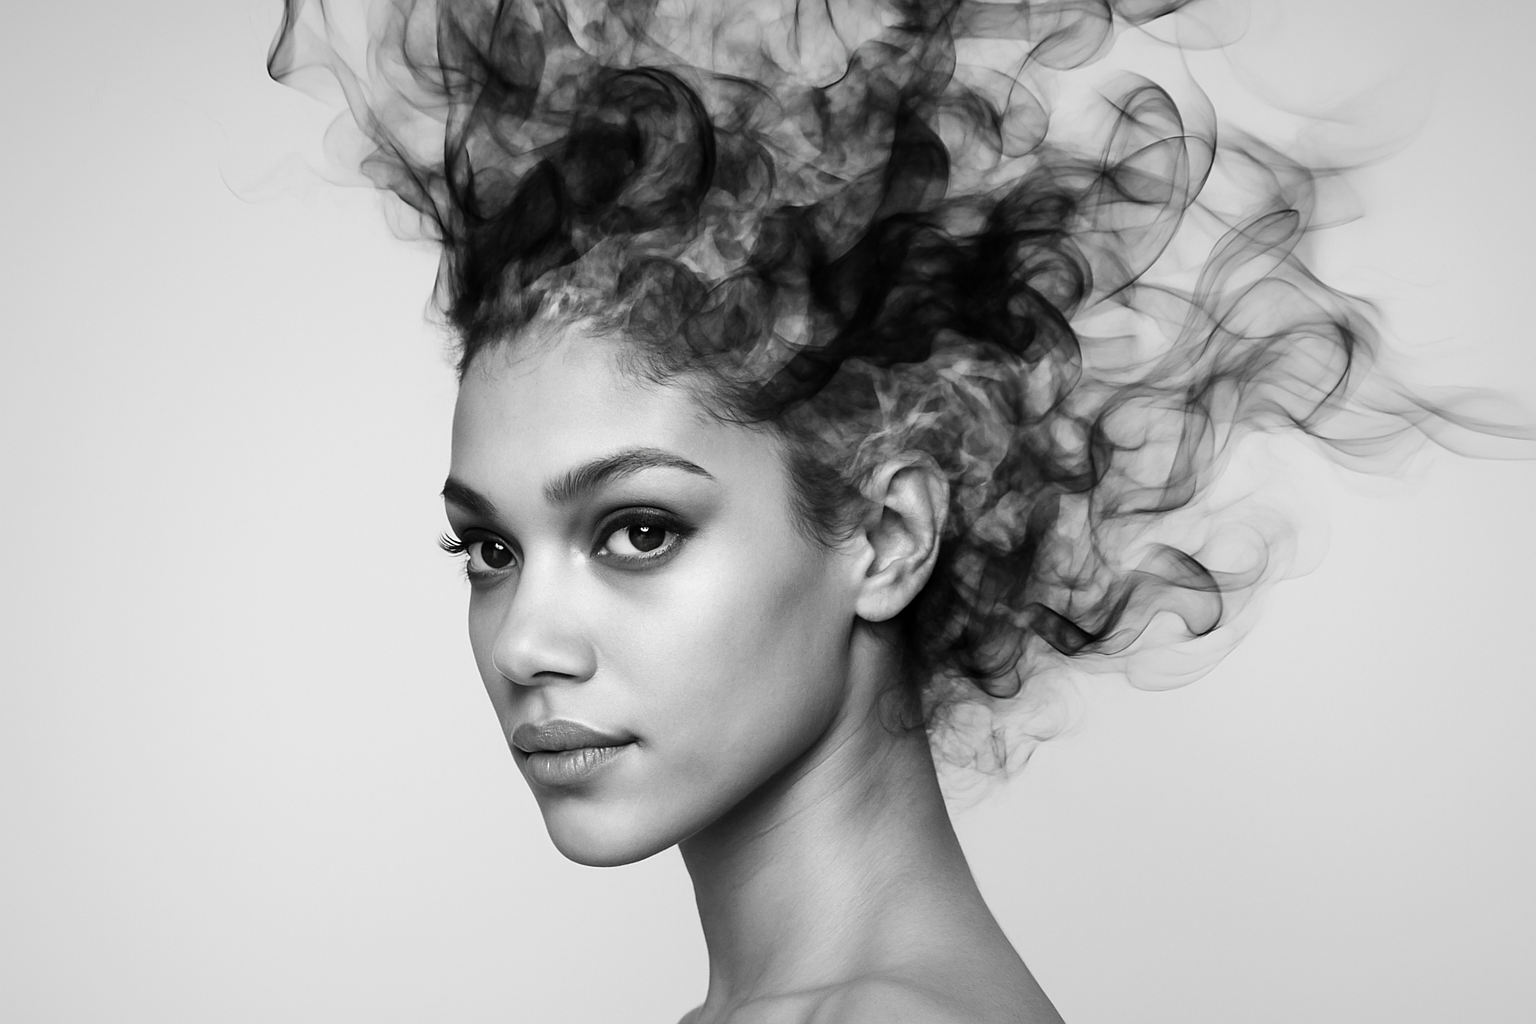
The Face of the Matter: Selections and Smart Objects
Now, for the all-important face! Pluck up a portrait with a bold gaze—the internet’s brimming with stock photos from sites like Shutterstock. Grab your Quick Selection tool to define your subject, separating them from their all-too-ordinary background. For most snazzy photos, a pixel radius of 10 will serve you well. If cropping feels off, fear not—rein it back in with shortcuts to refine edges, or the all-seeing ‘Select & Mask’ in newer Photoshop versions. Trim, transform, and then convert your newfound masterpiece to a smart object for non-destructive edits.
Merging Magic with Movement: Smoke Brushes at Work
With your portrait primed, it’s time to play god of smoke! Apply an inverted layer mask to shroud your subject. Enter the magical realm of smoke by dabbing away on the mask with your smoke brushes, revealing your subject from the mist. Begin by setting the opacity and flow to 100%—we’re here to make a statement! Rotate the canvas to let the smoke align with your subject’s contours, creating an illusion of smoke embracing the face. Brush your way to glory; if a particular smoke doesn’t suit your muse’s mood, undo and try again—experimentation is key in the creative process.
Etch the Ethereal: Background Smoke and Enhancements
For that extra dash of intrigue, sprinkle some smoke over the background—unconfined and free. Establish a new layer, adjusting the foreground to black for depth-driven smoke, or invert those colors for a lighter touch. Transform this layer into a canvas that dances with smoke tendrils enhancing your overall composition.
Congratulations! You’ve now curated a spellbinding smoke portrait that’s sure to enchant and mystify. While the techniques we explored are relatively simple, the results are anything but ordinary—a fine art reflection of your creative spirit, wrapped in a cloud of smoke. Whether it’s a personal project or an Instagram flex, your smoke portraits will inspire curiosity and provoke imagination.
Remember, like any good recipe, the secret lies in seasoning—balance your contrasts, play with opacity, and spark intrigue with every haunting swirl you conjure. So, break out that Photoshop wand and weave your own smoke-born tale.
Get those brushes ready, tap into that creative space, and let your art flow like a breath of fresh—well, smoky—air. Happy Photoshopping!


