
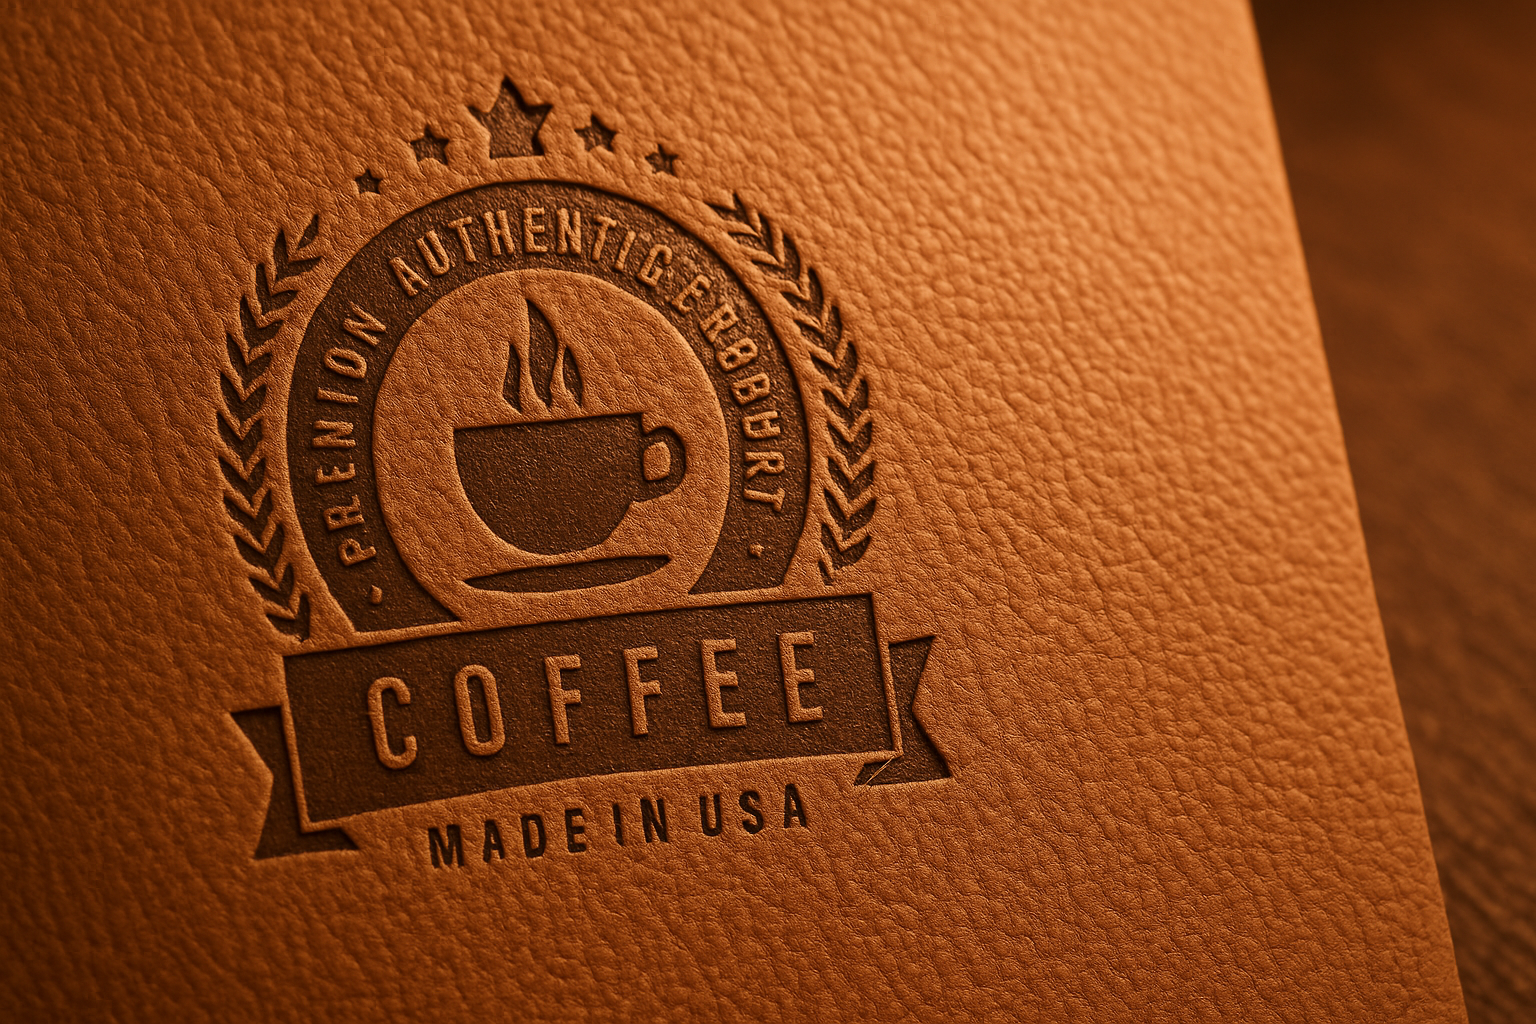
Unleashing Your Design on a Leather Canvas
What if you could bring a tactile elegance to your digital designs that echoes the warmth and texture of embossed leather? Whether you’re crafting a logo, typographic art, or simply experimenting with high-contrast images, creating a design that looks like it’s stamped onto leather can elevate your creative projects to a new dimension. Grab your digital toolkit as we explore transforming any design into a leather-stamped masterpiece using Adobe Photoshop.
Setting the Foundation with Leather Texture
At the heart of this effect is a good leather texture, which will serve as the canvas for your digital design. Download a leather texture from resources available online, or flex your creative muscles by choosing one that complements the mood and authenticity you want to depict. Textures rich in detail, such as those showing wear and imperfections, work particularly well for this purpose.
Before diving into the creativity ocean, don’t forget to subscribe to Blue Lightning TV for future enlightening tutorials. Trust me; your mouse will thank you.
Embracing Your Design
Begin your journey by selecting a high-contrast, high-resolution black and white image that is primed to be impressed onto leather. Don’t fret if you don’t have an image at hand; typing evocative text directly over the leather background unlocks another stylish dimension. In our project, the design’s opacity and clean contrast are paramount, allowing us to later apply compelling effects.
Bringing Design to Life: The Move and Resize Dance
After opening your preferred design, let’s bring it to life by stamping it on the leather background. Deploy your move tool (hint: just hit ‘V’ on your keyboard), drag the design across to the leather background, and move it without releasing your mouse or pen. Adjust its size deftly, ensuring it’s exactly how you want it. For resizing, invoke the transform tool with ‘Ctrl+T’ (or Command+T on a Mac), then adjust with finesse, especially if you’re rocking a post-CC 2019 version of Photoshop.
The Magical Vanishing White Background
Imagine your design is now placed perfectly on this virtual leather. But what’s this? A pesky white background? Let’s bid it adieu with the magic wand tool, deftly removing the white space and focusing solely on the design. Under the tool’s tolerance, I suggest starting with around 10 pixels, assuming standard contrast on the image background.
The Alchemical Process: Smart Objects and Visual Alchemy
Convert your once-static design into a smart object—a magical Photoshop feature that will empower us to modify non-destructively and even replace designs seamlessly later on. Simply click, transform, and watch as your piece becomes a digital clay ready for effects and molding.
Add a More Naturalistic Blur and Ripple
Now, for the alchemical blend! Apply a Gaussian blur and a ripple effect to your design for some tactile irregularities that mimic handmade craftsmanship. Feather a 1-pixel blur, then distort with a minus-60 ripple at small size settings, ensuring your stamp appears authentically pressed and vintage.
Mimicking the Real: Visibility, Shadows, and Depth
Transform your design’s fill to zero percent. This invisibility cloak concept keeps all our added effects visible while the original design fades into the background—a stagehand maintaining the set but staying out of sight.
Layering on the Style
With layer styles, the visual depth develops. Sprinkle on effects from the layer style window: dab on some drop shadow, add a neat gradient overlay, then season with a pinch of bevel and emboss. It’s in the nuances—the right angle, size, opacity, and contour—that the realism of a hand-stamped leather surface radiates.
Perspective Play: Creating a Photo Finish
To accentuate depth even further, let’s introduce a photographic in-camera effect. Mimicking how you’d capture a physical stamp with a camera’s close-up lens using shallow focus is quite the trick in Photoshop. Adjust the perspective intelligently so that the design recedes or advances, as if capturing a macro photograph with an ultra-realistic focus variance.
Collapsing and Converting
Position your design elements cohesively as one searchable and editable smart object. Such craftsmanship better organizes your workspace and maintains editability—a digital artisan’s dream.
Final Adjustments: The Blur of Depth
Finish strong by applying a gradient tool to the copy of the top layer, lending the right-hand extremity of your design a soft-focus. This replicates the depth-of-field blur found in snazzy professional photography lenses, lending our stamped leather its nicely polished portfolio-ready finish.
And just like that, you’ve effectively transformed your digital canvas into a simulated work of leather art—all without leaving your seat. So, my ardent artisan, go forth and stamp your digital imprint onto the world (and don’t forget to hit that subscribe button on Blue Lightning TV for more Photoshop sorcery).





