
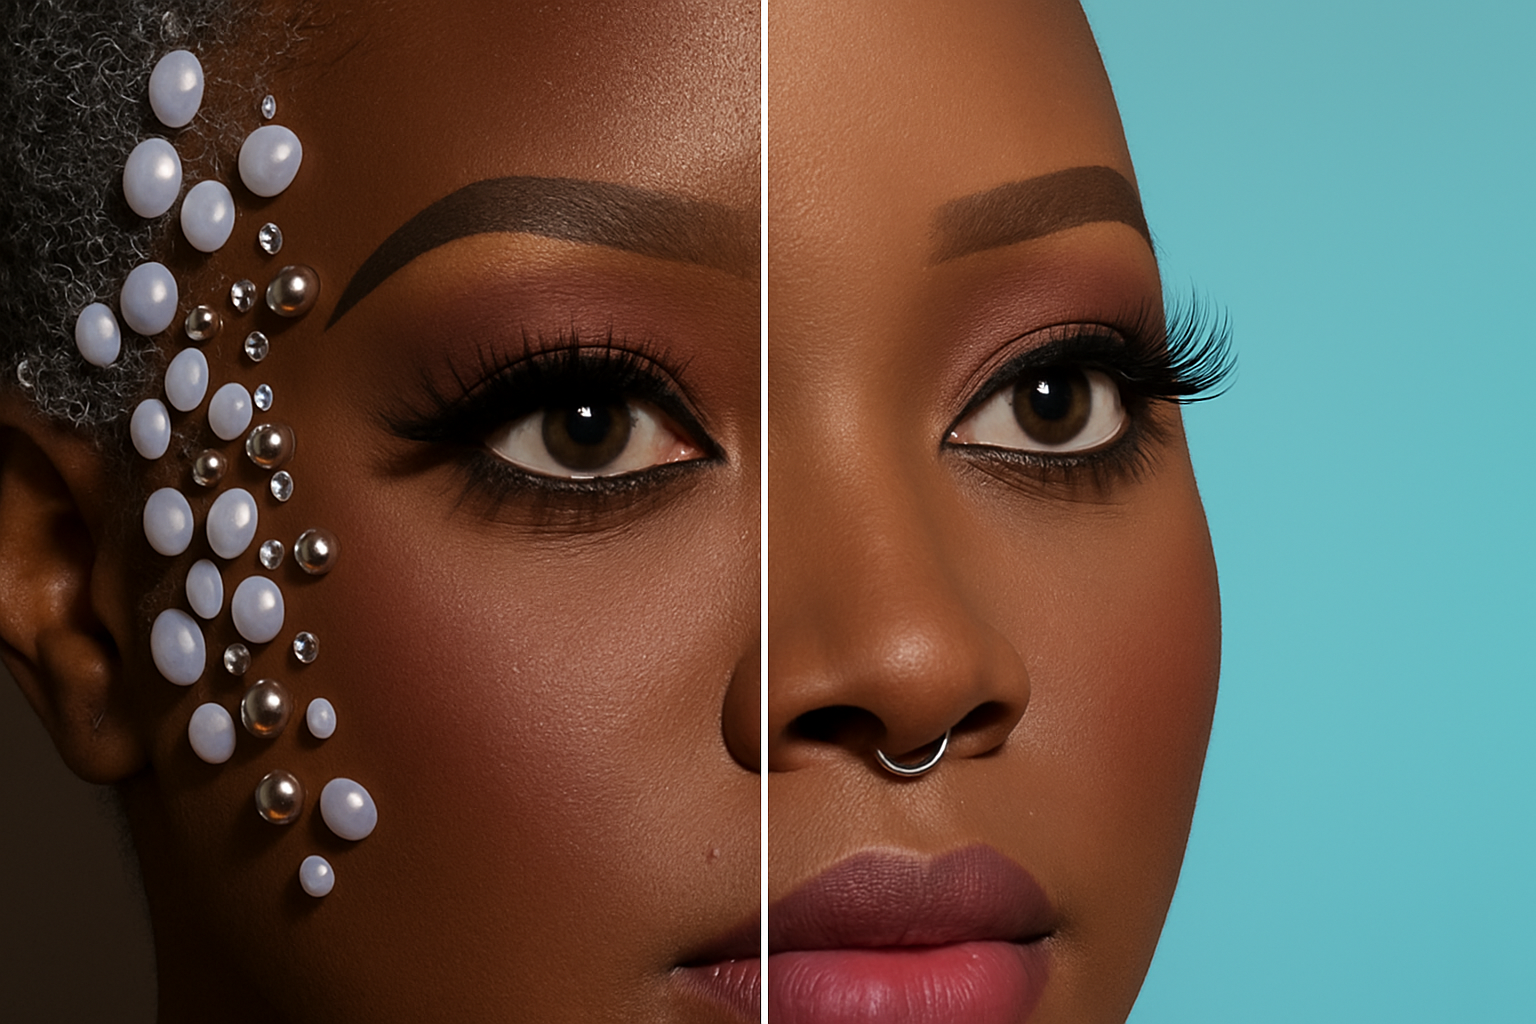
Master the Art of Skin Retouching and Eye Enhancement
In the world of digital photography, transforming an ordinary portrait into a captivating masterpiece is more art than science. Gone are the days when retouching was reserved only for magazine covers. With accessible tools and techniques, anyone with a passion for image editing can enhance their photography like a pro. This blog post will guide you through the process of achieving flawlessly smooth skin and luminous eyes using Photoshop. Grab your digital brushes and let’s dive into this pixel-perfect journey.
Starting with Skin: The Commandments of Retouching
Just like the clear, unflawed skin we aim to mimic, starting with a clean slate is paramount. The first step in skin retouching is to create a duplicate of your background layer in Photoshop. This ensures you have a backup and can freely experiment with less risk of irreparable damage—a win-win for both the perfectionist and experimentalist in you.
Once your duplicates are safely in place, prepare to erase those blemishes and spots with the Spot Healing Brush tool. You might be thinking, “I’ve removed one blemish, now what?” Well, multiply that satisfaction as you move meticulously across the canvas, which, while time-consuming, is equally rewarding as each imperfection vanishes under your deft touch.
The Skin Smoothing Process
After the initial clean-up act, take a moment to compare your progress. Toggle back and forth between your layers to visually grasp the transformation that’s already underway. But hold your creative horses; we’re just warming up!
Next, shift to the Mixer Brush tool. This tool helps blend skin tones and textures smoothly, minimizing harsh lines and creating harmony on the canvas, much like a modern-day portraitist might with traditional oils. Remember that skin has texture, so don’t be too hasty to erase all that character—our aim is “flawlessly natural.”
Unveiling the Magic of Frequency Separation
Enter frequency separation—a Photoshop power play for those truly committed to mastering retouching. This technique separates skin texture from color, allowing you to fine-tune each individually. Create two layer duplicates, setting one to “Low” for tones and the other to “High” for texture. By isolating these variables, you might say you’ve decoded the Photoshop matrix.
Apply a Gaussian Blur to soften the low layer, while keeping the high layer intent on retaining that critical texture. Through detailed adjustments, frequency separation permits an artist to influence the photo in profound, subtle ways—crucial for realistic, yet polished results.
Make Those Eyes Pop!
Now that we’ve established a silky skin base, the next essential step in portrait perfection is mastering eye enhancement. Eyes are often called the window to the soul, and in image editing, they are the focal point that can make or break your work.
Begin by brightening up those peepers. Use a Hue/Saturation adjustment layer to carefully add life to the eyes, enhancing their natural allure without over-washing them—balance is the name of this game. A contrast adjustment layer will further deepen this effect, bringing depth and luminescence to every gaze.
If you find yourself overdoing it, don’t panic! Control + Z is your trusty sidekick, so wield it freely. The beauty of digital art lies precisely in its flexibility and reversibility.
The Subtle Art of Dodging and Burning
To bring our retouched portrait into another dimension of realism and impact, utilize the Dodge and Burn tools. Dodging highlights areas to add luminance, while burning deepens shadows for contrast. This strategic shading is akin to a digital chiaroscuro.
Carefully apply these tools to fine-tune the depth of the eyes, the definition of the eyelashes, and the dimension within facial features like the brows. Sure, this may sound like detailing to the extreme, but these details are key to a final image that’s less filter and more fantastic.
Polish and Categorize with Final Adjustments
As we approach the grand finale of our retouching odyssey, remember that refinement lies in layers. Merge your finished layers, taking pride in the cumulative adjustments that define your work. Lastly, consider toning the overall image by using black and white adjustment layers set to soft light—this brings a professional tonal balance often required for print and display.
In retouching, patience and practice are your most loyal companions. Transforming a portrait is about more than removing imperfections—it’s crafting a visual story the camera alone can’t tell. Follow this guide, experiment with layers, and watch as your ordinary images evolve into digital art, each more enchanting than the last.
Happy creating! May your pixels always align and your brushes never falter.





