A Creative Toolbox
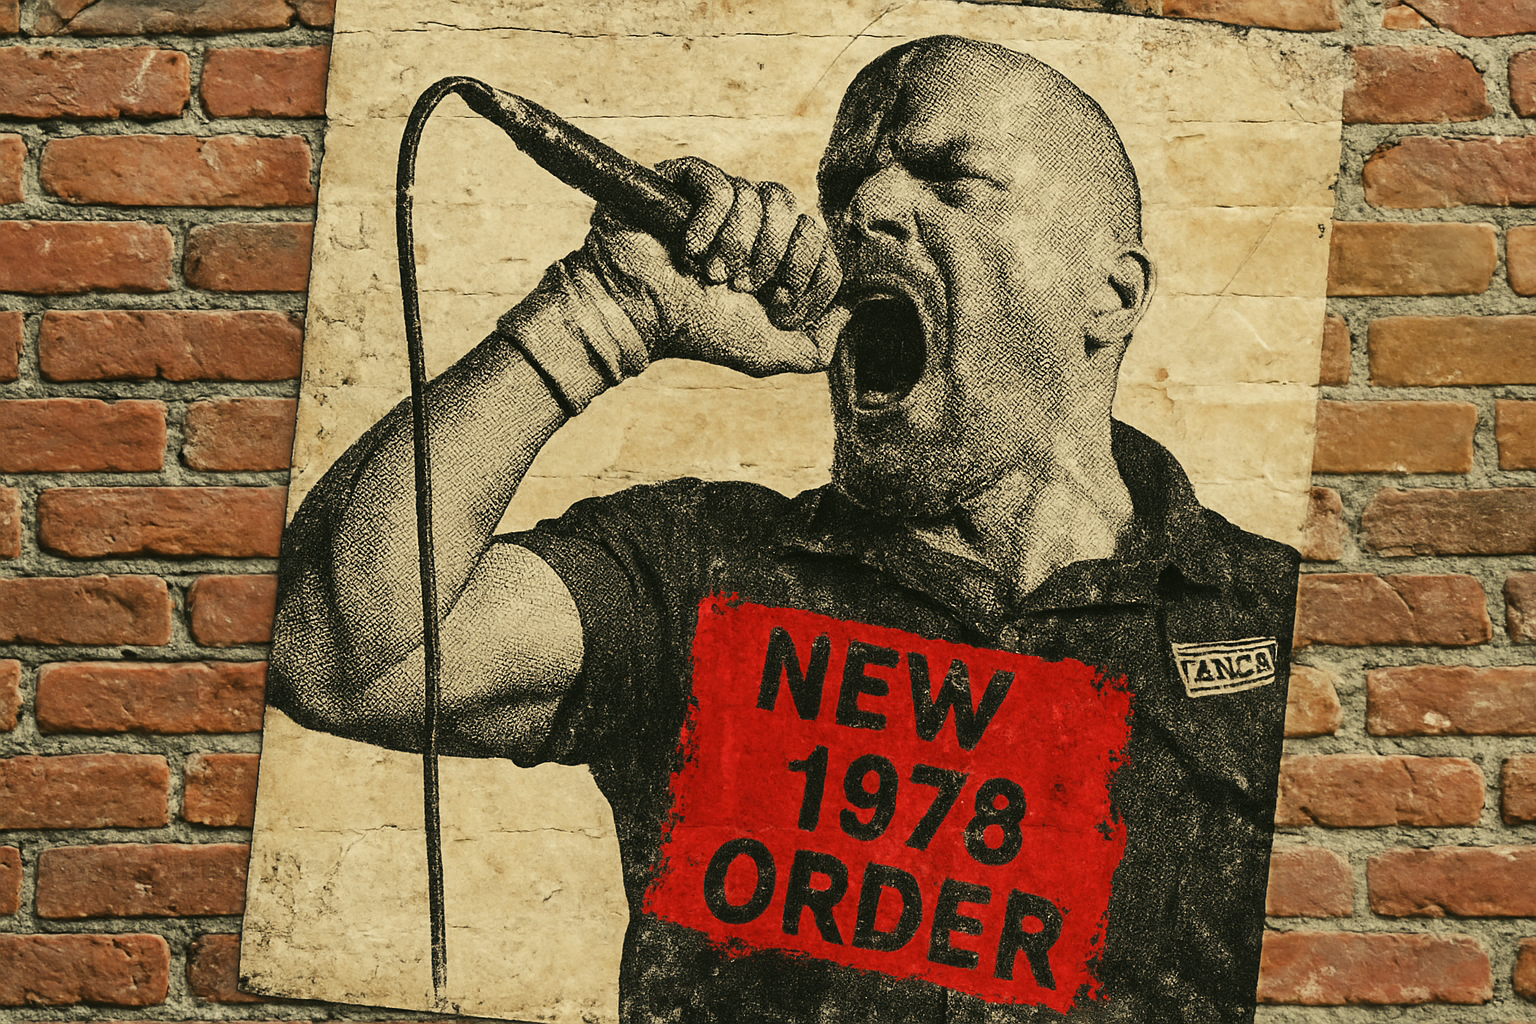
Firstly, let’s talk about the assets you’ll need to recreate that grunge aesthetic. The assets provided include a Photoshop template with three integral layers: a piece of torn paper, a photo film frame, and a yellowed creased paper base. These elements are the backbone of your design, evoking a sense of age and rebellion. Additionally, a photo of a punk rock frontman, a quirky coffee cup stain, and a rough ink brush are all used to deepen the poster’s underground feel. Oh, and don’t forget those rebellious fonts for that authentic piece of punk spirit!
Step-by-Step Breakdown
Getting Started with Selection
Your journey begins with the punk rock frontman photo. We’re going to separate him from the background using Photoshop’s mighty Quick Selection Tool. Why labor over it manually when Photoshop can do the heavy lifting for you? Click Select Subject and let the algorithm shine. Adjust any areas it might miss by tweaking the tool’s radius, and voilà!
Smart Objects: The Unsung Hero
The beauty of Smart Objects in Photoshop cannot be overstated. By converting your isolated image into a Smart Object, you’re granted the godlike power of non-destructive editing. Transform, scale or apply effects to your heart’s content without a care in the world—because you can always step back.
Layering Like a Pro
Position your punk rocker within the template, aligning him perfectly with the composition. This is where layer manipulation skills come into play. Move it around, duplicate it (the right way) using New Smart Object via Copy, and rest assured knowing adjustments can be made to either version independently.
Adding Textures and Filters
Filters are your ticket to grunge town. By using a combination of the Halftone Pattern, Photocopy, and Torn Edges filters, you can infuse your imagery with that classic, worn-out texture that screams DIY punk. Adjusting the blend mode to Multiply marries these effects seamlessly into the paper’s fabric.
Typography: Let’s Get Text-y
Fonts unleash the soul of your design. With names like Got Heroin? and SplashKhat, expect bold statements. The typography choices aren’t just about legibility—they’re as much a visual component as the photos. Adjusting leading and kerning ensures your text feels disruptive yet cohesive.
Bringing It All Together with Brushwork
What’s a punk poster without some chaotic brushstrokes? Armed with the rough ink brush, embellish your text, adding a splash of anger or attitude as needed. These strokes reside slyly beneath the text, giving the appearance of old-school screen prints.
Sprinkling Some Coffee Culture
For an authentic afterthought, integrate that coffee stain into the mix. Transparency adjustments (hello, blend modes!) will make sure it ‘spills’ over your design poetically, like a late-night caffeine rush at an underground gig you accidentally ended up at.
Final Touches and Adjustments
Don’t stop till you reach perfection. Shift text orientations for a quirky edge, or subtly adjust color tones with the Color Picker. Tweak the positioning so every element narrates an underlying manifesto against societal norms.
Conclusion: Your All-Access Pass to Punk Design
Armed with this guide, you possess the toolkit to craft a poster as loud as a punk rock anthem. Mixing skill with creative flair is exactly what keeps the punk aesthetic alive in the digital world. All it takes is a little curiosity, some Photoshop magic, and a rebellious spirit. Go forth and create boldly!