
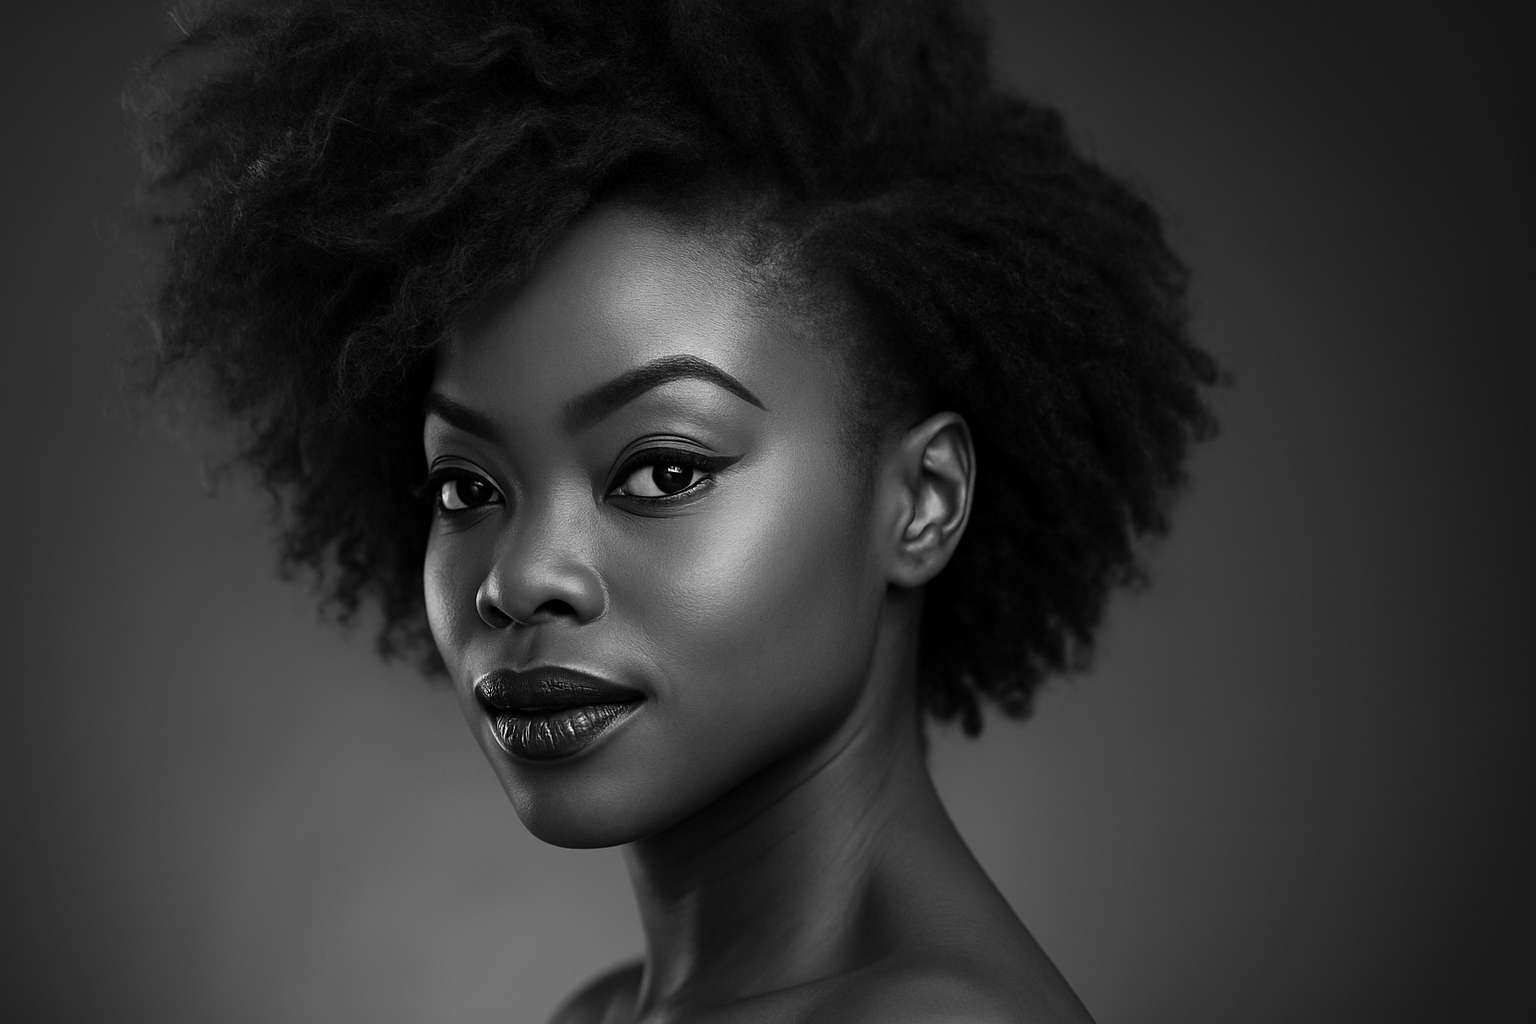
Unleashing the Power of Black & White Portraits
In a world saturated with vibrant colors, there’s something timeless and captivating about black and white photography. It strips away the distraction of color, directing the eye to the subject’s form, expressions, and texture. If you’ve ever wanted to take a deep dive into transforming your photos into stunning black and white portraits, you’re in the right place. Today, we’ll explore the magic behind creating these classic images using Adobe Photoshop. Spoiler alert: it involves a shallow depth of field and impeccable focus on the eyes.
Getting Started: Preparing Your Photograph
First things first, choose a high-resolution image. Quality matters when it comes to producing a standout photograph. A focused photo with sharp details around the eyes is perfect. You can obtain such images from stock photo websites like Shutterstock.
Next, separate your subject from the background. Silver bullet for this task? The ‘Select and Mask’ feature in Photoshop. If you’re hungry for more on this, hit up our detailed tutorial using this function.
Give Your Eyes a Hug: Ensuring Focus
When it comes to diving into the editing, here’s a nifty trick—apply a shallow depth of field to highlight the eyes. This way, they become the focal point of the portrait, subtly blurring the remainder of the head as it recedes into space.
The Black and White Conversion
Once your subject is distinct from its background, it’s time to journey into monochrome. Click on the adjustment layer icon and select ‘Black & White’. This magical setting opens up a world of presets—choose the ‘Blue Filter’ for a profound impact. Don’t stop scrolling until you’ve seen each filter option’s effect on your image. Personalized choices mean standout photos.
Harmonizing the Background
Moving to the next step, set your background to black. Create a new layer and fill it with black. Ensure your fore and background colors are black and white, respectively. With your keyboard, a quick ‘D’ resets colors to default—black foreground, white background. Inverted colors? A cheeky ‘X’ will swap them around.
Adjustments and Gradients
To complete the black and white transformation, fiddling with gradients will give your photo an artsy flair. Select ‘Gradient’ from the adjustment layer settings and aim for a classic black-to-white transition with a radial style. Adjusting the scale to around 150% blends the gradient seamlessly into your photo.
Defringe for Perfection
Imperfections, hallucinations; same thing, right? If halo artifacts haunt your subject, the ‘Defringe’ option under ‘Layer > Matting’ fixes all. By setting it to a width of one pixel, you can match any stray fringe pixels to your subject’s primary color.
Effortless Depth of Field: The Iris Blur
To sprinkle some professional magic dust, convert your layers into a single smart object. This technique allows non-destructive adjustments later—wise choices if you ask us. Access this option under ‘Filter > Blur Gallery > Iris Blur’. Place the finger-on-the-pulse blur over the eyes with intuitive circle anchors—a sure-fire way to leave the eyes sharp and the edges delightfully soft.
Smoothing Out the Edges
Lastly, adjust the feathering and strength of the blur. Feather handles help fine-tune the blur’s intensity across your image. Groove through Photoshop’s UI by rotating the blur ring to tailor the depth of field’s strength. Once satisfied, hit that ‘OK’ button.
Final Thoughts
There you have it—a masterpiece in black and white. As you’ve brushed up on your Photoshop skills, remember: photography, just like any form of art, is subjective. It’s all about ensuring your subject shines against the stark simplicity of monochrome. So go on and create images that not only capture moments but captivate audiences with their ageless beauty.





