
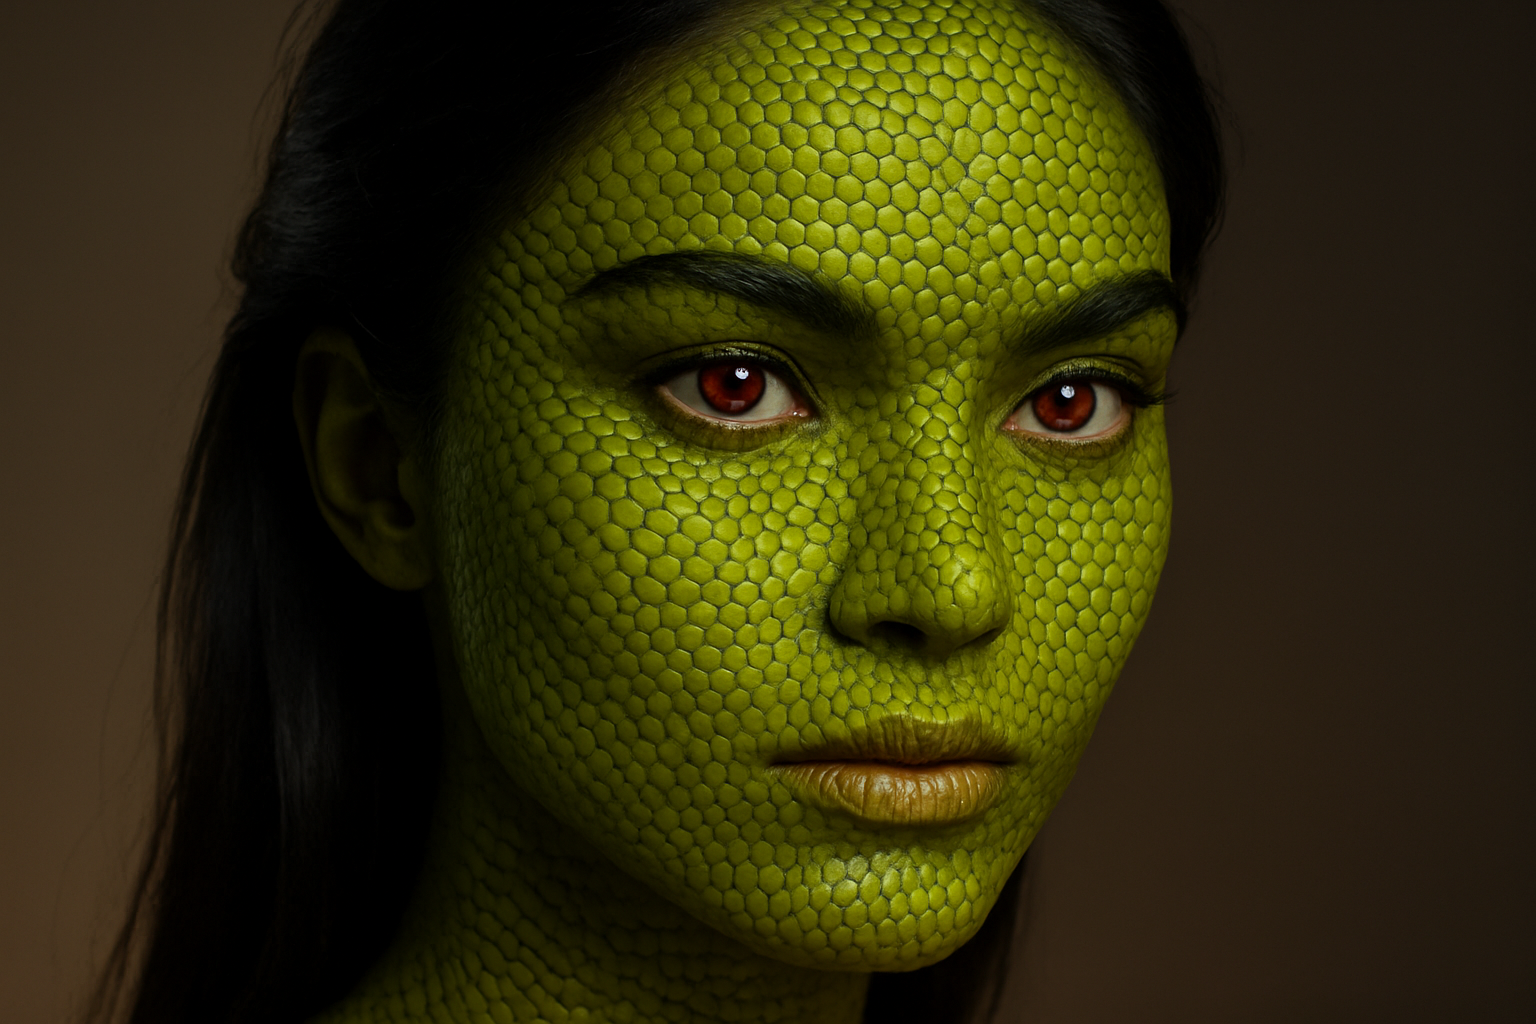
Dive into the Extraordinary with Reptilian Textures and Alien Eyes in Photoshop
Ever wondered how to sprinkle a dash of the extraordinary onto a mundane portrait? Today, we’re embracing the weird, the wonderful, and the digital artistry of transforming human faces with reptilian textures and alien-like eyes. Why settle for ordinary when you can delve into something so outlandish it could be straight out of a sci-fi flick? Follow along as we guide you through creating a fantastic visual transformation using Adobe Photoshop.
Setting Up Your Digital Canvas
First and foremost, you’ll need a good digital foundation to kickstart this creative journey. Grab an image of a face and a separate image of reptilian texture. Whether you decide to use the images provided in the project files or create your own is entirely up to you, but ensure that they are of a resolution that complements digital manipulation.
Creating the Mystical Displacement Map
A displacement map will serve as your secret sauce to evoking that surreal reptilian skin appearance. Create this by duplicating your face layer with a simple Ctrl or Cmd + J. Next, desaturate the copy and blur it with a Gaussian Blur to roughly 12 pixels. The effect softens the edges, laying a smooth groundwork for your texture overlay. Save this as your “Displacement Map,” and you’re ready to unleash chaos in controlled artistry.
Applying the Texture Like a Pro
Once the displacement map is ready, it’s time for the transformative magic—adding the reptile scales! Paste the texture over the face image, ensuring both images match in size to avoid any stretching anomalies. Harness the power of Photoshop’s “Smart Object” feature, allowing you to adjust and play without fear of irreversible edits.
Now, through the “Displace” filter found under Distort in the Filter menu, choose your displacement map. Set a pixel displacement to your preference (hint: 30 seems to work wonders), ensuring your texture molds beautifully around the face’s contours. Your digital canvas begins to exhibit the mystical transformation of human to alien hybrid!
Painting the Perfect Mask
The texture is set, but we want it reigned in to just areas of the face—cue the mask magic. With the Brush Tool, craft a mask using Quick Mask mode (‘Q’ is your friend here). Paint around the skin, refining as you work with white and black brushes to limit where scales appear. Engage with Photoshop’s strong blend modes next, switching the texture layer to Multiply, integrating the texture seamlessly into the portrait.
Bring Out the Shadows and Highlights
A little shadow play enhances realism, drawing the scales out from the face’s shadows for depth. Use the “Shadows/Highlights” adjustment to finesse the balance.
Need more luminescence across the subject? Create a layer snapshot with Ctrl + Alt + Shift + E (Windows) or Cmd + Option + Shift + E (Mac) and apply a dose of brightness while controlling where it shines by masking.
Eyes to Mesmerize
With reptilian skin in place, let’s not forget our creature’s eyes. Switch your brush to Quick Mask and paint passionately over the irises. Once selections are done, turn to the mystical “Hue/Saturation” adjustment layer to colorize those peepers into an alien hue that stops earthlings in their tracks.
Don’t forget to keep the magic of lighting intact by brushing away saturation on the pupils’ highlights.
Complete Your Masterpiece
With all elements in place, your face transformation is complete. You’ve created a piece of art that straddles the line between human and otherworldly, fully realized through the powerful tools of Photoshop. Playing with such vibrant and fantastical concepts not only boosts your editing skills but invites you to view your creativity with fresh eyes.
Remember, digital art isn’t just about technique—it’s about crafting illusions that transcend reality. Consider this your gateway into more whimsical and daring projects, each more mystical than the last. Now go forth, and may your edits be ever more extraordinary!





