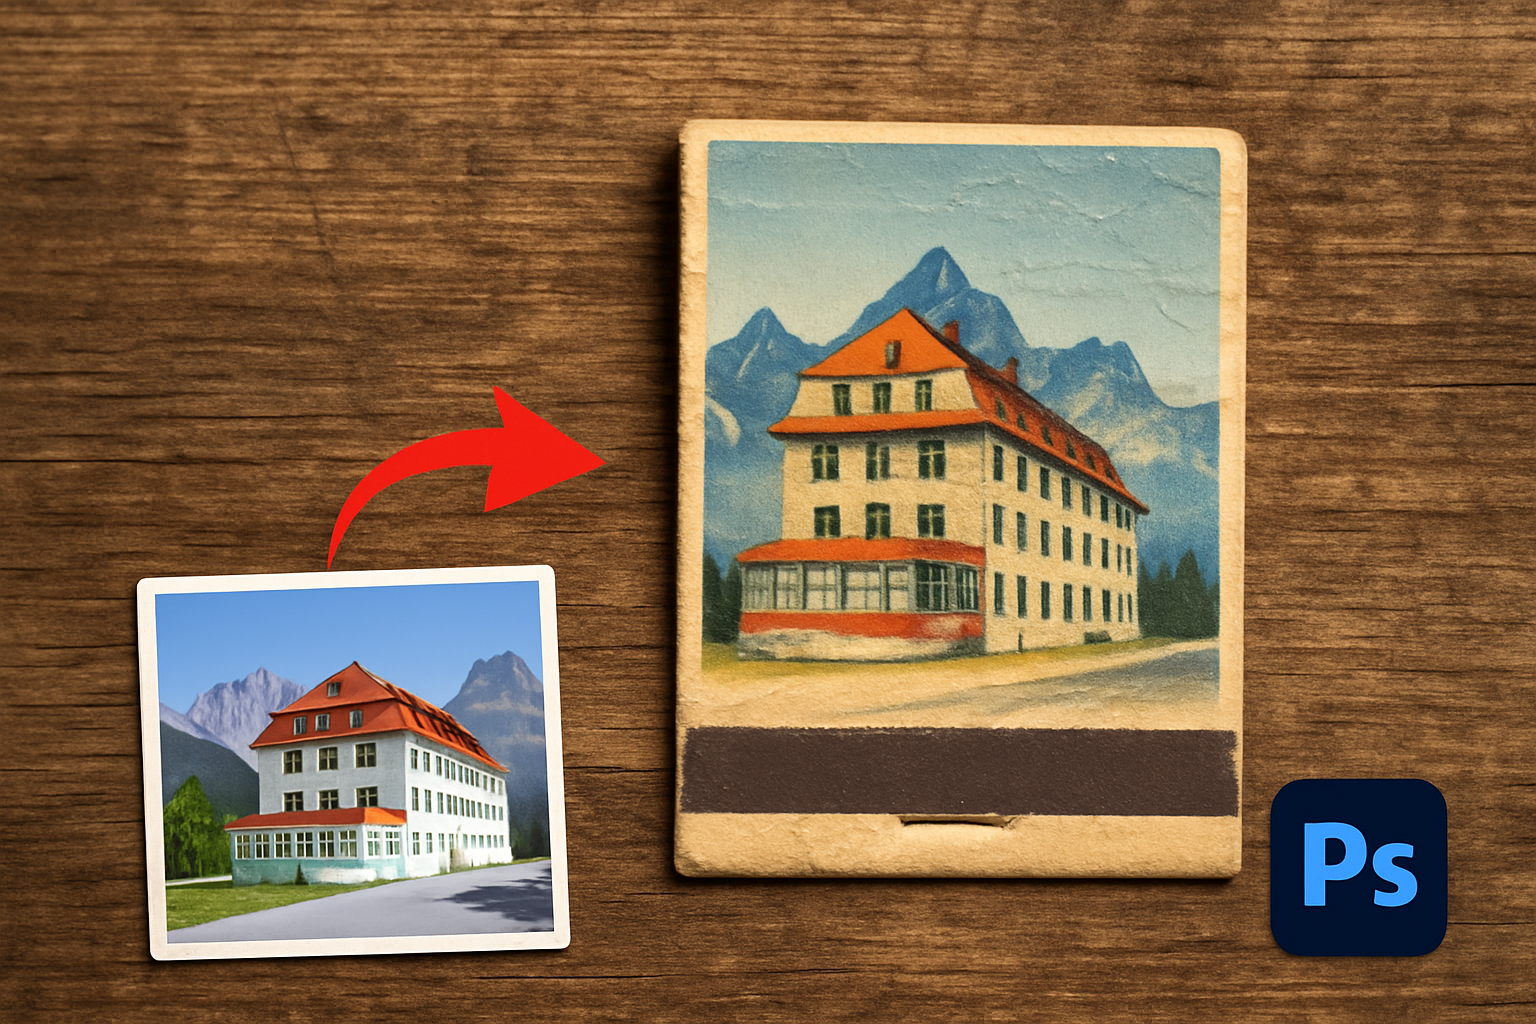
Transform Your Photos into Nostalgic Masterpieces
Ah, vintage matchbook covers—those tiny, alluring pieces of art that used to pack a visual punch with vibrant designs and nostalgic vibes. While these once-common artifacts have faded into the background of modern culture, their retro charm endures, setting the stage for a delightful digital resurrection. Today, we’re diving into the world of Photoshop to give your photos a stunning matchbook cover makeover. If you’re a Photoshop enthusiast looking to flex your creative muscles while adding a dash of nostalgia, then you’re in for a treat.
Gathering Your Arsenal: The Essentials
First things first, you’ll need to open the photo you wish to transform. You can snag a suitable image from Shutterstock or another stock photo service. Consider scenes or subjects with a vintage vibe—think retro diners, old-school cars, or classic portraits. To make your life easier, I’ve also included a customizable Photoshop template that contains a wood background, a matchbook, and some artistic scratches to use later on.
Pro Tip: Make sure to check the video’s description or project files for a link to the template. Although at first glance it may appear as a single image, it actually comes packed with multiple layers once loaded in Photoshop.
Sizing Up Your Canvas
Begin by cropping your image to the exact dimensions required for this project. Open the Crop Tool and choose the “width, height, and resolution” option. Set the dimensions to 1742 x 1262 pixels with a resolution of 150 pixels per inch. Adjust the crop accordingly, ensuring you leave enough space for your matchbook’s text.
Shortcut Alert: To zoom in and perfect your crop, hit Ctrl/Cmd and the plus key. To fit the canvas to the screen, press Ctrl/Cmd and 0.
Typography Meets Vintage: Adding Text
Text is crucial for an authentic matchbook cover, so let’s choose a font that complements your image. With the Horizontal Type Tool, you can pick from a variety of fonts that scream retro elegance. You can start with a 100-point size and adjust as necessary. Select a color that stands out against the background—better yet, use your photo as a palette by clicking directly on it to choose colors.
Once you’ve typed your text, don’t shy away from adding stylish effects. Double-click an empty area on your text layer to summon the Layer Style window. Add a white stroke for that classy outline: set the stroke size to 4 pixels, position it outside, and make sure the blend mode is set to Normal.
Sleight of Hand with Smart Objects
Convert your photo and text into a Smart Object. Why, you ask? This allows you to modify them non-destructively, preserving your work and enabling easy edits. Simply Shift-click the layers you want and click “Convert to Smart Object.”
Next, imbue your image with the halftone effect by going to Filter, Pixelate, and Color Halftone. Set the maximum radius to 4 pixels, keeping screen angles at their defaults for that classic dot pattern that echoes vintage printing techniques.
Layer Mask Magic
Utilize the Channels panel to select the “cover art shape,” facilitating an inspired marriage of layer and mask. Simply Ctrl/Cmd-click the thumbnail, then hop back to the Layers panel and click the Layer Mask icon. This grants you free reign to resize or reposition elements without missing a beat.
To further integrate the image into your matchbook design, change the layer’s blend mode to Multiply. This will allow the texture and scratches from your template to add depth and richness to your piece.
Tying It All Together
Once your scratches layer is activated and the blend mode is set to Screen, it’s time to angle your matchbook just so. Link your halftone image and mask, group all elements in a folder using Ctrl/Cmd + G, and engage the Transform Tool to achieve that quintessential matchbook tilt.
And voila! Your image is now a vibrant and nostalgic bomb of retro splendor, resembling a vintage matchbook plucked straight from the annals of history.
Whether you’re crafting digital art or sprucing up a photo album, this project opens the door to myriad creative possibilities. By embracing these retro techniques, you add both a tactile and emotional depth to your work. So give it a whirl and add some mid-century charm to your digital repertoire.
Now go forth and design, creating worlds where photos transform into vintage keepsakes and nostalgia reigns supreme. Welcome to the matchbook renaissance!


