Dive Into the World of Psychedelic Portrait Posters
So, you’ve got a cool photo and a desire to immortalize it in a way that screams retro meets trippy—a Day-Glo psychedelic portrait poster style. Lucky for you, the process is not only simple but also a delightful exercise in creativity using good old Photoshop. So, strap in as we explore this colorful world of vintage revival, giving your images a snazzy twist with a dash of psychedelic flair.
Begin With a Bold Canvas
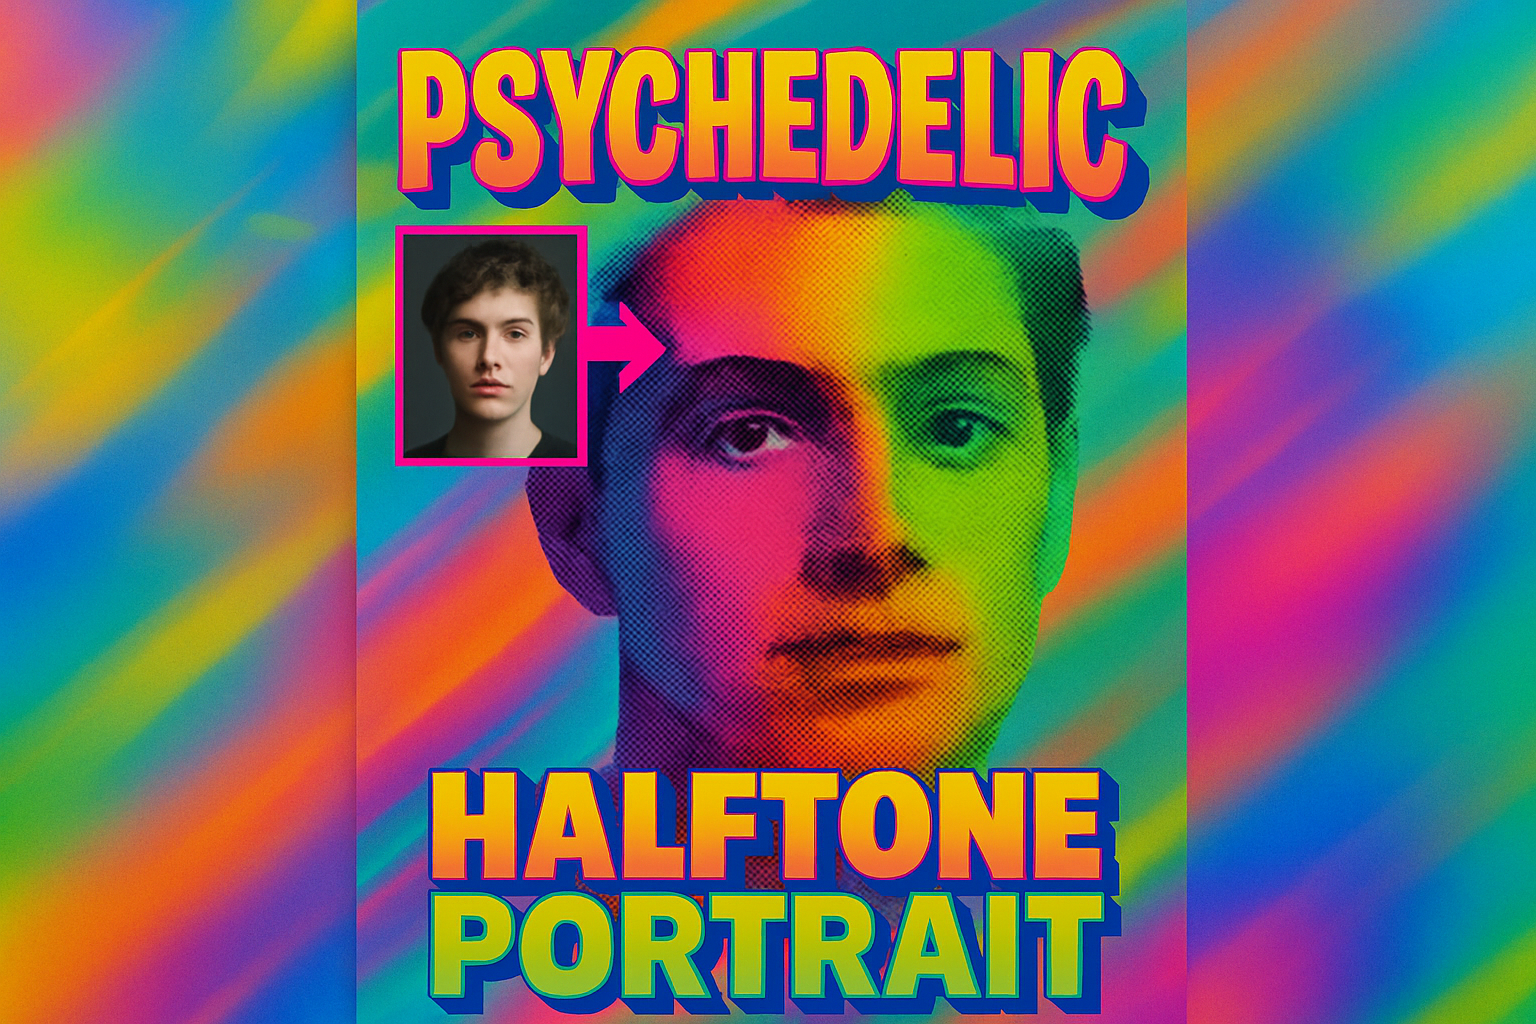
Kick things off with a photo of a face, whether it’s a self-portrait or a stock image from trusty sources like Shutterstock. The key here is to ensure that your image is prepped just right. By using the Crop Tool, you can finesse your image to be 720 pixels in width and height with a resolution of 72 pixels per inch. This step is crucial to achieving that authentic poster feel.
Once cropped, we recommend converting your image into a Smart Object. This transformation is magic because it lets you modify your image without losing any data and swap it for another image without starting from scratch. The dream, right?
Infuse Your Image with Funky Patterns
Now, it’s time to get your hands dirty with the fun stuff. Head over to the Filter menu and apply a Halftone Pattern (under Sketch), setting the size to 2, contrast to 3, and pattern type to “Dot.” This gives your image that classic pop art vibe—dotty, contrast-rich, and oh-so-cool.
Following the dots, time to inject sharpness using the Unsharp Mask filter. Dial up the details with an amount of 100%, a radius of 50 pixels, and threshold of 10 levels. Think of it as adding a bold outline to your psychedelic piece.
Color Wonders with Layer Adjustments
So far, so fun! Next, slap on an Adjustment Layer and hit “Invert” on Photoshop. This flips your image in the most delightful way and prepares it for the pop that will come from the “Levels” adjustment. Speaking of which, set your input levels to 150 (black) and 230 (white) to get that vivid range essential for psychedelic art.
To pile on the excitement, make your layer a Smart Object once more and replicate it twice. This will create three layers you can toy around with to get your ideal blend.
Gradient Glory: Bring in the Color Clash
Make sure your bottom layer is ready and introduce a new layer below it. Then, sprinkle in some gradient magic. Go to Adjustment Layers > Gradient and choose “Spectrum” from the Legacy Default Gradients. Choose Linear style with a 90-degree angle and watch the color riot unfold.
Set the Blend Mode of your bottom and middle layers to “Exclusion,” allowing whites to invert the gradient while blacks retain its original shades. The top layer’s Mode can be set to “Multiply” to let the original rainbow hues shine through.
Finish with a Frame (Coz Art Needs Frame)
Every masterpiece needs a frame, and here, you’ll craft one that reveals the interplay between the gradient and halftone pattern. Use the View menu to activate Snap and create a New Guide Layout. Indicate margins of 12 pixels each, then draw with the Rectangular Marquee Tool, aligning to the guidelines.
Once you’ve got your selection, make a layer mask, blinking away the guidelines and highlighting your psychedelic creation. Finish off by setting text on your poster, picking your font, size, and style—playfulness encouraged, of course!
Stretch Your Creative Muscle
Transforming an everyday photo into a mesmerizing Day-Glo psychedelic portrait isn’t just about following steps. It’s an invitation to fuse technology with artistic inspiration. As you explore this vibrant aesthetic, remember it’s all about trial, error, and heaps of creativity. Your poster stands as a testament to that — a digital canvas where retro vibes dance with modern flair.
Congratulations, you’re equipped to embark on designing psychedelic masterpieces that capture attention and imagination! What’s next for you? Maybe test this tutorial with photos of other subjects and explore the endless possibilities of color fusion. Whatever your take, Photoshop is your magical tool, and you hold the brush.


