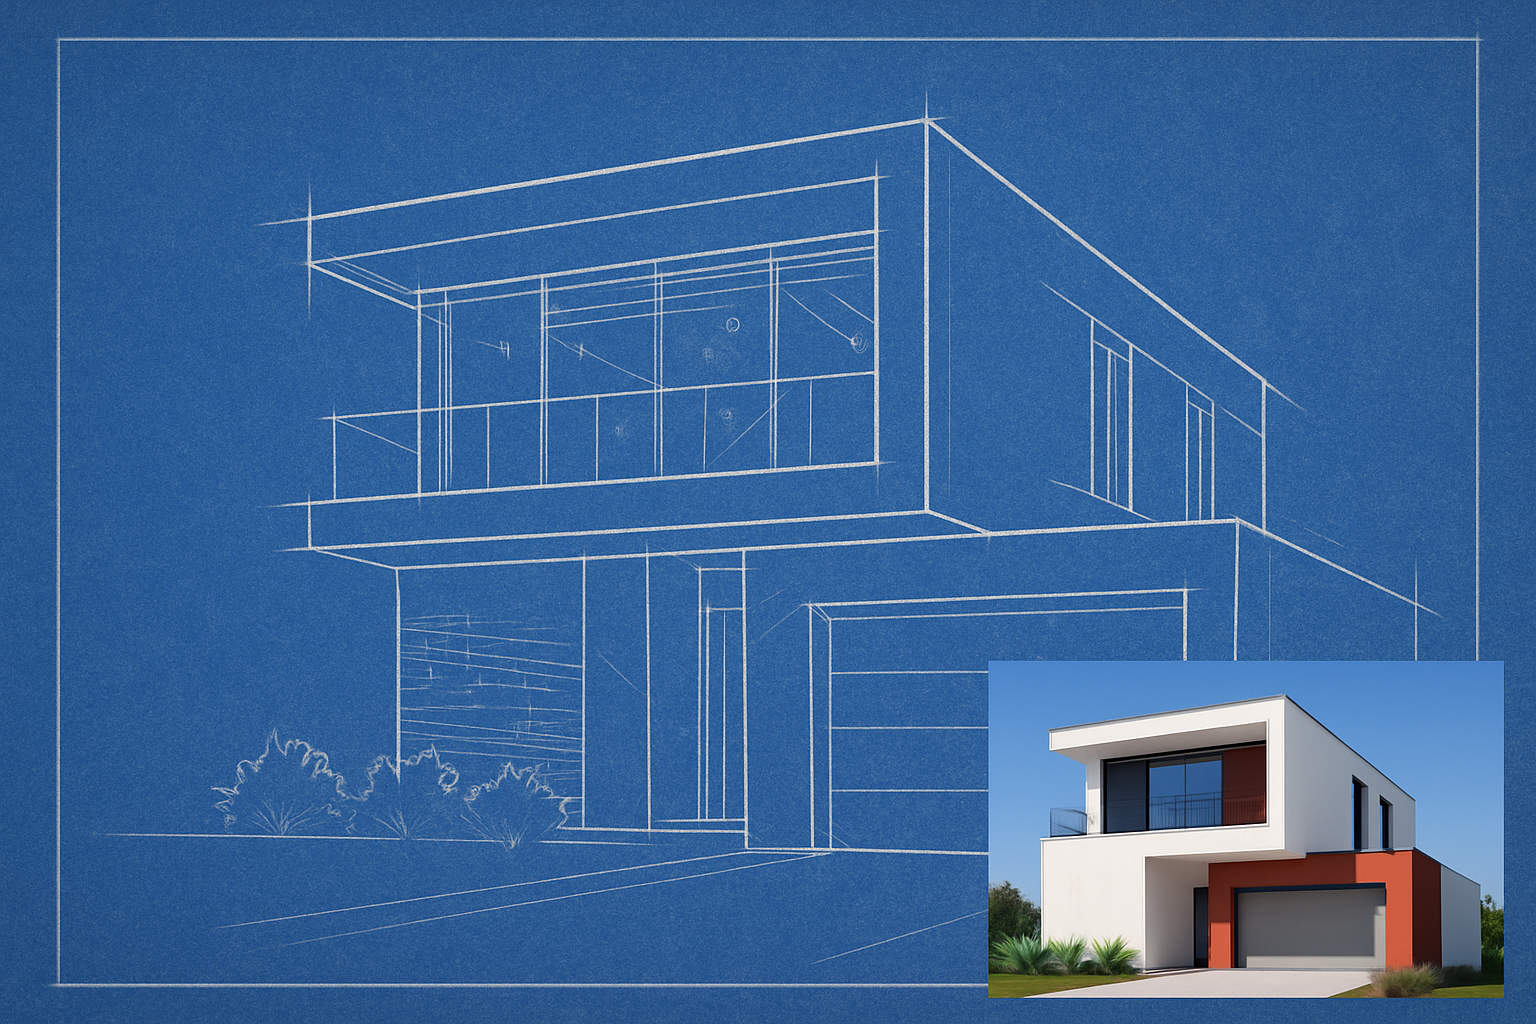
Unlock the Magic of Blueprints in Photoshop
Ever looked at a blueprint and marveled at its precision and artistry? Now, imagine if you could transform any photo you love into a classic blueprint drawing. Let’s “draw” back the curtain and explore how with just a few clicks in Photoshop, you can create a stunning blueprint image that’s cleaner, faster, and more efficient than ever before. Buckle up, dear creatives, because this updated guide will have you sketching like a pro in no time!
Setting the Scene: Prepping Your Canvas
Before diving into the mechanics, it’s crucial to set your stage for success. Begin by opening the image you wish to convert and adjust its resolution to 150 pixels per inch via “Image” and “Image Size.” Don’t fret too much about the dimensions—your main concern here is matching the resolution.
Bring Texture to Life
To enhance the blueprint effect, adding a paper texture as your background is essential. Paste your chosen image onto this textured document. Not sure where to get one? No worries—our tutorial video description links you to a high-quality texture (or you can always scout your favorite image website like Shutterstock).
Crafting Your Blueprint Vision: The Technical Savvy
Now that your digital stage is prepped, let’s get technical!
Supercharge with Smart Object: Convert your image into a smart object. This step isn’t just for show—it’s pivotal for modifying the image non-destructively and enables stress-free swaps should you decide to replace the original image without the hassle of starting over.
Outline with Precision: Navigate to “Filter,” choose “Stylize,” then hit “Find Edges.” This command higlights the lines in your image, creating a skeletal layout perfect for blueprints. Want all your verticals dead-straight? If you’re rocking a CC version of Photoshop, the “Camera Raw Filter” is your new BFF.
Framing and Coloring: The Artistry in Details
No masterpiece is complete without a solid frame. Create a striking white border accentuated by a thin black outline using Photoshop’s “Inner Glow” and “Stroke” layers. It’s like adorning your artwork with a digital frame!
To get the blueprint’s iconic blue hue, fill an empty layer with a deep, dreamlike blue color (#0036A5 if you’re down with hex codes). Apply a “Screen” blend mode to let this magical color weave into your piece elegantly.
Adding the Final Flourishes
Every blueprint needs a touch of personalization and light tweaking to make it perfect.
- Adjust Contrast: Enhance finished details with an “Adjustment Layer,” using “Black and White” for intense contrasts and depth.
- Level Up: Want your image brighter? Go for an “Adjustment Layer” in “Levels” and add that extra pop of brightness to bask your artwork in ethereal glow.
- Final Tweaks: With on-image adjustment tools, you can fine-tune brightness or darkness of specific areas, allowing unprecedented control over your creation.
A Call to Creativity
If this journey into creating blueprint art has sparked your interest or helped refine your Photoshop skills, consider supporting the Blue Lightning TV community. Whether joining Patreon or becoming a channel member—your support fuels creativity and helps us provide even more high-quality content.
Get ready to show off your newfound skills and perhaps cozy up with your computer to create your own gallery of blueprint wonders. Who knows? Your next masterpiece might just be one click away!


