
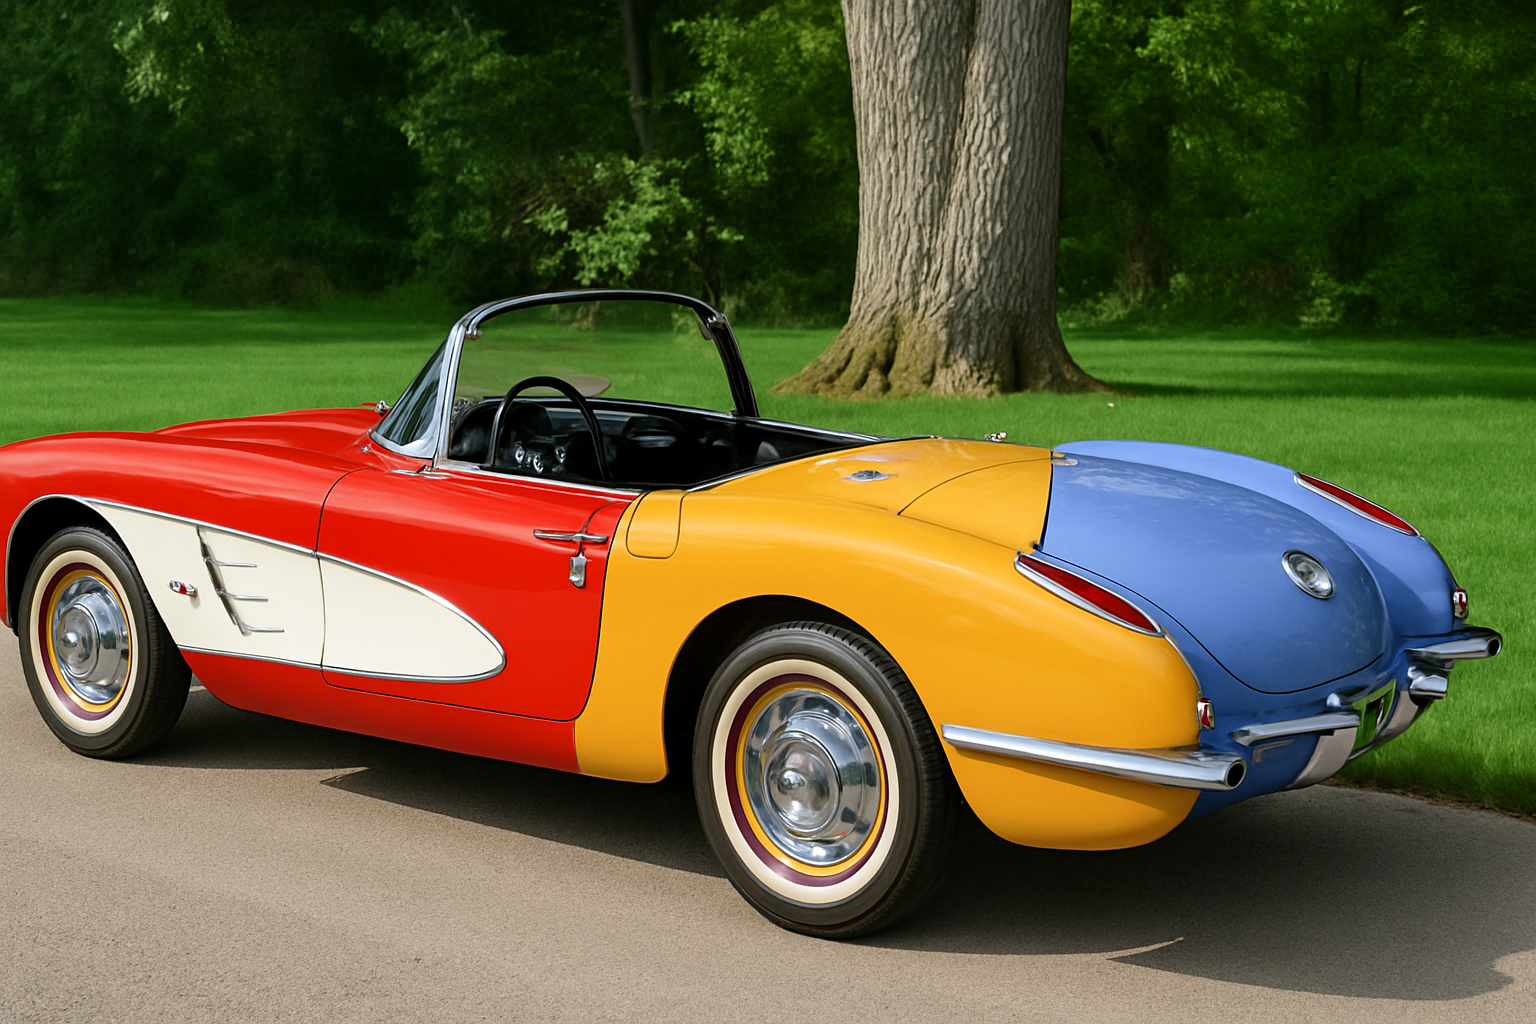
Unlock the Power of Color Change in Photoshop
Pop quiz: What’s the secret to giving your images a fresh, eye-catching look with just a few clicks? It’s all about mastering color transformations in Photoshop. Whether you’re spicing up product photos for your online store or breathing new life into that forgotten digital art piece hiding on your hard drive, learning how to effectively change color in Photoshop is a skill worth having in your digital toolkit. Today, we dive into one simple yet highly effective method to change object colors using the Hue/Saturation adjustment layer. Ready to revolutionize your Photoshop game and make magic with colors? Let’s dig in.
Step 1: Selecting the Color Area
The first step in this colorful journey is pinpointing the area you want to modify. For those with Photoshop CC 2018 or later, life just got easier. Launch your Quick Selection Tool, dial in a 10-pixel radius, and click that magical “Select Subject” button. Trust in Photoshop’s abilities to feather a guess and contour a selection around your desired area.
But if you’re living in the land of earlier versions, take heart! Simply steer your Quick Selection Tool smoothly around your subject’s contours. Need precision? The Pen Tool or Curvature Pen Tool are like your laser scalpel for digital art surgery. If your current skill set needs beefing up, plenty of tutorials are lying just a click away.
Step 2: Perfecting Your Selection
Once you’ve delineated your area, it’s time to ensure that selection is spotless using Quick Mask mode. Tap “Q” to cast your selection in a transparent veil of quick mask red. If the mask plays optical illusions with your current color scheme, fret not! Simply tweak the mask’s shade by double-clicking the Quick Mask icon and choosing a hue that offers better contrast.
Craftsmanship requires some finesse. Use your Pencil Tool to either chip away at unwanted mask areas with white or add more vibrancy with black. It’s all in the contrast: white to lift the veil, black to deepen it.
Step 3: Applying the Hue/Saturation Adjustment
With a razor-sharp selection in hand, it’s time to tap into the true power: the Hue/Saturation adjustment layer. Click on the Adjustment Layer icon and select “Hue/Saturation” from the bouquet. Immediately, the tool adds an enigmatic layer mask next to your adjustment layer.
Demystifying Layer Masks
Think of a layer mask as your stencil — white reveals what lies beneath, and black conceals it, keeping things classy and nuanced. It’s all about creating vibrant art, one precise reveal at a time.
Step 4: Dialing in the Perfect Hue
Having summoned the Adjustment Tool, the time’s come to stab your flag atop the mountains of color. Click the “On Image Adjustment Tool” and target the color waiting to undergo metamorphosis. Voilà! Adjustment sliders cascade onto your interface, promising transformative prowess.
Drag your Hue slider across the spectrum to transport your red apple into a turquoise miracle or concoct new concoctions of color. The inner vertical sliders define the color breadth, while outer triangles define the brush-stroke attitude. It’s less of a science and more of an art.
Refining with Saturation and Lightness
Once you have the base color, engage in the fine art of saturation and lightness. Saturation decides the audacity of the hue, and Lightness takes care of shadows or shines, potentially whisking your colors to the extremes of black and white.
Confirmation of creation: a refined adjustment slider delivers your chosen hue with pin-point vivacity. Nudge those vertical bars closer to the center to heighten your color’s fall-off, breathing life into your precision-engineered masterpiece.
Celebrate the Art of Simplicity
And there you have it—a straightforward yet potent method to revolutionize your Photoshop editing. Whether you’re redesigning brand imagery or unleashing creativity in limitless gradients, this method is your digital multicolor brush.
To all you daring creators eager to experiment with the kaleidoscope hidden inside each pixel, aspiring designers, and digital alchemists—the power lies at your fingertips. So go forth, and hue the world your way with artistry and precision!





