Make Your Digital Art Shine with Beautiful Aurora Borealis Effects
Ever watched the kaleidoscope of colors dance across an arctic sky and wished you could capture that magic in your digital creations? You’re in luck! We’re diving deep into the art of using Photoshop to create stunning Northern Lights, perfect for breathing life into any night sky scene. Whether you’re looking to add this surreal twist to your photography or simply want to jazz up a digital canvas, we’ve got you covered.
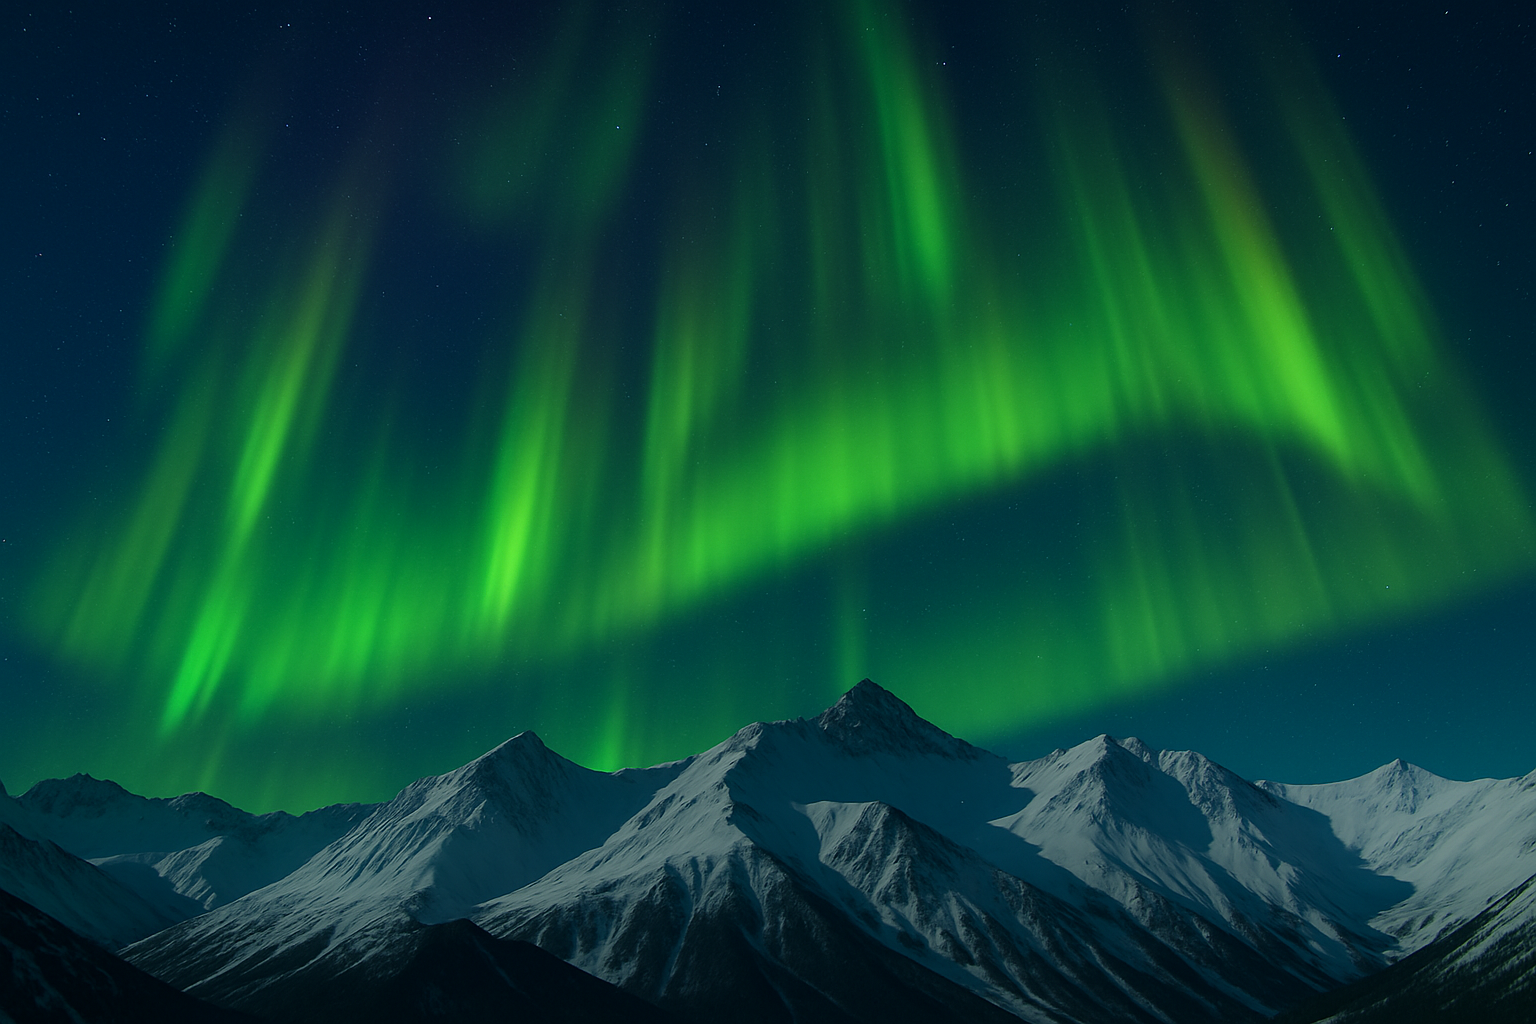
The Magic of Selections: Capturing the Night Sky
Before the Northern Lights appear, we need to set the stage. Start with a photo of a beautiful starry night—ideally something over an arctic mountain range. If you’re keen to follow along precisely, check out the link provided in the video description for the exact scene used.
The first task is selecting the part of the sky where the aurora will shine. Use the Quick Selection Tool, adjusting its size between 5 to 10 pixels. A few drags here and a little finesse there, and voila, you’ve got the sky carved out. To seal the deal, invert the selection with a quick Ctrl + Shift + I command and save it for later.
Color and Brushes: Your Creative Arsenal
Here’s where the creative magic happens. Pick a vibrant shade that sings “Northern Lights,” like bright greens. Don’t be boxed in—your creation can be as wild as you want it to be. With the Pencil Tool, choose a hard round brush, and set its size, hardness, and opacity to match your vision.
Next, enter the Brush Settings panel to tweak Brush Tip Shape, Shape Dynamics, and Scattering. For instance, make sure the Size Jitter hits 100%, and have fun with the Scatter at 400%. This feast of settings ensures a splash of color that’s both random and mesmerizing, much like nature’s own light show.
Give It the Blur-Touch
To add a touch of realism, convert those vibrant brush strokes into a Smart Object. This step allows you to dive into non-destructive editing. Apply a dash of Motion Blur at a 90-degree angle and a whopping 300 pixel distance, followed by a gentle Gaussian Blur of 5 pixels. The magic really comes alive here as the blurs soften and stretch those lights, mimicking their celestial counterparts.
Smart Objects: The Key to Polygonal Manipulation
Northern Lights have fluid, organic shapes. To mimic this, press onward with your Smart Objects. Create additional layers to add depth, copying and adjusting the brush strokes. Utilize the Transform and Warp tools to tweak and scrunch your design into something brilliantly alive and dynamic. Observe how a touch of flag and arch warp breathes movement into the lights.
The Final Flourish: Perspective and Masking
Experiencing the Northern Lights isn’t a static moment—it’s a dance across the sky. With that concept in mind, get creative with layer masks. Use gradients to subtly fade out sections of your lights, tweaking their transparency for added depth. Fine-tune their position using the Transform tool to angle them just right, creating a perspective that’s both immersive and believable.
Why This Technique Shines
Exploring the creation of Northern Lights in Photoshop isn’t just about the image—it’s about the journey. This tutorial reveals how to wield color, brushes, and filters to transform a digital canvas into an awe-inspiring spectacle, proving that with a dash of creativity and a few Photoshop tricks, the sky—quite literally—is the limit.
So, fire up Photoshop, let your creativity soar, and transform your midnight canvas into an extraordinary Arctic night adorned with resplendent Northern Lights. Let’s reclaim the night sky, one pixel at a time!


