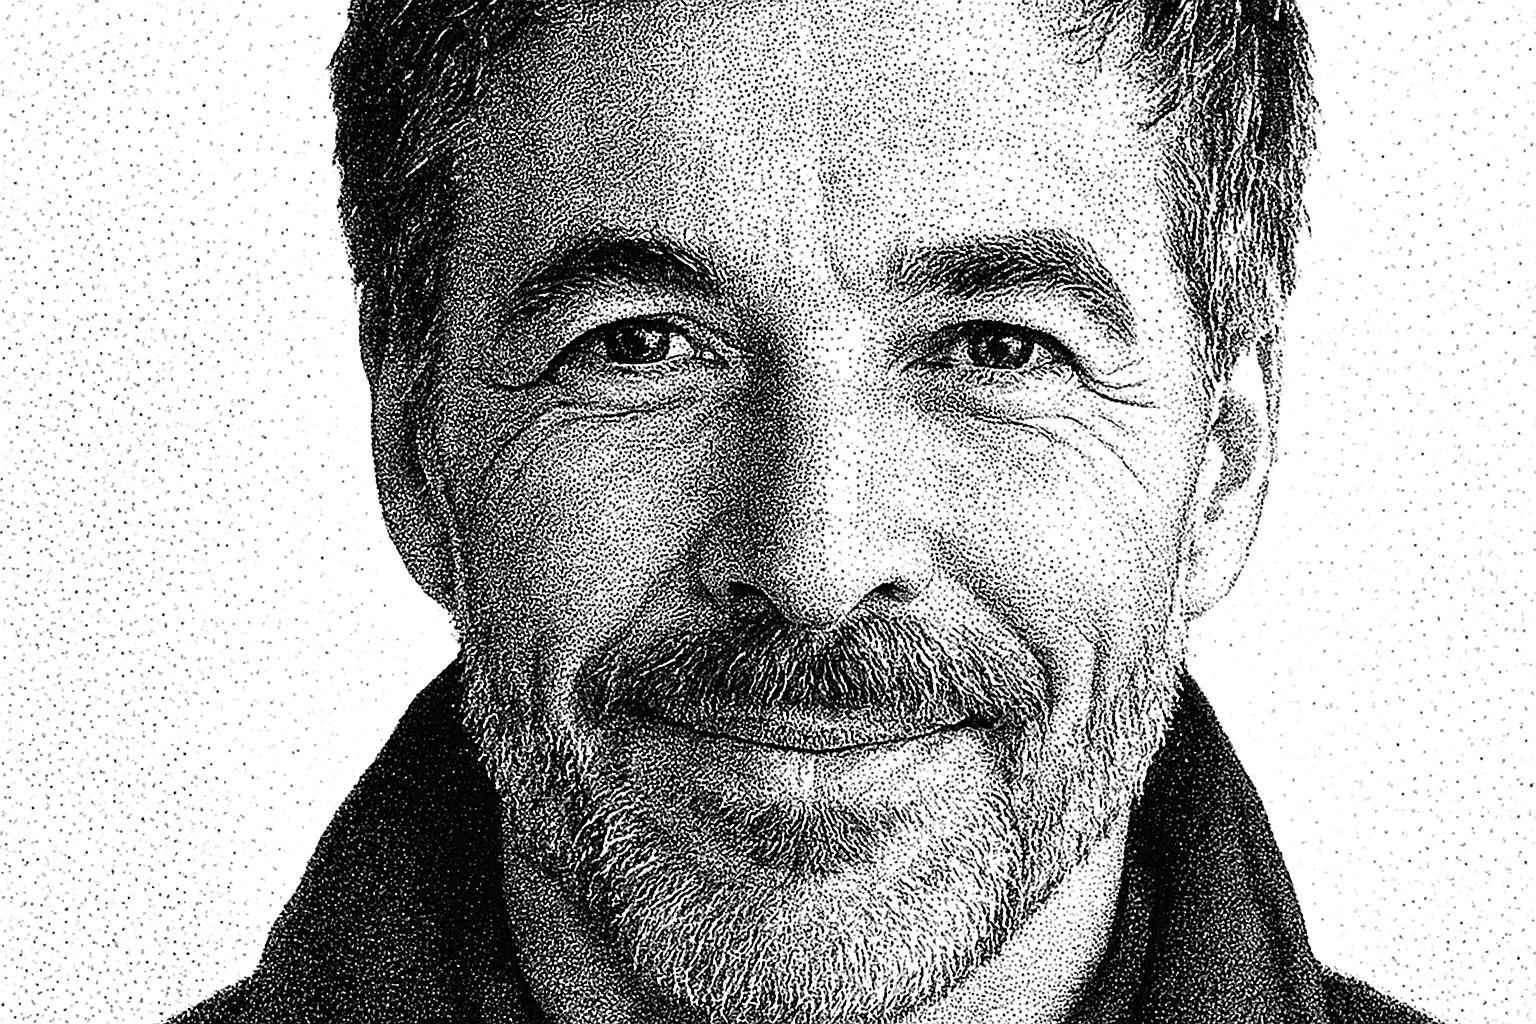
Elevate Your Art: Transform Photos into Timeless Stipple Portraits
Creating art that feels both timeless and fresh can be a tricky endeavor. Enter the stipple portrait, a unique nod to the Hedcut style famously used in The Wall Street Journal’s illustrations. With a few easy steps, you can convert your ordinary photos into masterpieces reminiscent of classic newspaper art. This tutorial will guide you step-by-step in creating a dazzling stipple portrait using Adobe Photoshop. Perfect for artists looking to explore new techniques and photographers aiming to add a vintage flair to their work.
Getting Started: Preparing Your Image
To kick off your creative journey, open up a photo featuring a face you wish to transform. For the best results, a high-resolution image is recommended. Although you can use stock photos from platforms like Shutterstock, personal portraits work wonders too.
1. Crop the Image: Open up the Crop Tool in Photoshop and hit the Clear button to reset Width, Height, and Resolution.
Enter 870 pixels for Height and 150 pixels per inch for Resolution.
Adjust the sides until you’re pleased with the cropping.
2. Fitting Your Image: If your subject isn’t fitting neatly into the frame, use Ctrl or Cmd + 0 to fit it back on the screen.
Selection and Layer Manipulations
To accentuate your subject, you’ll need to separate it from its background using Selection Tools.
- Use the Quick Selection Tool. Photoshop CC 2018 or newer will let you click Select Subject for an automatic selection.
- Adjust selection accuracy using Alt or Option to remove extraneous areas.
- Create a layer mask by clicking the Layer Mask icon.
Get creative with layers:
- New Layer: For a white backdrop, press Ctrl (Cmd) and click the New Layer icon. Press D for default colors and Ctrl (Cmd) + Delete to fill.
- Smart Object Conversion: For editing flexibility, Shift-click all layers, right-click, and choose Convert to Smart Object.
Detailed Adjustments for Lifelike Detail
Breathe life into your portrait with the following adjustments:
1. Shadows/Highlights:
- Go to Image > Adjustments > Shadows/Highlights.
- Set Shadows: Amount – 30%, Tone – 30%, Radius – 10 pixels.
2. Artistic Touch:
- Filter > Artistic > Paint Daubs. Brush Size: 1, Sharpness: 30, Brush Type: Simple.
For further refinement, create a layer copy using Ctrl (Cmd) + J and adjust the following:
- Shadows: 80%, Tone: 20%, Radius: 20 pixels.
- Highlights: Amount – 25%, Tone – 100%, then set Blend Mode to Darken.
The Final Stretch: Duplication & Grayscale Conversion
To immortalize your work:
1. Composite Snapshot: Achieve this by activating the black and white layer, and pressing Alt + Ctrl + Shift + E (Option + Cmd + Shift + E for Mac).
2. New Document Duplication: Duplicate Layer to a new document, granting it a personalized name like “Stipple portrait”.
Transforming into Sculpted Art: Grayscale and Bitmap
Channel your inner artist:
- Convert Image > Mode to Grayscale, then to Bitmap using Diffusion Dither method and a high Output resolution.
- Simplification: Experiments with lesser pixels per inch result in a minimalist stipple configuration.
Color Your Art: Enhancing Stipple Portraits
Should you desire a splash of color, here’s how:
- Gradient Map: Open Adjustments panel, selecting Gradient Map. Choose gradients or forge your own to infuse color.
- Gradient Layer: Add a Gradient Adjustment Layer and sample different Blend Modes like Linear Dodge for vibrant effects.
This method not only brings you intricately detailed stipple portraits but also hands you the keys to blend vintage artistry with modern flair. By mastering these steps, you’ve unlocked a facet of your creativity that resonates with the – old charm meets new wave aesthetic. Explore, create, and let the stipple phenomena thrive in your artistic arsenal!


