
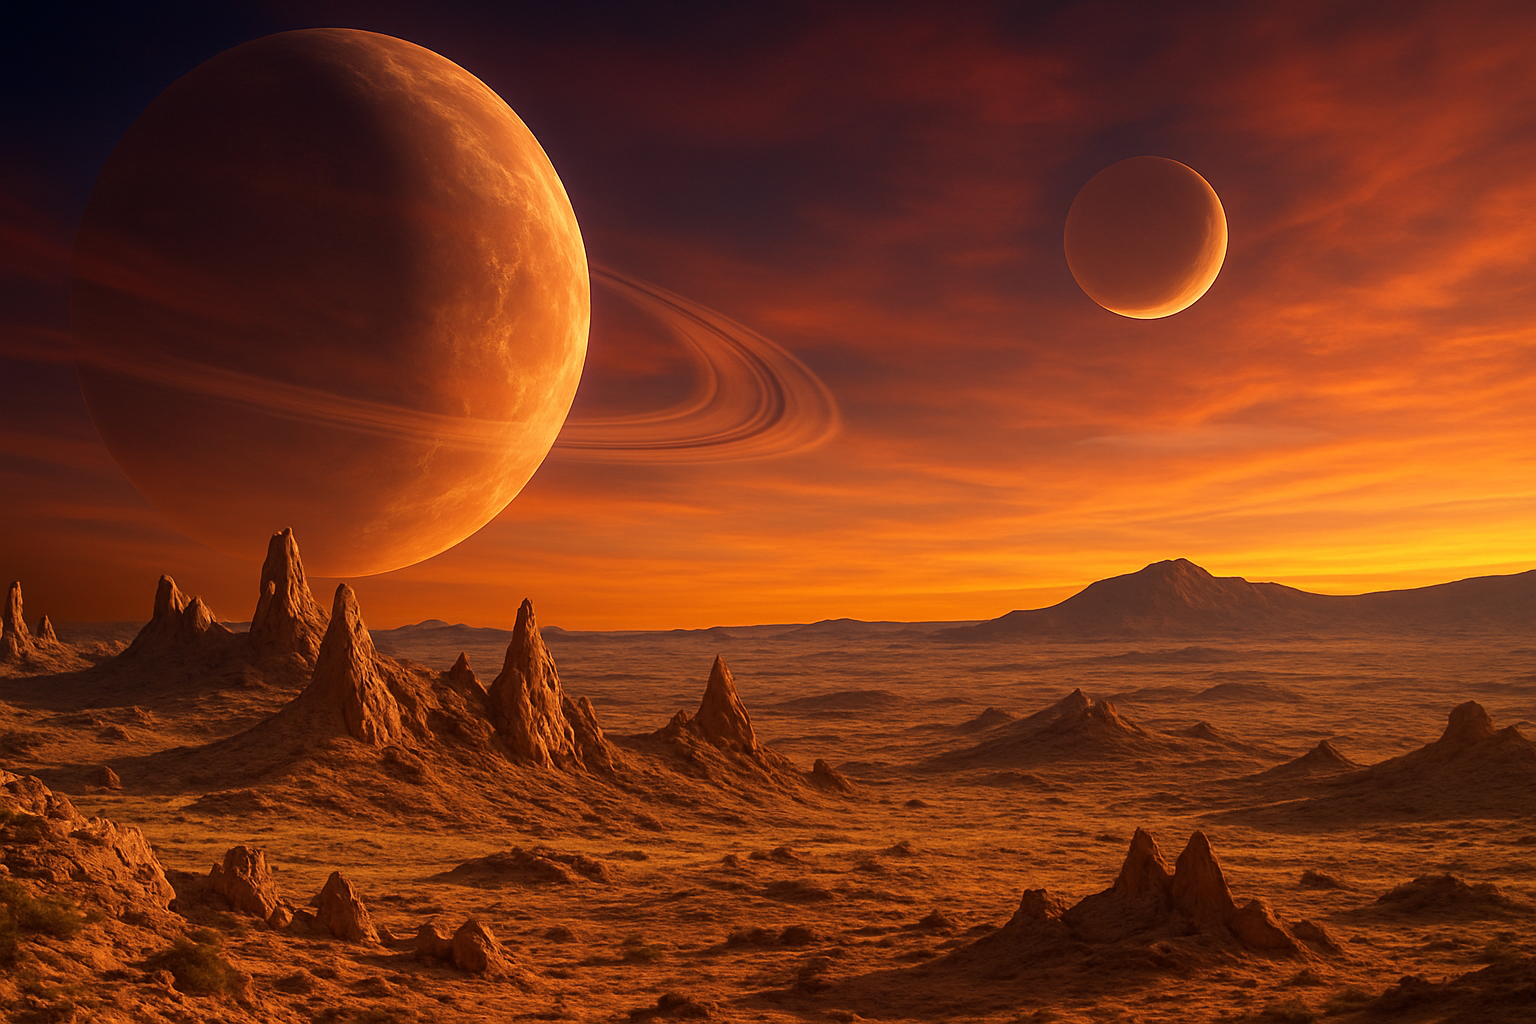
Transforming Your Imagination into Reality with Planetary Digital Art
Ever wondered how to transport your digital art into the cosmos? Whether you’re looking to jazz up an e-book cover, create mind-bending desktop wallpapers, or add a cosmic touch to your design portfolio, creating planets over an alien landscape in Photoshop is both visually stunning and surprisingly simple. With just a few clicks and some creative thinking, you can bring vivid, other-worldly scenes to life. Let’s delve into transforming those cosmic ideas into reality.
The Galactic Essentials: Gathering Your Assets
To kick things off, we’ll need a couple of key ingredients: an alien landscape image and a suitable texture to become the surface of our planet. Often these files can be found in links provided in tutorial descriptions or readily accessible on stock photo sites. With our starting lineup ready, let’s explore the Photoshop magic.
Crafting a Planetary Sphere
1. Texture Transformation: Start by taking your chosen texture and make it spherical.
Go to Filter > Distort > Spherize.
Apply the effect twice to amplify the spherical appearance.
2. Circling Precision: Use the Elliptical Marquee Tool to create a perfect circle selection.
This will become your planet.
Once highlighted, copy this selection onto a new layer.
3. Placement in the Cosmos: With your planet now its own entity, merge it into the alien landscape.
Utilize the Move Tool to place your celestial body where your artistic sense feels it fits best.
Creating a Foreground and Background Dynamic
Now that we have our planet snuggly set in space, let’s create depth by placing it behind some scenic elements of the alien terrain:
1. Selection Savvy: Select the landscape using the Quick Selection Tool.
Refine the edges to ensure a smooth, natural look.
Depending on your version of Photoshop, use either Refine Edge or Select and Mask tools for this part.
2. Layer Magic: Apply the selection to create a new layer with a mask.
This allows you to arrange the planet behind parts of the foreground, adding a believable depth to your composition.
Getting Shady: Adding Shadows
A celestial body isn’t complete without its own set of shadows:
1. Layer and Inverse Magic: By creating an inverse layer mask, you can determine which parts of the planet are in shadow, further anchoring it into your scene.
Feathering this selection can help achieve a smoother gradient of light to shadow.
2. Unlink for Versatility: Feel free to unlink the shadow layer so you can adjust it independently, maintaining flexibility in artistic direction.
Adding Rings to Your Planet
Of course, what’s a planet without an enigmatic set of rings? Here’s how to encircle your planet with style:
1. Building New Assets: Create a new document, and use the Ellipse Tool to craft concentric rings.
Apply a stroke setting to the shapes and convert them into smart objects for future editing prowess.
2. Blur and Angle: Add a touch of Gaussian Blur to soften the lines to enhance realism.
Then, transport your rings to the planetary document, positioning them using Transform tools until you’re satisfied.
Blend Modes & Final Adjustments
To polish your cosmic creation, set the blend mode of your rings to Overlay and reduce opacity for a subtle effect. Hide any parts of the rings that fall behind the planet using intuitive layer masks.
Finally, take a moment to explore different opacities and blend modes, as these can pivot your art from cool concept to jaw-droppingly surreal. And there we have it—a landscape ready for digital exploration and creative storytelling.
Creating planetary scenes can be an enchanting endeavor, teeming with opportunities for exploration within the digital art world. It’s your ever-expanding universe—so go ahead, revel in the creative gravity of Photoshop and see what stellar designs you can launch next.
And remember, stay curious, and may your creative efforts be as limitless as the vast cosmos you’re digitally traversing.





