
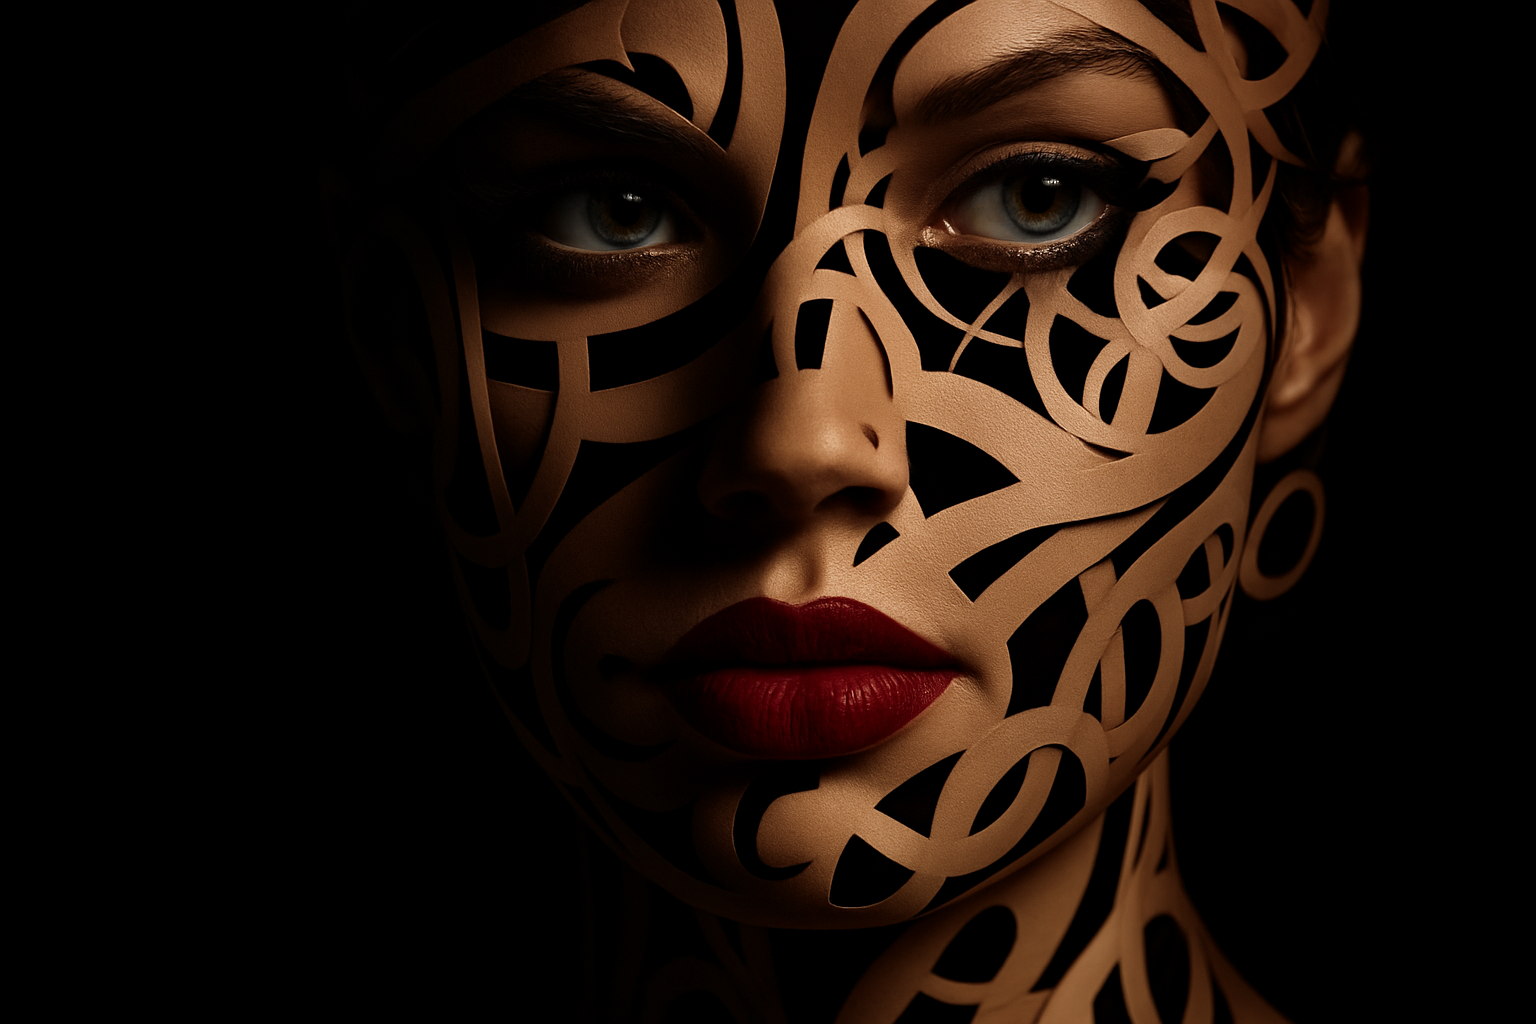
Turn Your Portraits into Unique Vector Art
There’s something undeniably captivating about vector art, especially when it intersects with photography. The technique we’ll explore allows you to overlay vector shapes onto a portrait, creating a visually dynamic and powerful piece of art. This process is not only about applying shapes but also understanding how to enhance the contours and expressions of a face using tools like displacement maps and vector brushes.
Getting Started: What You’ll Need
Before plunging into Photoshop, arm yourself with a high-resolution portrait. Make sure it’s focused with some shadowy areas for added depth. Shutterstock is a reliable source for quality images if you’re looking for a suggestion. Also, grab a custom set of brushes from Brusheezy. We’ve got a ready-to-use set for you, but feel free to explore their vast offerings.
Creating Your Displacement Map
Displacement maps are crucial as they allow your vector shapes to seamlessly wrap around the contours of your image. Here’s a quick breakdown:
1. Duplicate Your Layer: Press Ctrl + J (Cmd on Mac) to duplicate your subject layer.
2. Desaturate: Remove the color by pressing Ctrl + Shift + U.
3. Gaussian Blur: Head over to Filter > Blur > Gaussian Blur. Blur it at about 4 pixels, but feel free to adjust based on your image size.
4. Save Your Map: As a PSD, save it, naming it “Displacement” for easy access.
Begin Your Vector Transformation
With your map ready, it’s time to work on the selection:
- Use the Quick Selection Tool or the “Select Subject” feature (for CC 2018 and later) to highlight the face.
- Create a layer mask to focus on your subject.
- Add a new layer filled with black behind your subject for contrast.
Don’t forget to convert your subject into a Smart Object—this keeps your workspace tidy and integrates the Layer Mask seamlessly.
Selecting and Stamping Vector Shapes
Onto the fun part—applying vector shapes:
- With your brush tool, pick a shape from the newly installed set. These are large at 2500 pixels, but resizing is easy.
- Rotate and place your brush shape so it complements the face’s contours. A shape aligning with the jawline? Perfection.
Once you’re satisfied, use it and create a clipping mask to keep everything tidy and layered.
Adding Depth with Drop Shadows
Enhance the appearance with some drop shadows:
- Set your Blend Mode to “Linear Burn” with an opacity of 35%.
- Adjust the Distance, Spread, and Size based on your image’s resolution.
Layering and Finessing
Repeat the process, layering different vector shapes onto your image while ensuring you leave some space between them—this enhances the final look.
- Group the layers into a folder and ensure the shapes stay inside your boundary with a layer mask.
Finalize with Shadows and Vibrancy
Finishing touches:
- Add a soft shadow around the face for an added dramatic effect.
- Increase vibrance through the Adjustment Layers to make sure those colors pop—Vibrance is great because it avoids oversaturating skin tones.
With these steps, you’ve not only created a visually stunning piece but also learned some glorious Photoshop techniques along the way. The beauty of this method lies in its flexibility and the creative freedom it offers, allowing endless variations for each portrait you touch. Happy Photoshopping, and remember to keep those creative juices flowing!





