Turning Ordinary Shapes into Glass Magic with Photoshop
Ever wondered how to morph plain shapes into stunning glass-like masterpieces using Photoshop? Join us as we dive into this magical journey of creativity where transparency meets elegance. Whether it’s for your next project or just to impress yourself, mastering this technique will open new creative vistas.
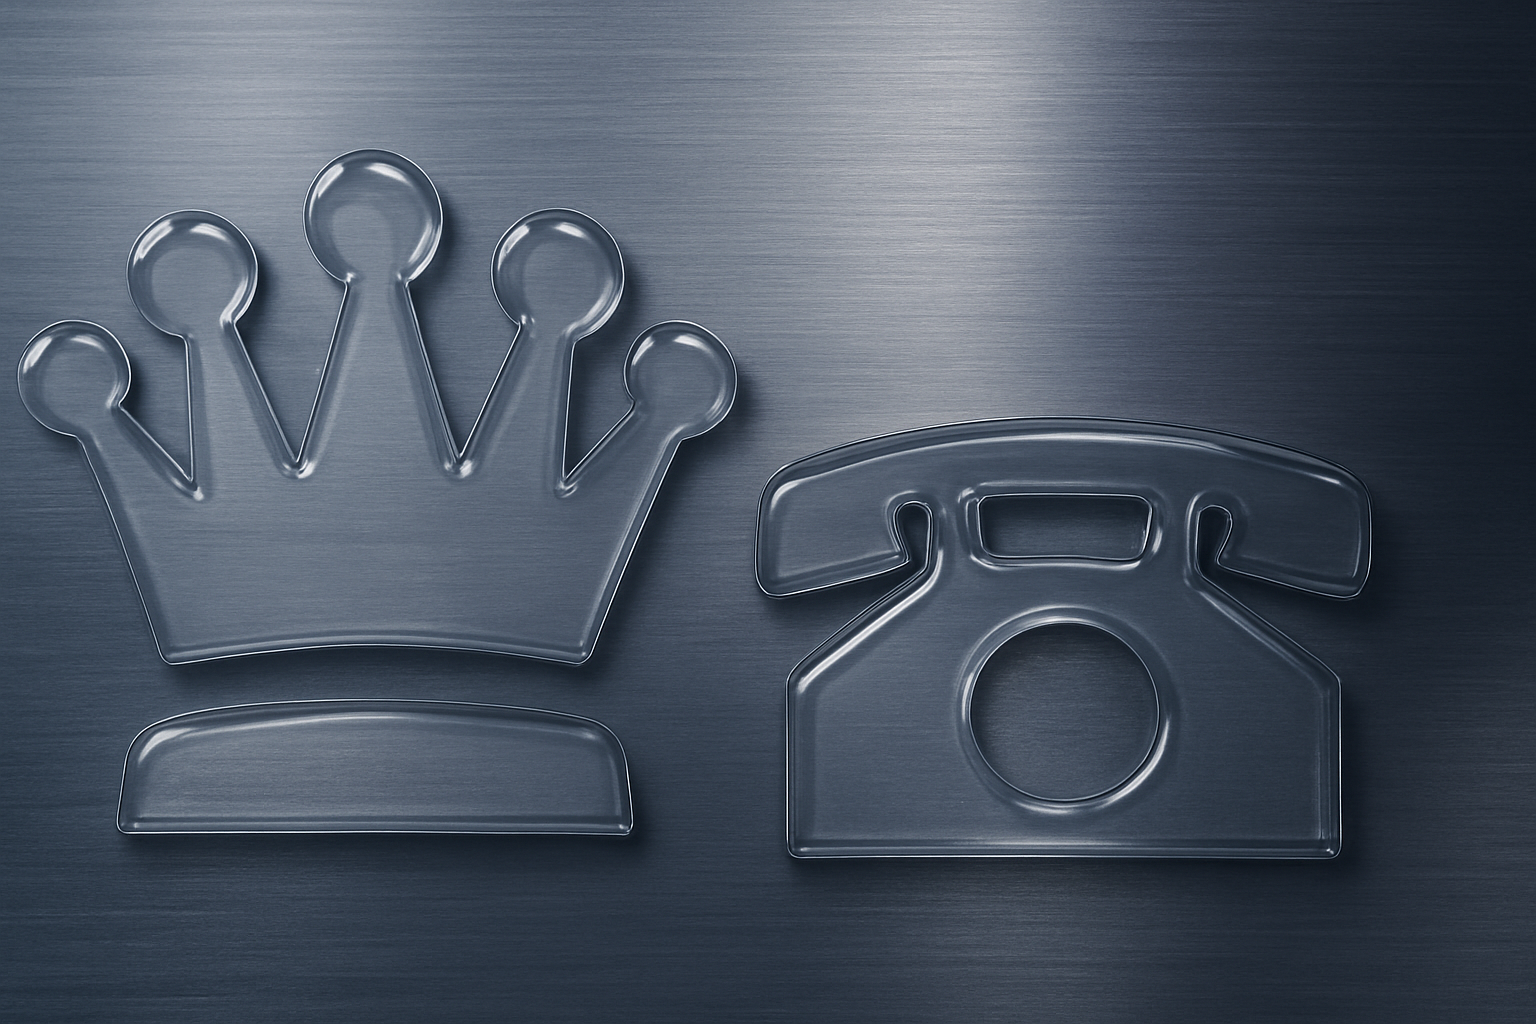
Setting the Background: An Ode to Steel
Before venturing into the reflective realms of glass, you need the perfect stage. Enter the brushed steel texture—a brisk, modern backdrop that enriches the scene with a touch of industrial flair. You can use the one provided or substitute with any texture of your liking, allowing for complete personalization.
The Shape of Creativity
In the heart of Photoshop, lurks a versatile army of shapes just waiting to be transformed. Begin by selecting one and placing it on a new layer. This is your canvas, your core. Adjust your foreground and background to black and white with a mere tap of ‘d’ on your keyboard. Adobe’s Custom Shape Tool will be your best friend here.
- Choose Your Weapon: Select ‘Pixels’ for your shape settings to begin.
- Start Scaling: From the center of your document, expand outward, asserting control over proportions and positioning with ease.
Centering & Stability: The Smart Object
Once your shape looks just about right, it’s time to convert it into a Smart Object. Why bother? It’s simple: adaptability at its finest. A Smart Object lets you tweak to your heart’s content without a worry about losing quality or painstakingly retracing your steps.
- Position with Precision: Use the Move Tool to align vertically and horizontally.
- Invisible Yet Visible: Set the fill to zero. Poof! The shape vanishes, yet all layer styles will maintain their visibility, ready for their moment of brilliance.
The Magic of Layer Styles
Creating the illusion of glass hinges on layer styles. The ‘Bevel and Emboss’ function is your primary tool for simulating surface shine and depth.
- Inner Bevel Basics: Smooth technique with 100% depth, size at 15 pixels, and softness at 10.
- Contouring for Realism: From valleys to coves, contours refine the genuine glass look—the contrast between light and shadow imparts the texture.
Inner Glows & Satins: Adding Depth
The secrets to vivid glass effects lie in subtlety and precision. Inner glow effects imitate internal reflections.
- Fade Into View: Overlay blend modes and softer techniques lend an ethereal quality that mimics the real play of light and dark.
- Play with Satin: Sprinkle in some ‘Color Dodge’. It enhances brightness and simulates the play of light across reflective surfaces, akin to satin textures.
Don’t Forget the Shadows
Shadows are to graphics what salt is to cooking: sometimes you can’t taste them, but their absence is distinctly felt. Utilize them well:
- Drop Shadows: Define distance and spread to cast realistic shadows, providing dimension and situational context.
Final Touches: The Glittering Details
After intricate applications and judgment calls, the keys to mastering a glass effect lie in perfecting the details.
- Selection Mastery: By shifting your layers into a folder and inverting your layer mask, you ensure the background interacts properly with your glass shape.
- Spherize Technique: Strategically distorting the background inside the glass contours is paramount for maintaining the illusion of curvature—a gentle nudge towards reality.
By framing shapes within the smoky afternoon light of Photoshop, we draw out their inner personalities, amplifying simplicity into complexity with whimsical clarity. This eye-catching trick will not only catch others’ eyes but enhance your digital toolkit.
Now that you’re equipped with these transformative techniques, unleash your new skills onto the digital canvas. As always, Adobe Photoshop provides a whole suite of tools to create, morph, and innovate beyond glass designs. Wouldn’t you agree? So, what are you waiting for? Transform a humble shape into dazzling digital art today!


