
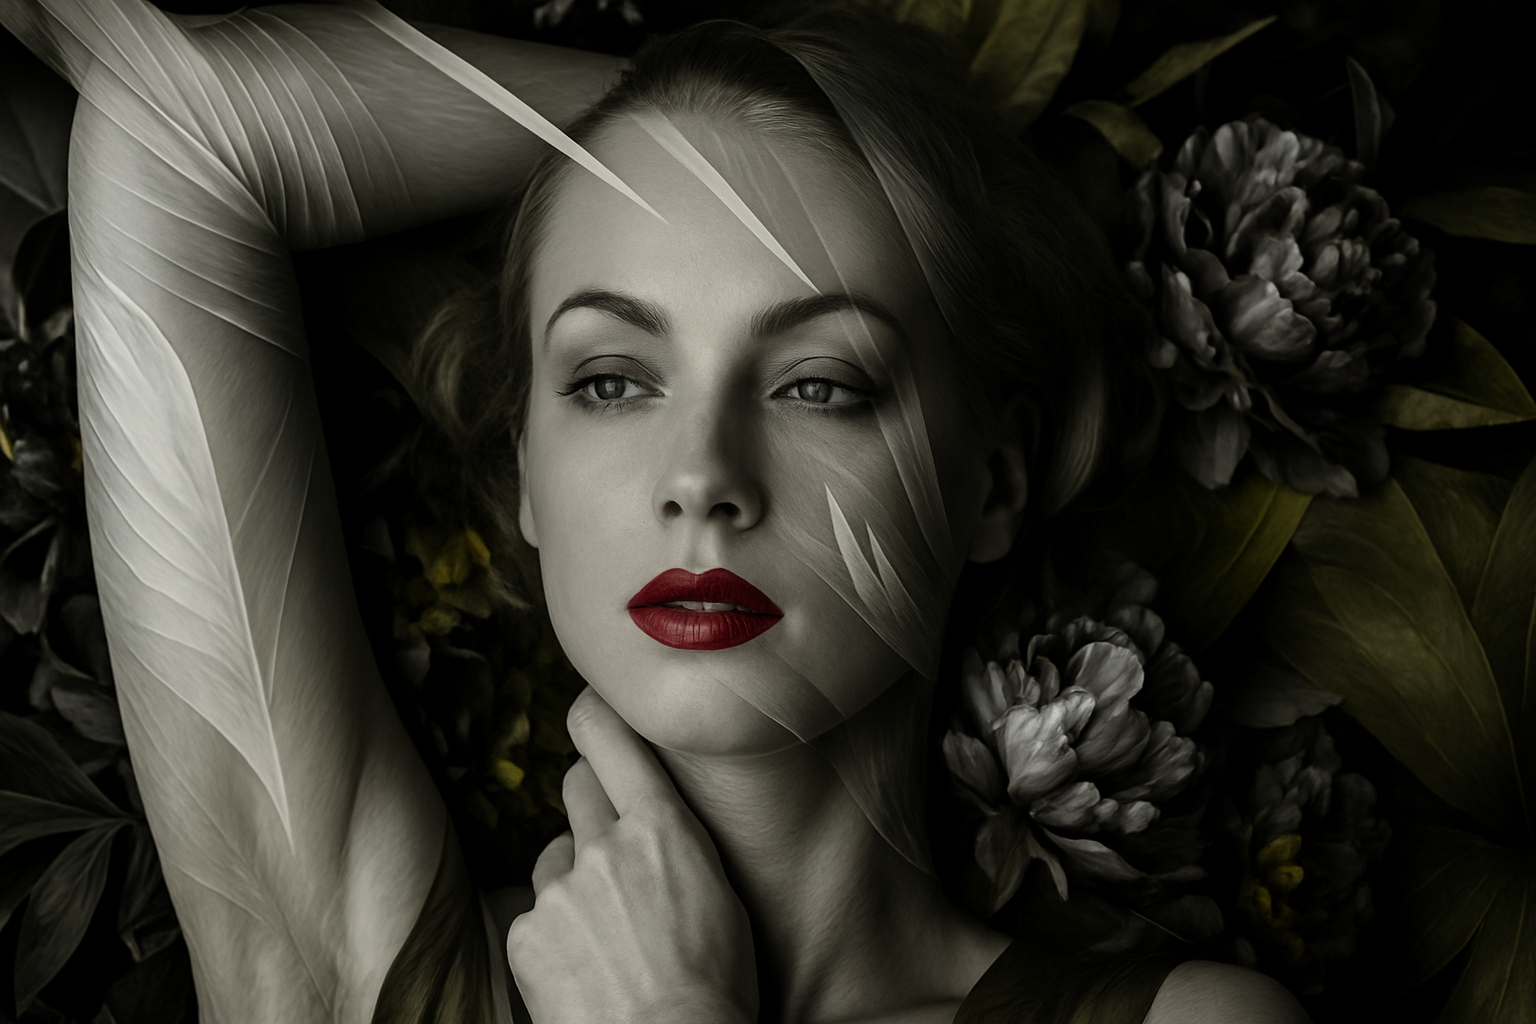
Unleash the Power of Color Channels for Artistic Imagery
When it comes to Adobe Photoshop, sometimes the most overlooked tools can produce the most stunning results. Today, we’re unpacking the secrets of the “Apply Image” command—a tool that’s like a secret handshake among Photoshop aficionados. This command unlocks avenues to transform color photos into dynamically artistic creations by targeting individual red, green, and blue channels.
Setting the Scene
Before you dive into the creative process, open a color photo you’d like to experiment with. The image should represent the mood or style you want to enhance. For practice, you might consider downloading a starter image from resources like Shutterstock. Once you have your canvas ready, make a copy of your image by pressing Ctrl or Cmd + J. This preserves the original photo, giving you a safety net to fall back on.
Diving into the Apply Image Command
To access the Apply Image feature, navigate through the menu: Image > Apply Image. Keep in mind this tool won’t work on smart objects—an important detail for planning your workflow, as Apply Image merges color channels (red, green, or blue) using blend modes and layer masks.
Here’s the magic:
- Source vs. Target: The window displays options for ‘Source’ and ‘Target’. The source, essentially, is your elements’ powerhouse shaping your target image.
- Channeling Color: By selecting from red, green, or blue channels, you’re directing Photoshop to highlight these specific components in your image. The interplay of colors can be as subtle or dramatic as your heart desires, made evident by toggling through various blend modes with your keyboard arrows.
Adobe’s page on applying images goes into more technical detail on this feature.
Blend Modes and Beyond
Sifting through blend modes may seem tedious, but that’s where creativity kicks in. Darkening effects on a blue channel might surprise you with a result reminiscent of classic noir vibes. Not liking the intensity? Adjust the opacity with ease.
Want to get playful with what you bring back into the spotlight from your original image? Add a layer mask beside your active layer. This enables precise control over which parts of the image reemerge, turning what once was a monolith into a detailed tapestry.
Pro Tips:
- Zoom in (
Z) on details you wish to highlight. - Choose a soft round brush (
B) with a low hardness for gentle transitions. - Use bracket keys
[ ]to adjust brush size on-the-fly.
Adding Another Dimension
Ever considered blending two photos using Apply Image? First, ensure both images share the same resolution and dimensions. This uniformity is non-negotiable for the operation’s success. To embed a second picture seamlessly, create a composite snapshot by pressing Alt + Ctrl + Shift + E on Windows or Option + Cmd + Shift + E on a Mac.
With the new layer active, Apply Image once again becomes your playground—this time blending two separate memories into one artwork.
Taking Your Creations to the Next Level
Apply Image is a portal to endless experimentation, unleashing an artist’s intuition backed by logic and iteration. While each image carries distinct facets, combining each channel with assorted blend modes is akin to mixing color palettes on a painter’s easel. Craft your unique masterpiece by toying with opacities and masks—encourage yourself to break free from the norm.
In the labyrinth of Photoshop’s capabilities, Apply Image is your guiding light. For a more comprehensive journey into what Photoshop can offer, consider exploring Adobe’s contemporary software offerings, such as Adobe Creative Cloud which keeps your toolbox both sharp and up-to-date.
So, why not dive in and let your photos tell their story in hues and channels that are uniquely their own?





