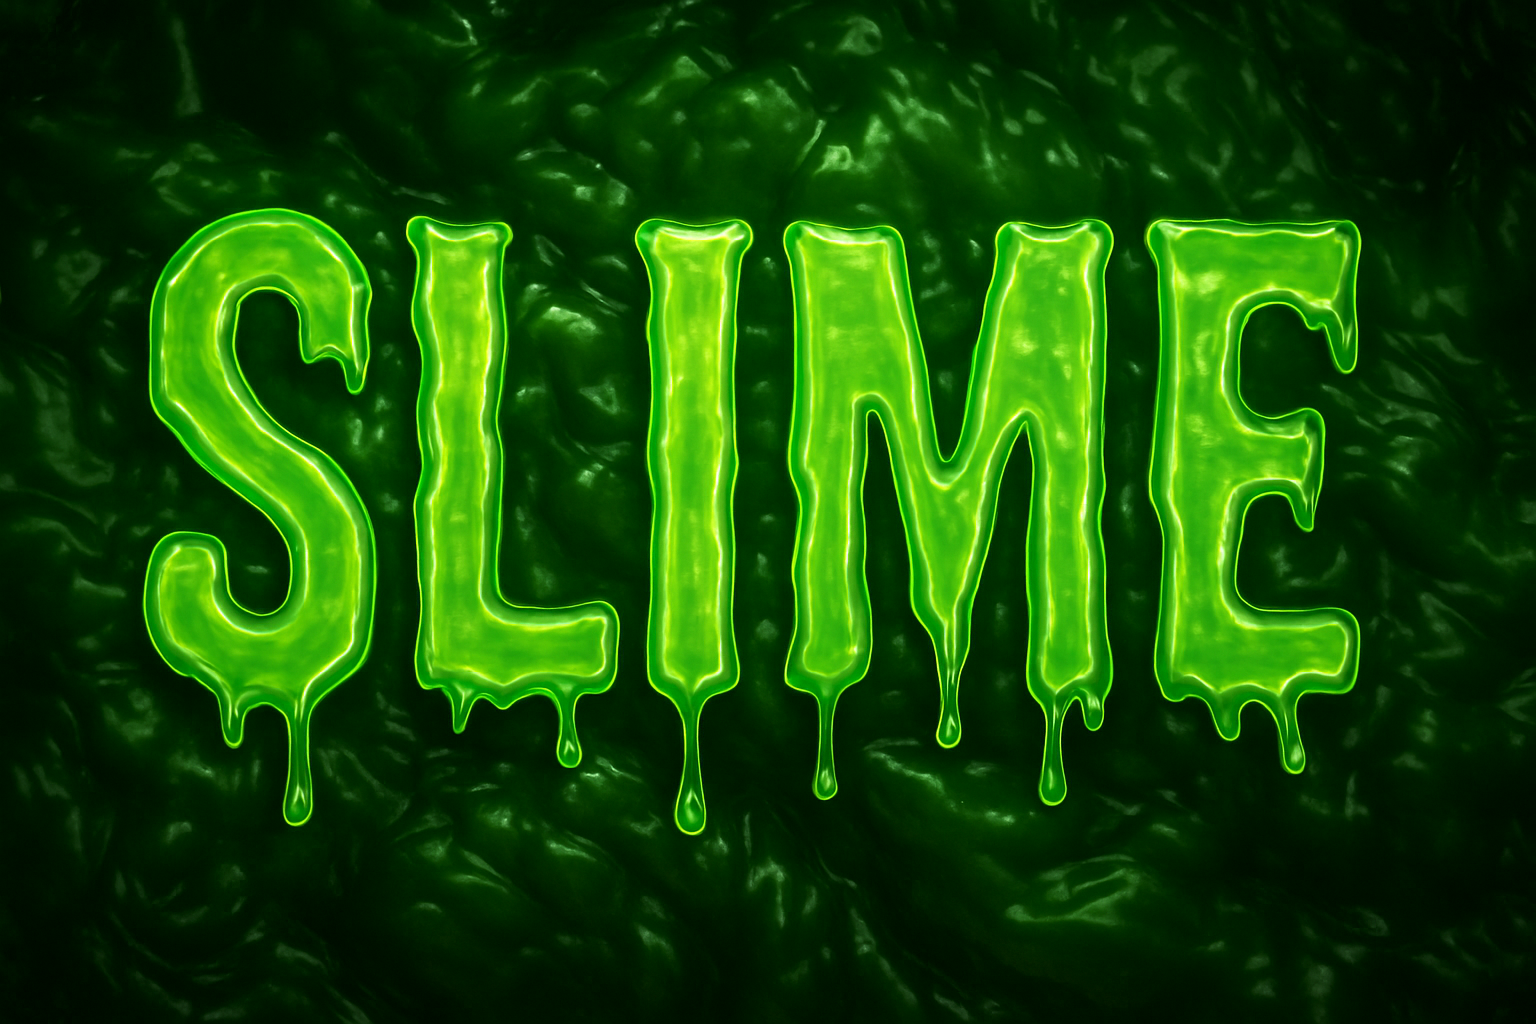
Dive into the Gooey World of Green Slime Typography
Feeling slimy? Want to add a splash of grotesque green slime to your design works? Whether you’re designing for Halloween or just experiencing a mid-90s Nickelodeon throwback moment, this Photoshop tutorial can inject a full dose of nostalgia with every drippy letter. Let’s explore how to craft text that looks like it’s been soaked in ooze and made its home in the underbelly of a swamp.
Set the Stage with Your Slime Background
Our first step involves getting on the same wavelength with some sludgy ambiance. For those who enjoy a good retro journey, this green slime background was whipped up years ago in After Effects. But don’t worry, you can get the look without the time travel. If you’re not about making your own background from scratch, links to download the background are available. This gooey backdrop sets the tone for our grueling (but creatively satisfying) journey ahead.
Choosing the Right Font for Maximum Goo Effect
Feel free to get expressive with your typography choice, but if you’d like to mimic this tutorial to a slime-drip consistency, use the “Shlop” font. It’s not exactly a name you’d correlate with elegance, but it’s perfect for bringing out the dripping essence of our beloved ooze. The jagged, varying line weights and impracticality for any formal use make it uniquely suited for this goopy escapade.
Establishing Your Text Foundation
- Type Your Text: With your Horizontal Type Tool, insert your chosen slime-laden words (I’ve chosen “Picker” for illustrative purposes here).
- Make It a Smart Object: Convert your text to a Smart Object—this protects our initial text and lets us add all sorts of slime modifications non-destructively, almost like a protective coat of K-Y Jelly.
- Multiply Everything by Zero: Reduce the fill of your copied text layers to zero. This turns them invisible but keeps the sight of filters we’re going to pile on. Consider it Photoshop’s sleight-of-hand trick.
Apply Layer Styles to Intensify the Goo
We’re diving into the core of the process—adding layer styles that create convincing textures and highlights which replicate slime. Each style contributes a vital feature, from luminous refractions to oily sheens. Set your stage with Bevel and Emboss, perfecting parameters such as smoothness, size, and contour. Adjusting angle settings and light source types like Linear Light, Color Burn, and Multiply, allows a more realistic and dynamic appearance.
Crafting Texture with Depth and Reflection
Creating goo isn’t complete without some slick reflections and bubbles. You’ll add:
- Highlight Honesty with Plastic Wrap: Under Filter, find your way to the Artistic folder and select Plastic Wrap—like covering leftovers, but for slime.
- Embrace Gaussian Blur: Smooth out the rougher bits with a little Gaussian Blur, softening while keeping those textual highlights bold.
- Layer in Bubbles & Texture: Use the bevel settings to add air bubbles drifting through the slime. Add texture to sell the green slime illusion as authentic and gritty. “Gray Granite” pattern overlay can help with this. It gives our slime a chunky, tactile character.
Bring Light and Glow to Your Swampy Typography
Our mission is clear—achieve maximal glow and highlight the maze of reflections within each character. Painting with drop shadows and outer glow styles, creating spectral effects, and lighting up the darkest depths with your personal charted coordinates. Expect the angles to dance and the size of your pixels to grow, mirroring slimy eeriness, all while preserved in ghostly silence.
Layer Cheat Code Table:
| Style | Technique | Essential Mods |
|---|---|---|
| Bevel & Emboss | Smooth, Inner | Depth: 130-135%, Size: 25-80 pixels |
| Gradient Overlay | Linear | Scale: 100%, Colors: Varied between D77FFF |
| Gloss Contours | Assorted Presets | From Cone Inverted to Peak |
Conclusively Oozy
Marvel at what you’ve done. Conveyors of goopy, slippery typography, now snug within your digital belt. What’s better than dabbling in nostalgia-evoking fonts paired with eerily textured layers? Channel your creative spirit and let the slime spill freely into whatever project requires an extra bit of ooze and goo.
Long live the slime, and as always, happy Photoshopping!


