
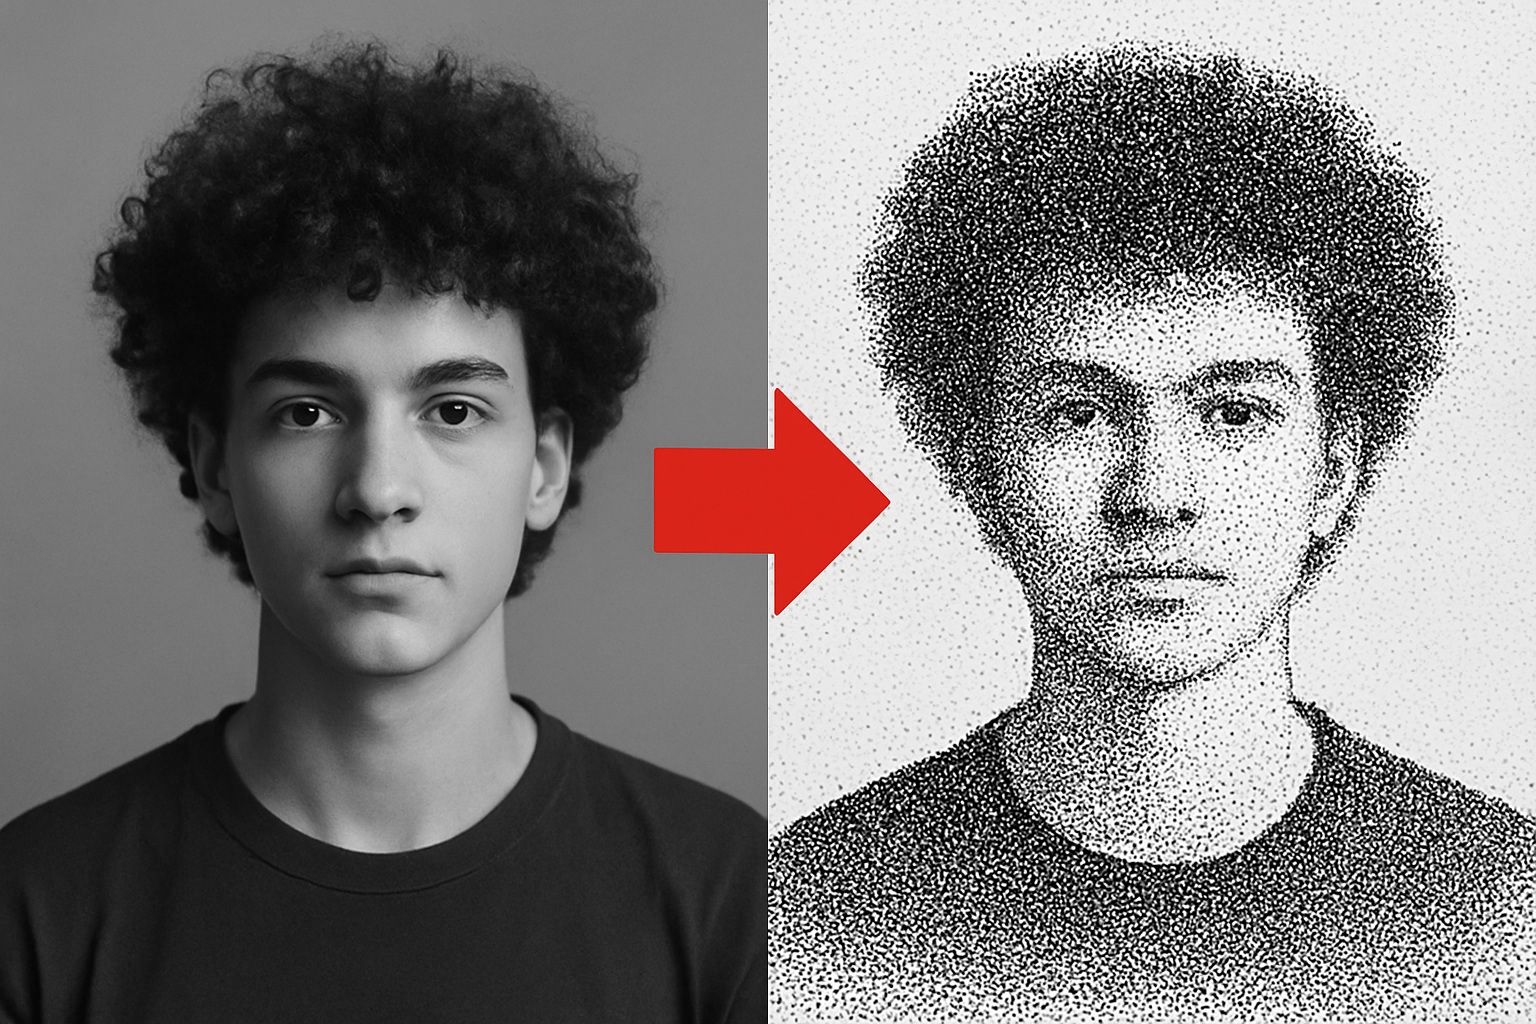
Unleash Your Inner Artist with Digital Tools
Who needs a paintbrush when you’ve got Photoshop? Imagine turning your ordinary photos into mesmerizing ink stipple artwork that looks freshly crafted by the hands of a skilled illustrator. With just a handful of simple steps, you can conjure up this intricate, dotted effect with Photoshop’s array of built-in wizardry. The best part? You don’t even need to know what “stippling” means.
Preparing Your Canvas
Before we jump into the creative magic, let’s discuss the best setup for your project. Your journey begins by selecting a photo with high contrast, whether it’s in its vibrant, multicolored form or stripped to black and white. Greater contrast ensures that the stippling process will have a well-defined outcome, so choose wisely.
Steps to Prepare Your Image:
- Convert to Grayscale: Open your chosen image in Photoshop and head to the Image menu. Select ‘Mode’ and switch to ‘Grayscale’. Photoshop may give a friendly reminder about ditching color—disregard this. We’re going full monochrome.
- Tone Adjustments: Embark on tonal transformation by pressing
Ctrl(orCmd) +Shift+L. This swift keystroke invokes the ‘Auto Tone’ function, evening out the shades for optimal stippling.
Downsize to Upsize Potential
Enter the paradoxical illusion of scaling—like the time-tested technique of blowing up a balloon animal—but infinitely less fragile. Smaller images offer sharper stipple effects, so we need to shrink our photo a bit before embellishing it with digital dots.
How to Resize:
- Navigate to ‘Image’ and then ‘Image Size’.
- Set the height between 300 and 400 pixels. Width? Resolution? Not crucial at this stage.
- Fit the image by pressing
Ctrl(orCmd) +0.
The Art of Bitmap and Dithering
In the mystical realm of Photoshop, bitmap is synonymous with nuance and stipple. By utilizing ‘Diffusion Dither’, you’re effectively whispering to Photoshop, “Hey, let’s add some texture, shall we?”
Bitmap Conversion:
- Back to the ‘Image’ menu, cruise to ‘Mode’, and select ‘Bitmap’.
- Under the Method option, choose ‘Diffusion Dither’—embrace the chaos but keep resolution consistent.
Enlarge Without Losing Precision
This is where we crank it up to full-blown grandeur. Enlarge your image, while preserving its stipple texture, ensuring that the details don’t pixelate as they stretch across digital space.
Steps to Enlarge:
- Once again, visit ‘Image’ and ‘Image Size’.
- Go lavish—with either the width or height pumping up to 1000 pixels.
- Use
Ctrl(orCmd) +0to squeeze it back onto the canvas.
Threshold Magic – Finishing Touches
This final act of visual alchemy will finish your stippling journey. With the ‘Threshold’ adjustment, you dictate the fine line between black and white—between subtle stipple and glaring boldness.
Threshold Setup:
- Return to ‘Image’, select ‘Adjustments’, and then ‘Threshold’.
- Leave it be at 128. Simple yet effective.
And voilà! Your photo now embodies the vintage-yet-modern allure of ink stippling— without the smudgy ink stains. This technique is perfect for anyone wishing to breathe artistic flair into their personal photos or professional designs. It’s a digital craft that’s as momentarily mesmerizing as your last YouTube rabbit hole adventure.
Remember, each photo invites a unique stipple tale, offering endless experimentation and creativity. Enjoy turning your photo albums into a gallery of stipple masterpieces!





