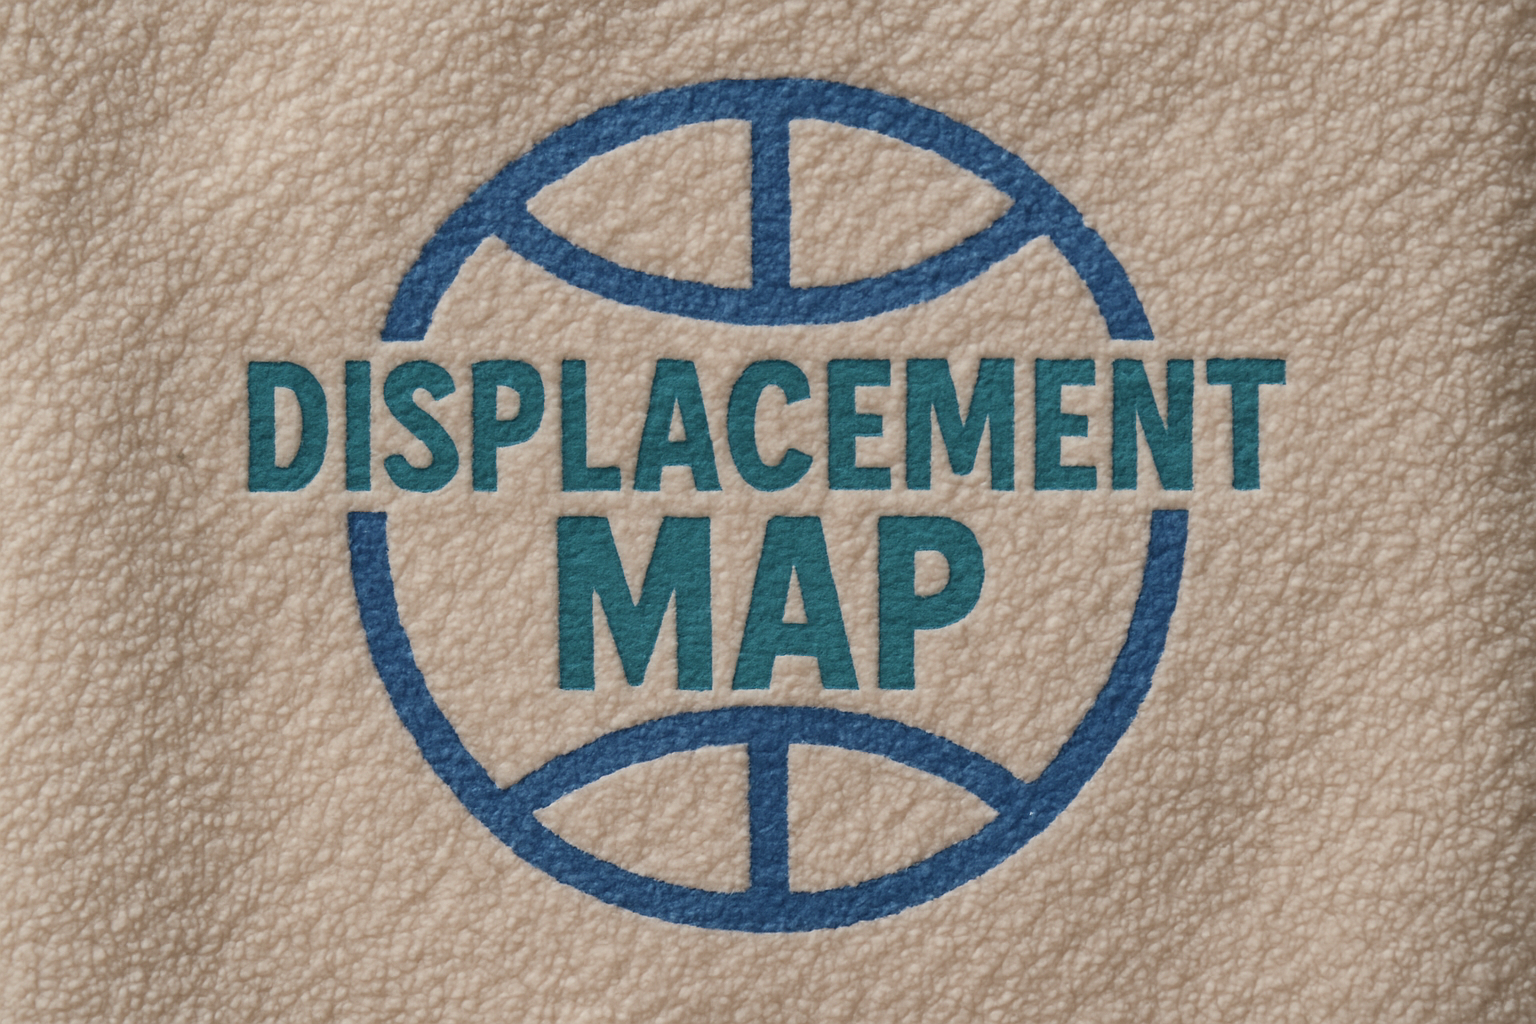
Unlock the Secret World of Fusing Text and Graphics onto Complex Textures
Imagine a world where text and graphics naturally meld onto any surface texture, whether it’s smooth, coarse, or downright pesky like a terrycloth towel. A Photoshop technique so astounding, it might just get your creative eyeballs rolling. Yes, we’re diving deep into the land of displacement maps and blend modes today. Buckle up, because this guide is about to flip your graphic design game on its head.
Displacement Maps: The Magic Unveiled
So, what’s all the fuss about displacement maps? Simply put, they allow you to seamlessly project text and graphics onto various textures by adapting to the surface’s unique contours. This technique not only imbues your images with a more realistic touch but also breathes life into your overall design.
Think of tweaks in Photoshop as a kind of magic wand for your projects. It’s like hopping into Hogwarts’ potions class—a little dash of Gaussian blur here, some brightness and contrast adjustments there—and voilà, you’ve got your displacement map ready to wrap your text and graphics around any complex surface.
Getting Started with Your Texture
Before diving headfirst into Photoshop heaven, you’ll need a textured base. A terrycloth towel image, for example, is an excellent starting point. Make sure your texture is high-quality, as many details as possible will make the final graphic look more realistic.
Steps to Convert Your Texture into a Masterpiece:
1. Smart Object Conversion: Transform your texture into a Smart Object to work each magic step non-destructively. This way, you can click away without the regrets hitting the undo button would bring.
2. Displacing with a Blur: Use Gaussian blur on your displacement map to soften the edges of your texture map. A 1-pixel blur is often sufficient for good measure.
3. Adjust Brightness and Contrast: It’s often easier to see your displacement map’s intricacies when viewed as grayscale. Here, Black and White adjustment layers are your friends.
4. Crafting Your Displacement Map: Merge your layers into one Smart Object and save it as a PSD file. This map is your text and graphic’s new best friend.
Customizing Text and Graphics
Channel your inner Picasso by melding your favorite fonts with custom shapes. Choosing the right font and object to personalize your campaign is key for that wow-factor.
- Using the Horizontal Type Tool: Pick a font that suits your project. “Bebas Neue Regular” is an excellent choice if you’re looking for something bold.
- Placing Text and Graphics: After typing out the desired text, use the Move Tool to adjust its placement. For added flair, create new custom shapes with the “Custom Shape Tool” to accompany your text.
- Incorporating Layer Masks: These masks will be your saving grace for altering graphics to perfectly fit your text and image layout. Think of them as selective erasers that add rather than detract.
The Final Touch: Layer Styles & Displacement
Two key features will turn your Smart Object into a visually cohesive design: the Color Overlay and Bevel & Emboss in the Layer Style window.
- Color Overlay: Choose a muted color for your overlay using “Linear Burn” as the Blend Mode to ensure your text and graphics blend naturally with your texture.
- Bevel & Emboss: Use “Pillow Emboss” with smooth technique to add depth. Amplify with depth percentages and fine-tune with global light settings for more dramatic effects.
- Activate Your Displacement Map: Finally, use the “Displace” filter to wrap your graphic seamlessly over the loud textures of your image. No distortion left unchecked!
Playing with Colors
For those extra ambitious, feeling like spicing things up with a dash of secondary color? Layer masks empower us yet again to colorize different parts of the graphic independently.
- Color Mutations: Extract sections using the Marquee Tool and create additional Color Overlay adjustments for personalized vibrancy.
Voila! You now possess the arsenal to perform Photoshop wizardry with displacement maps, seamlessly fusing text and graphics onto any textured surface. Whether designing for a client or just for fun, these principles will elevate your work to new creative dimensions.
Happy Photoshopping!


