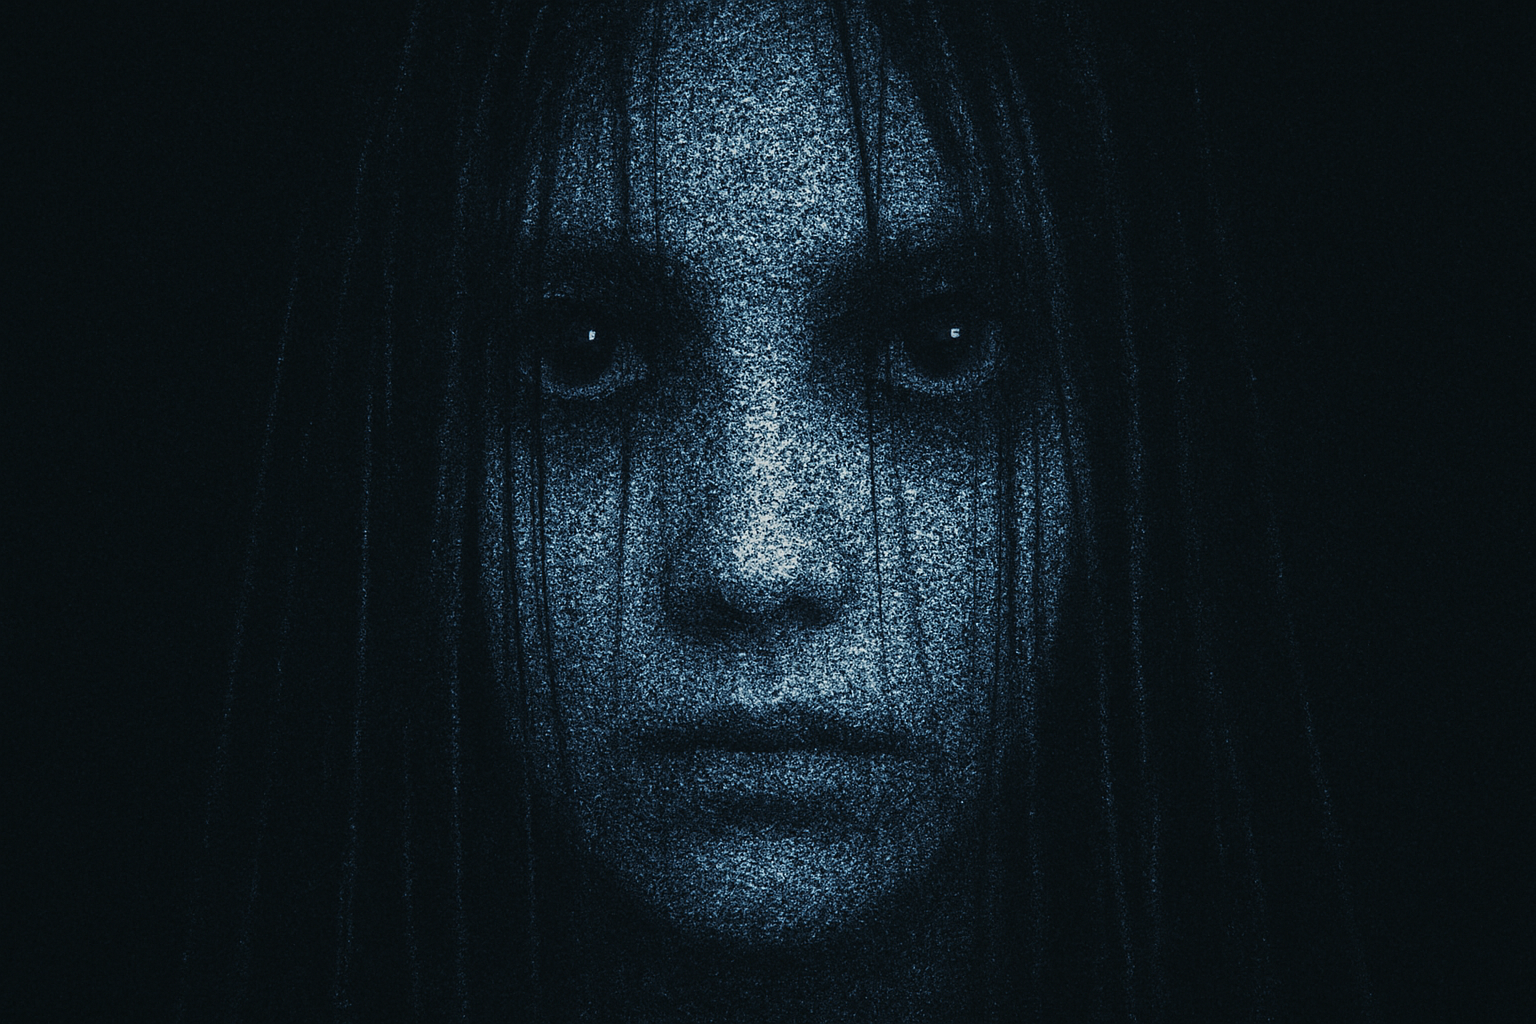
Unleash Your Dark Side with a Creepy Face Portrait and Movie Poster Design
Ah, the allure of horror movies. From classic hauntings to chilling thrillers, nothing quite captures the imagination like a well-designed horror poster. With just the right balance of eerie visuals and spine-tingling typography, you can transform an ordinary face into a dark, creepy masterpiece worthy of any horror film festival. And the best part? You don’t need to be a seasoned graphic designer to pull it off. Thanks to Photoshop and a handy template, creating a movie poster that’s both terrifying and tantalizing is easier than you think.
Crafting the Creepy: A Step-by-Step Guide
Ready to dive into the dark arts of Photoshop? Let’s walk through transforming a regular face into a haunting, ghostly figure, seamlessly integrated into your custom movie poster. This project doesn’t just promise an end product; it offers a journey of creative exploration, fueled by Photoshop’s robust features.
Download the Essentials
First things first, you’ll need to get your hands on a few resources:
- The Photoshop template provided for you (check the video description for a download link).
- A photograph of a face (stock images from sites like Shutterstock work well).
Once these are secured, open up your template file to follow along step-by-step.
The Power of Quick Masks
Using the Quick Mask tool is your gateway to precision editing. With a simple brush and a few strokes, you can isolate the face from its background. Ensure your colors are set to black and white—black masks the area, while white reveals it. If you need to change these defaults quickly, pressing ‘D’ on your keyboard will do the trick.
Converting to Smart Objects
Now, why convert an image to a smart object, you ask? Smart objects preserve your image’s integrity, allowing for non-destructive edits. This means you can experiment with effects and replace elements without starting over. To convert the face to a Smart Object, just find the option in the Layers panel menu.
Setting the Stage with a Black Canvas
Darkness is your canvas. Create a new layer beneath your image and fill it with black using the shortcut (Alt + Delete for Windows or Option + Delete for Mac when black is your foreground color). This layer sets the tonal foundation for your creepy composition.
The Art of Ominous Adjustments
Monochromatic Masterpiece
Adding a Black & White adjustment layer gives you control over the tonal values of the face, letting you enhance or suppress certain shades—especially helpful in creating the hollow, eerie look typical of horror posters.
Coloring with Creepiness in Mind
With the Color Balance adjustment layer, you can tweak the hues of the image to your heart’s content. Dragging sliders towards cyan and blue can add that cold, lifeless hue synonymous with ghostly apparitions.
Diffusing the Fright
The Diffuse Glow filter from the Filter Gallery offers a soft, creeping light that highlights the unnatural elements of the face. Play with graininess and glow amounts to amplify the chilling effect to taste.
Assemble the Horror
Face the Music (and the Text)
Position your newly transformed face onto your poster, letting it loom large and menacing. Text becomes equally important in setting the mood. Fonts like Tran Pro Regular (linked in the resources) provide that dramatic Hollywood look, while alignments and sizes allow for creative tweaking.
A Patchwork of Terror
Add dimension by segmenting the face with the pen tool, creating a series of angular cuts. Each layer can be independently masked to create edgy, scattered versions of the same face—perfect for that fragmented, unsettling aesthetic.
Textures Tell the Tale
The Fiber Render filter provides a gritty overlay that suggests decay and age—just what’s needed to hint at a narrative deeper and darker than what meets the eye.
Final Flourishes
With layers upon layers of creative choices at your disposal, remember that the magic lies in the details. Stretch your type, experiment with positioning, and layer mask magic to make every composite unique. Once satisfied, convert everything into a final Smart Object that lets you resize and adjust without ever losing quality. And voilà, your custom horror movie poster is ready to dazzle and disturb!
This process isn’t just about replicating steps—it’s an invitation to get creative and bend the rules in the name of art. So, fire up Photoshop and your imagination. Happy haunting!