Rediscover Artistry: Turn Your Photos into Mezzotint Prints
Photoshop isn’t just your average photo editor—it’s a gateway to the world of artistic transformation. If you’ve ever wanted your digital imagery to embody the elegance of fine art prints, this guide is your ticket. Push aside the clutter of complicated filters and techniques, and say hello to the graceful texture of mezzotint prints, complete with that classic embossed edge. What’s even better? You can easily swap out images without reapplying the effects. Curious? Dive into the artistic process with us.
Let’s Get Started: Your Image, Your Art
Start with a photo that you’re eager to transform. For an optimal outcome, adjust the resolution to 150 pixels per inch. This is all about getting those subtle tonal nuances just right. Once you’ve prepared your image, convert it into a Smart Object. This step gives you the freedom to tweak or swap the photo without losing the artistry you’ve applied.
Building Layer by Layer
Imagine laying your photo on an artist’s canvas—you’re the painter, and each layer is a brushstroke:
- Layer 1: Angled Strokes
Start applying texture by selecting ‘Angled Strokes’ from the Filter Gallery. A perfect balance in direction and stroke length is key, so aim for a Direction Balance of 50, a Stroke Length of 30, and Sharpness at 0. - Layer 2: Edges and Motion
Bring out the details by employing the ‘Find Edges’ filter followed by some Motion Blur. Setting the angle at 0 degrees and the distance at 20 pixels can add depth and intrigue. Adjust the layer to Multiply mode with 50% opacity for that perfect blend. - Layer 3: Dots and Blurs
Round off your image with ‘Mezzotint’ (Fine Dots for that textural finesse) and soften it slightly with a 1-pixel Gaussian Blur. Once again, moderation is key; transition to ‘Hard Light’ mode and reduce the opacity to 50%.
Enhancing with Color and Contrast
Do you love those serene sunset hues? Photoshop’s Color Lookup adjustment mimics a Late Sunset lighting that feels cozy yet sophisticated. But remember, if things look too shadowy, a quick toggle off will lighten it up instantly.
For a modern twist, surround your artwork with a margin—go to Canvas Size and boost both width and height by 10%.
Embedding Art into Paper
Your digital print may remind you of traditional mezzotints through an Inner Glow effect, simulating the impression of ink pressed into quality paper. Set the blend mode to Linear Burn, with minimal opacity at 10%, and some considerable noise to engage the eye with simulated texture.
Swapping Photos Without The Hassle
Replace your original photo while retaining all those beautiful effects. Simply double-click the bottom Smart Object to access and replace the image file. You can stretch or compress the new image using the Transform Tool, ensuring it sits perfectly.
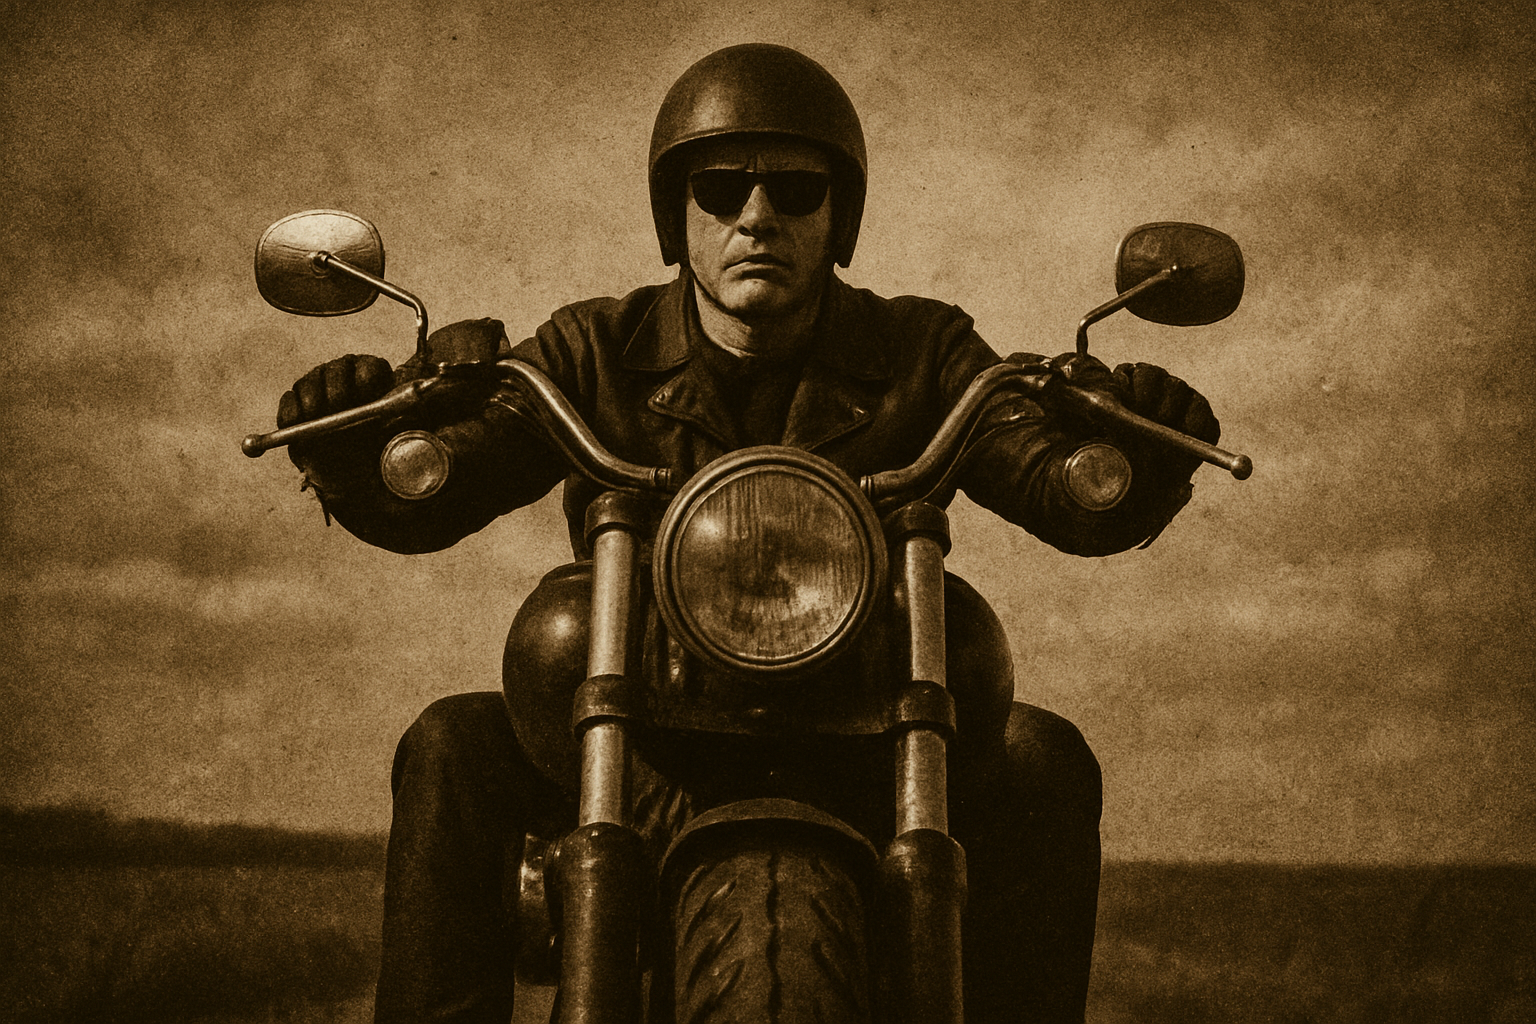
Going Vintage: The Sepia Effect
Checkout is too mainstream—cap off your masterpiece with a vintage touch of sepia. The Hue/Saturation adjustment comes to the rescue. Check Colorize and tick that Hue number to 33 for an antiquated, yet timeless touch.
Reviving the look of denser ink coverage is just a click away—make the Color Lookup layer visible again for that full-bodied finish.
So there you have it, a beautiful piece of mezzotint-inspired digital art with very little fuss and maximum impact. Let your creativity guide you as Photoshop does the heavy lifting. Can’t wait to see what you create next!