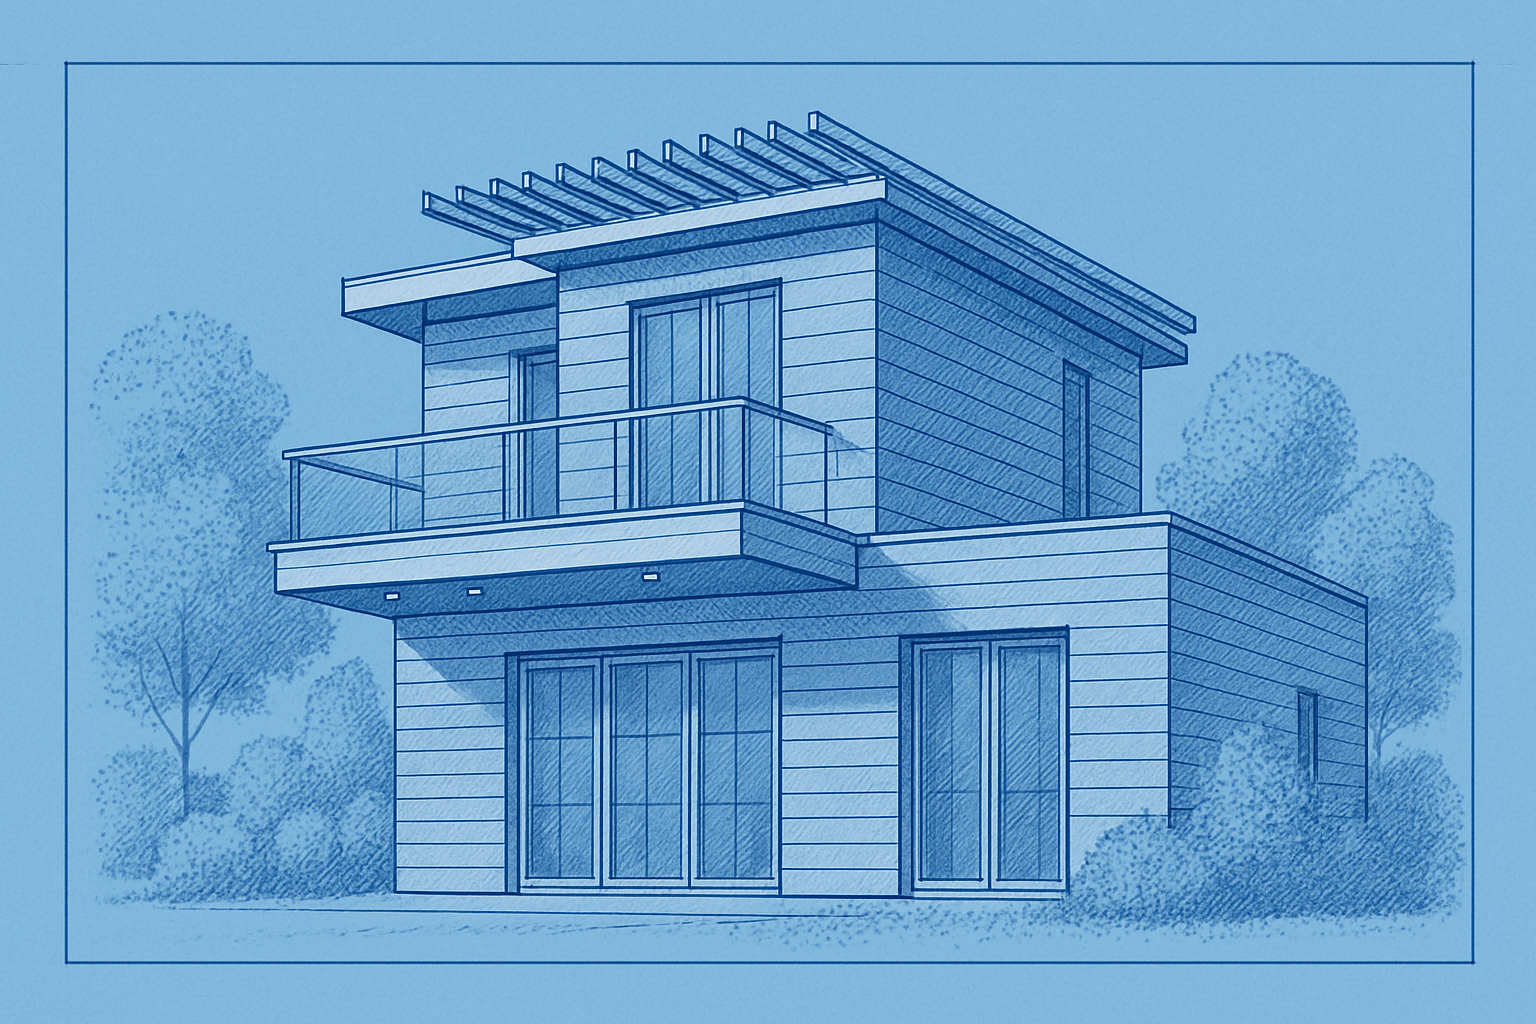
Elevate Your Images with a Perfect Blend of Art and Science
Let’s face it: taking a photo of a stunning building and posting it online can sometimes feel like you’re only giving a taste of what you truly experienced. Wouldn’t it be grand if you could showcase the intricate details and architectural charm with a touch of artistic flair? Enter the Photoshop Blueprint effect—a blend of technology and creativity that transforms ordinary photos into stylish architectural blueprints, offering a fresh and eye-catching perspective on your images.
Why Create a Blueprint Art?
Transforming your photos into a blueprint art style isn’t just a trend; it’s a powerful way to emphasize structural details and artistic designs often missed in regular photography. This technique not only highlights building features but also introduces an element of creativity, resulting in a piece that is both informative and visually stunning.
Getting Started: Tools and Resources
Before diving into the nuts and bolts of this creative venture, let’s ensure you’ve got all the materials at hand. For this tutorial, you’ll need:
- Adobe Photoshop: Photoshop is the undisputed champion when it comes to image manipulation and editing. If you’re using the latest version of Photoshop as part of Adobe’s Creative Cloud, you’re golden. Otherwise, older versions like Photoshop CS4, with its content-aware features, can still do the job, albeit more manually. If you don’t already have Photoshop, consider exploring the Adobe Creative Cloud.
- A High-Resolution Photo: Don’t skimp on quality. Starting with a high-resolution image (150 pixels per inch, to be exact) is critical to preserve details when applying the blueprint effect.
- Paper Texture: Add that authentic blueprint feel with a texture. A trusty paper texture file will give your image the depth and character it needs—think of it as the canvas for your digital masterpiece.
The Step-by-Step Process
- Resolution Check: Start by ensuring your image is set at 150 pixels per inch. This gives you a canvas that’s detailed enough to work with without being overwhelmingly large.
- Convert to Smart Object: Smart Objects are your best friend in Photoshop. They let you edit non-destructively and swap out images without losing all your hard work on effects. Simply convert your photo into a Smart Object before heading into filter overload.
- Find the Edges: At the heart of the blueprint effect is the ‘Find Edges’ filter under the Stylize menu. This clever little tool sketches out the detail lines
leaving your photo looking more like a draft than a pic. - Add a Stroke and Inner Glow: Adding a white stroke and a black inner glow gives your image boundaries and shadow-like depth
enhancing the overall draft-like appearance. - Desaturate with Black & White Adjustment Layer: Strip your image of its color. This monochromatic step is key—blueprints are about form, lines, and shades
not hues. - Overlay with Paper Texture: Your paper texture comes into play here. Center it over your image
stretch it to fit, and change its blending mode to linear burn. It instantly transforms your image into something that looks meticulous and manual. - Tweak the Brightness and Color Scheme: Adjust the levels to brighten the image and add a new layer filled with a classic blueprint blue (hex color #0036A5)
setting the layer to screen. - Add Architectural Text: Use a font like Draftsman Regular for that authentic, handwritten, architectural drawing look. The font’s jagged and personalized style brings home the authenticity of your blueprint.
- Perspective Adjustments with Lens Correction: Real buildings have a perspective that photographs sometimes warp. Using the Lens Correction tool, you can correct this to give your image the sharp, precise perspective of a technical drawing.
Final Touches and Creativity
Once you’ve got the basics of your blueprint art down, remember this is where the true art happens. Play around with the brightness, contrast, and even introduce other textures or fonts. Remember, Photoshop’s toolkit is vast, and exploring its depth can uncover unexpected and delightful surprises.
Blueprint photography art isn’t about creating something perfect—it’s about capturing the essence of architecture through a creative lens. So as you explore this technique, take liberties and enjoy the artistic process. Your renders just might inspire admiration from architects and laypeople alike.
Ready to turn that photo into an artistic ode to architecture? Follow along with the video guide to see it come to life on your screen.
And yes, you can give your Instagram followers something to truly marvel at. Until next time, keep creating and keep pushing the boundaries of your art with Photoshop!


