Discover the Secrets of Professional Skin Retouching
Hey there, creative geniuses! Ever feel frustrated that retouching photos doesn’t quite capture the glowing, flawless skin promised by magazines? Enter the mystical world of Frequency Separation—a revolutionary Photoshop technique that retains all the natural texture of the skin while magically eliminating imperfections. Whether you’re a seasoned design wizard or just starting on your Photoshop journey, this method is going to be your new secret weapon. Buckle up, we’re diving into a world where skin looks perfect, yet real!
What is Frequency Separation, and Why Should You Care?
In the whirlwind realms of digital imaging, Frequency Separation is a technique designed to split an image into two separate layers: one for texture (high frequency) and one for color and tone (low frequency). The magic lies in its ability to allow you to work on texture and color separately, simplifying the process of smoothing out blotchy skin without sacrificing those all-important details like freckles or pores. Gone are the days of over-softened faces that scream Photoshop! Our goal here is to make your edits so subtle and seamless, they’ll leave viewers questioning if the final image is untouched.
Step 1: Lay the Groundwork
Open the image you want to retouch. If you need high-quality free photos you can grab them from sites like Shutterstock if you don’t have one handy. Start by making two copies of your image by hitting Ctrl or Cmd + J twice. These layers will be your Frequency Separation playground.
- Top Layer: Name it “High Frequency_Texture”
- Middle Layer: Name it “Low Frequency_Blur”
Step 2: Building the Foundation
Now, let’s get our hands dirty with some blur. Temporarily hide your “High Frequency_Texture” layer by clicking the eyeball icon. Head over to Filter > Blur > Gaussian Blur and drag the slider until those irksome skin imperfections start to vanish. Not too much though—remember we still want some texture to shine through when all’s said and done.
Step 3: Weaving the Magic
Make the “High Frequency_Texture” layer visible again and active. This is where we make friends with the Apply Image function. Navigate to Image > Apply Image and choose the following:
- Source Layer: “Low Frequency_Blur”
- Blending Mode: Subtract
- Scale: 2
- Offset: 128
This might sound like technical wizardry, and honestly, it kind of is. The photo will appear the same, but don’t let your eyes deceive you—magic is happening underneath.
Step 4: Time for Some Brushwork
Switch the blend mode of your “High Frequency_Texture” layer to “Linear Light”. Your photo should look untouched, like a Mona Lisa disguised in the everyday art collection. With a trusty Lasso Tool at hand, create selections around areas like the forehead and cheeks. Apply feathering using the Refine Edge command to keep those transitions subtle and delicate.
A Final Flourish – Working With Detail
Zoom in and refine the texture even further with the Clone Stamp Tool set to a flow of 100%, but keep the opacity at around 40%. This gentle touch ensures you’re only cloning texture and not color. Carefully sample from smoother skin areas to bring harmony to the more challenging sections of the face, like the nose.
Don’t Forget the Neck!
Retouching doesn’t stop at the jawline. The neck often gets neglected in skin retouching. Make the “Low Frequency Blur” layer active and use a Lasso Tool to tackle any blotchiness with a quick Gaussian Blur touch-up.
One Last Polish
For those pesky spots that resist disappearance, a Spot Healing Brush over the High Frequency layer will work wonders faster than you can say blemish begone. Make sure your brush is just bigger than the imperfection before tapping away to skin-smooth victory!
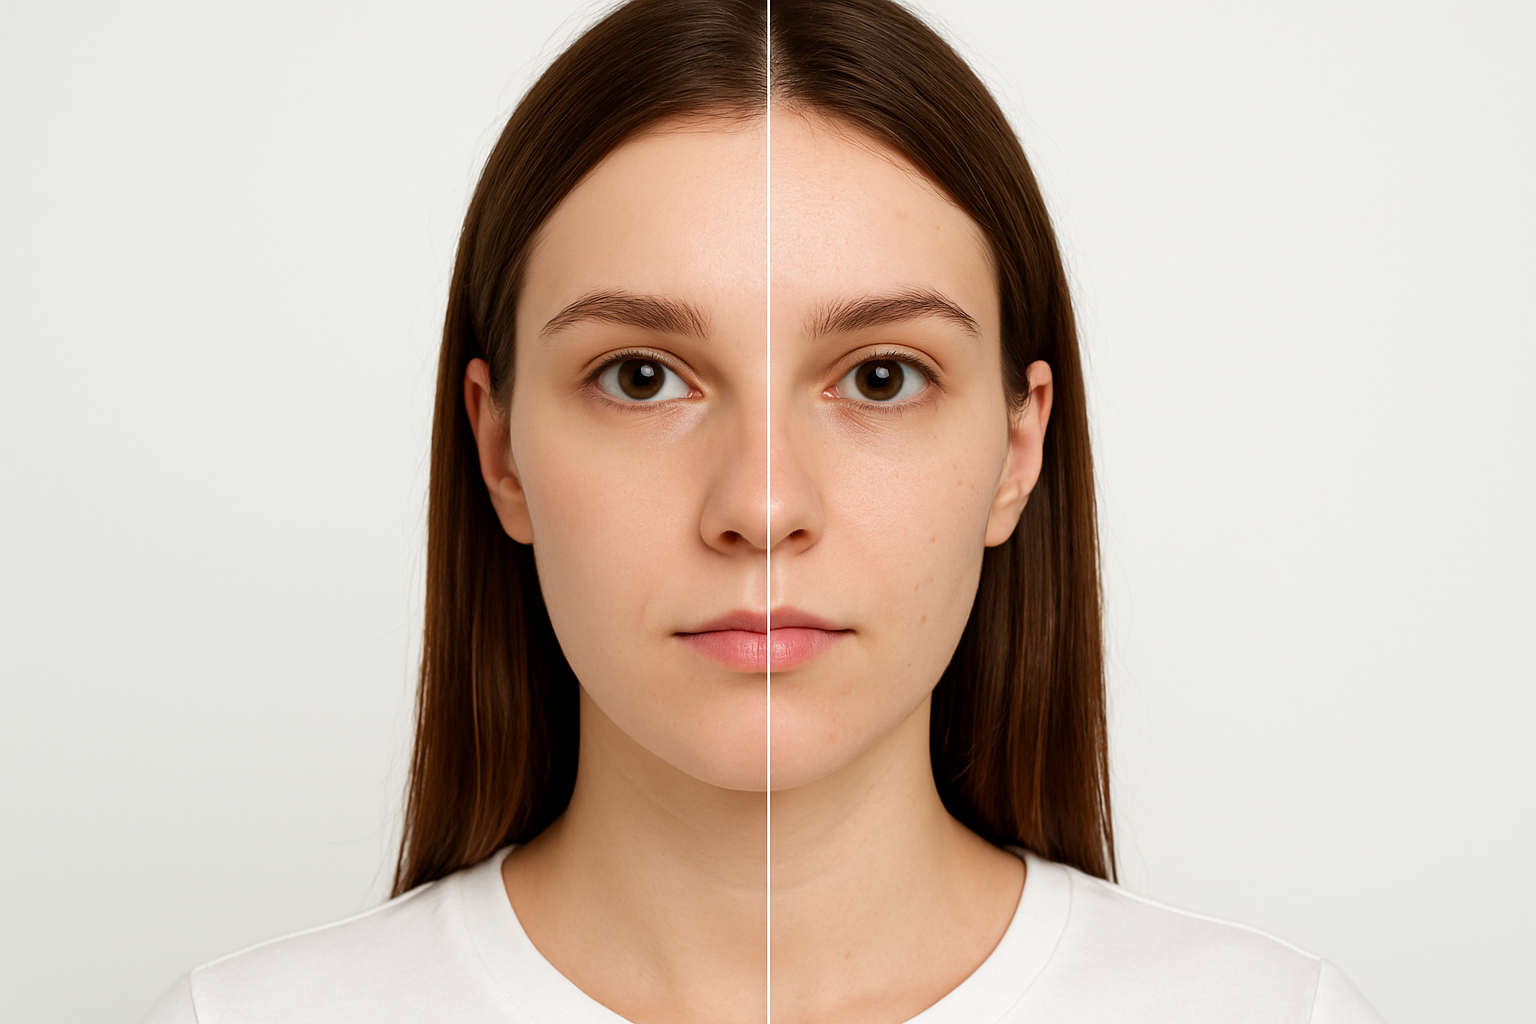
Final Reveal
The grand finale! Toggle between the before and after to see your hard work in action. Be prepared for satisfying ‘aha’ moments as all those tedious blemishes finally become a thing of the past. Whether you’re working on a portrait or a group photo, this method unfailingly elevates your image to a professional level.
And there you have it, fellow photoshop aficionados—your mastery of Frequency Separation is bound to make any portrait pop, leaving admirers to wonder if their screen is indeed still two-dimensional. Remember, as with many Photoshop feats, practice makes perfect. Now go forth and create flawlessly fabulous images!


