Discover the Art of Text Surfaces with Photoshop
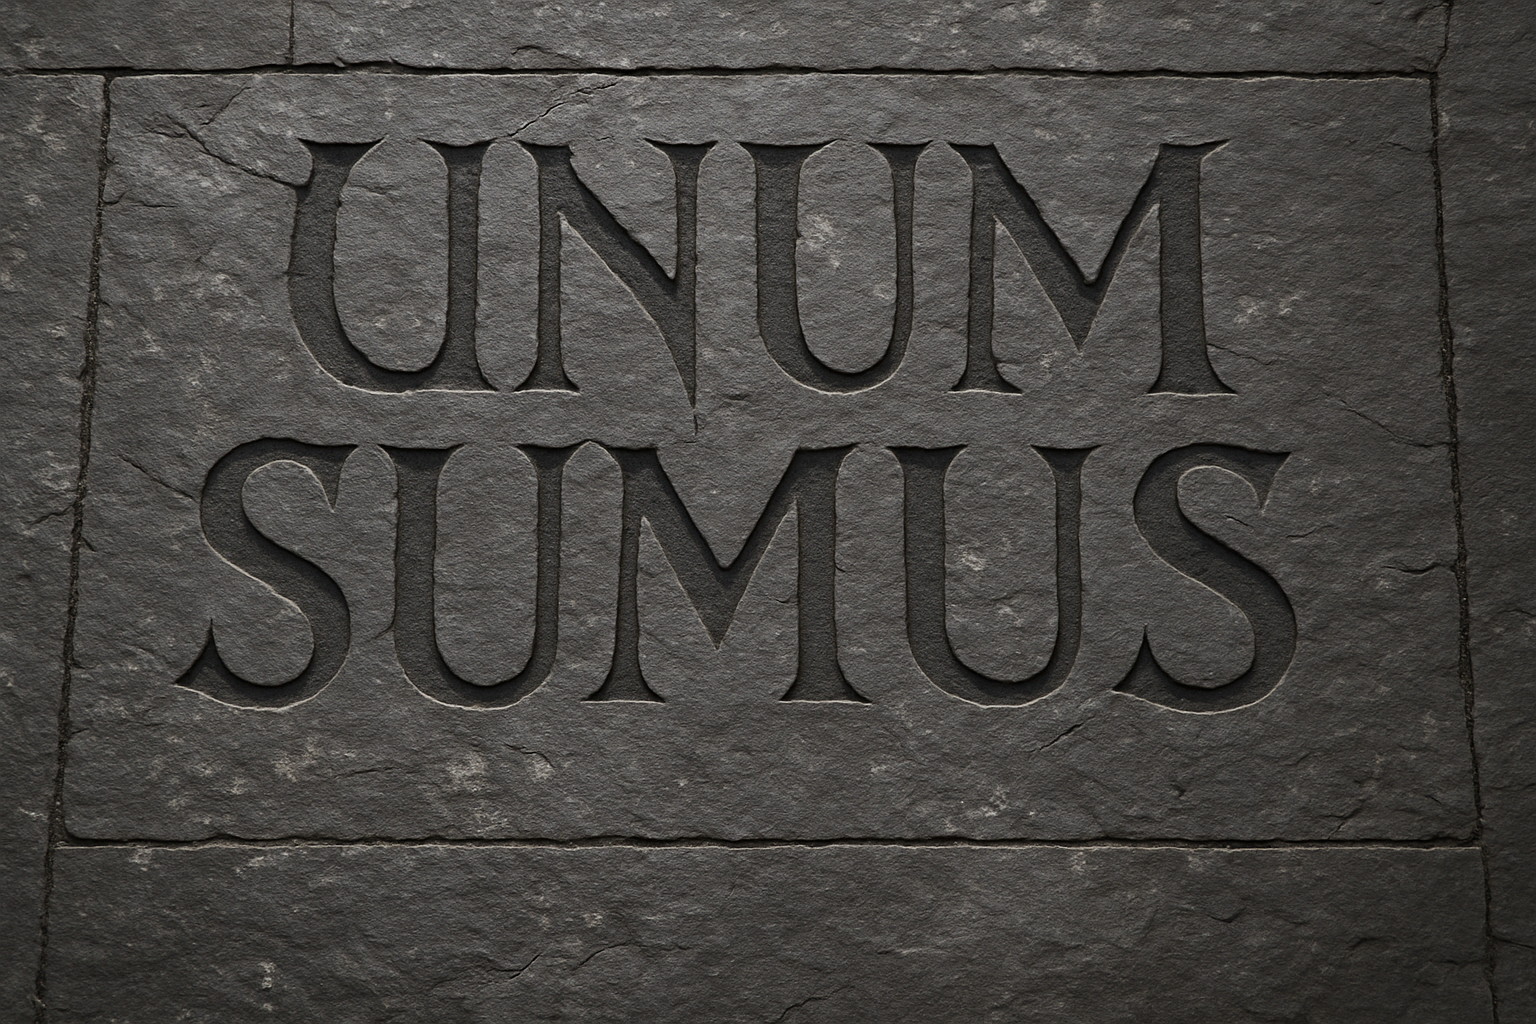
Ever looked at ancient carvings and thought, I wish I could etch my words into a rock wall like that!? While we can’t lend you a time machine to make markings in a real ancient era, we can guide you through making your text look every bit as chiseled with the power of Photoshop. Dive into the step-by-step process of creating a stunning rock-carved text effect using Adobe’s ubiquitous digital creation tool, all without leaving your creative desk!
Preparing Your Canvas
The journey begins with a simple setup. Even if your foreground and background colors aren’t initially black and white, a quick tap of the “D” key will bring that iconic duo to life. Once prepped, it’s time to channel your inner rock poet. Open your Horizontal Type Tool and select a bold font; “Abaddon Regular” is our go-to for this tutorial—adding an antique vibe reminiscent of old inscriptions.
Typing out your message is the next bold move. Adjust the size using the Character panel to ensure your text stands out like a proclamation against time. Center it with grace using the Move Tool—it’s all about elegance here. To ensure flexibility in editing, convert your magnificent textual creation into a Smart Object. This gives you creative license to tweak without derailment.
Framing Your Words
Because it’s not just about the words, but how they’re presented, let’s give them a frame. Increase the canvas size slightly to make room. With snapping rulers (and a bit of ruler-regulated guidance) inspired by ancient architects, draft the perfect frame. This strategic process sets your words like the crown jewel of your creation.
Displacement: Blurring Reality
Here comes the magic touch—making your text meld into the rock’s rugged surface. Start by creating a blurred copy of the background to serve as a displacement map. This map is vital for distorting the text to perfectly match the rock’s natural grooves. Save this altered background, let’s call it “Displacement,” and you’re ready to morph your reality!
Return to your text, now ready to embrace the rock’s uneven texture. Transform its blend mode to Soft Light. This mode bends light and shadow, capturing the essence of carved stone perfectly.
Adding Depth with Bevel & Emboss
Your text is now a part of the rock wall, but it needs depth—this is where Bevel & Emboss come in. Adjust to your taste, opting for either ‘Smooth’ or one of the more chiselled options. It’s like Photoshop cosplay for your text!
Giving Your Words the Rock-Star Treatment
With your text married to the rock, it’s time to spotlight with dramatic lighting. Create a selection with the path tool, feather it for soft edges and strengthen the shadows with a Levels adjustment layer. This step adds a dramatic vignette effect, enhancing the carved words’ visual punch against the rock’s stoic face.
Angling Your Etching
Finally, add an angle to your message, tilting it like a statement on a forgotten temple wall. Shift, warp, and skew with the Transform Tool to settle on that perfect 3D perspective; reminding the viewer that this isn’t just digital art—it’s a piece of digital archaeology.
With these steps, you have the power to transform any message into timeless art. Whether you’re declaring a profound statement or just having creative fun, this rock-carving technique amplifies your words, making them rock (literally!).
Give it a try, share the results, and watch your creative portfolio become the marvel of modern petroglyph enthusiasts everywhere. As always, happy Photoshopping!


