Dive Into the Cosmos: Transform Ordinary Pixels into a Galactic Masterpiece Using Photoshop
Ever dreamt of traveling to a galaxy far, far away? What if I told you that Photoshop can make that experience a little more tangible? Today, we embark on an artistic journey to fabricate a stunning starfield interlaced with the mesmerizing beauty of interstellar clouds. It’s easier than you might think and you’ll have your friends wondering if you’ve turned into an astrophotographer overnight!
Setting the Scene: Creating the Cosmic Canvas
Your first step in this stellar endeavor is to prepare your digital canvas. Open up Photoshop, and let’s get those stars shining:
- New Document:
- Press
ctrl+non Windows orcmd+non Mac. - Set the width to 1550 pixels, height to 870 pixels, and resolution to 150 pixels per inch.
- Click OK or press Enter.
- Press
Want to jump right in but your foreground and background colors are something other than the classic black and white? Simply press D and let the magic of keyboard shortcuts sweep away any colorful chaos.
Next, let’s fill the background with the somber beauty of a starless night. Press alt+delete on Windows or option+delete on Mac and watch as black envelops your screen.
Let There Be Stars: Crafting the Starfield
Stars are the diamonds of the cosmos, and it’s time we sprinkle some on our canvas. Here’s how:
- Add Noise:
– Go to Filter > Noise > Add Noise.
– Set the amount to a dazzling 400%, choose Gaussian, and make sure Monochromatic is checked. - Duplicate and Blur Layers:
– Pressctrl+jorcmd+jto duplicate your layer.
– Hide the duplicate by clicking the eye icon, then select the background thumbnail.
– Go to Filter > Blur > Gaussian Blur and blur the stars just enough with 5 pixels. - Layering and Levels:
– Adjust levels by pressingctrl+Lorcmd+L.
– Set input black to 200 and midtones to 42.
By focusing on layer manipulations and blur effects, your starfield will start to come alive with depth and dimension.
The Soft Glow: Adding Faint Nebulas
To make those stars pop with gentle ethereal vibes, perform the following:
- Blur The Duplicate:
Reactivate the hidden layer and apply a 2-pixel Gaussian blur. - Levels Again:
Input black: 170, Input White: 172. Adjust to taste.
Let’s give it that dreamy touch with a subtle bit of Gaussian blur. This gives the impression of otherworldly nebulae casting their glow amidst your starscape.
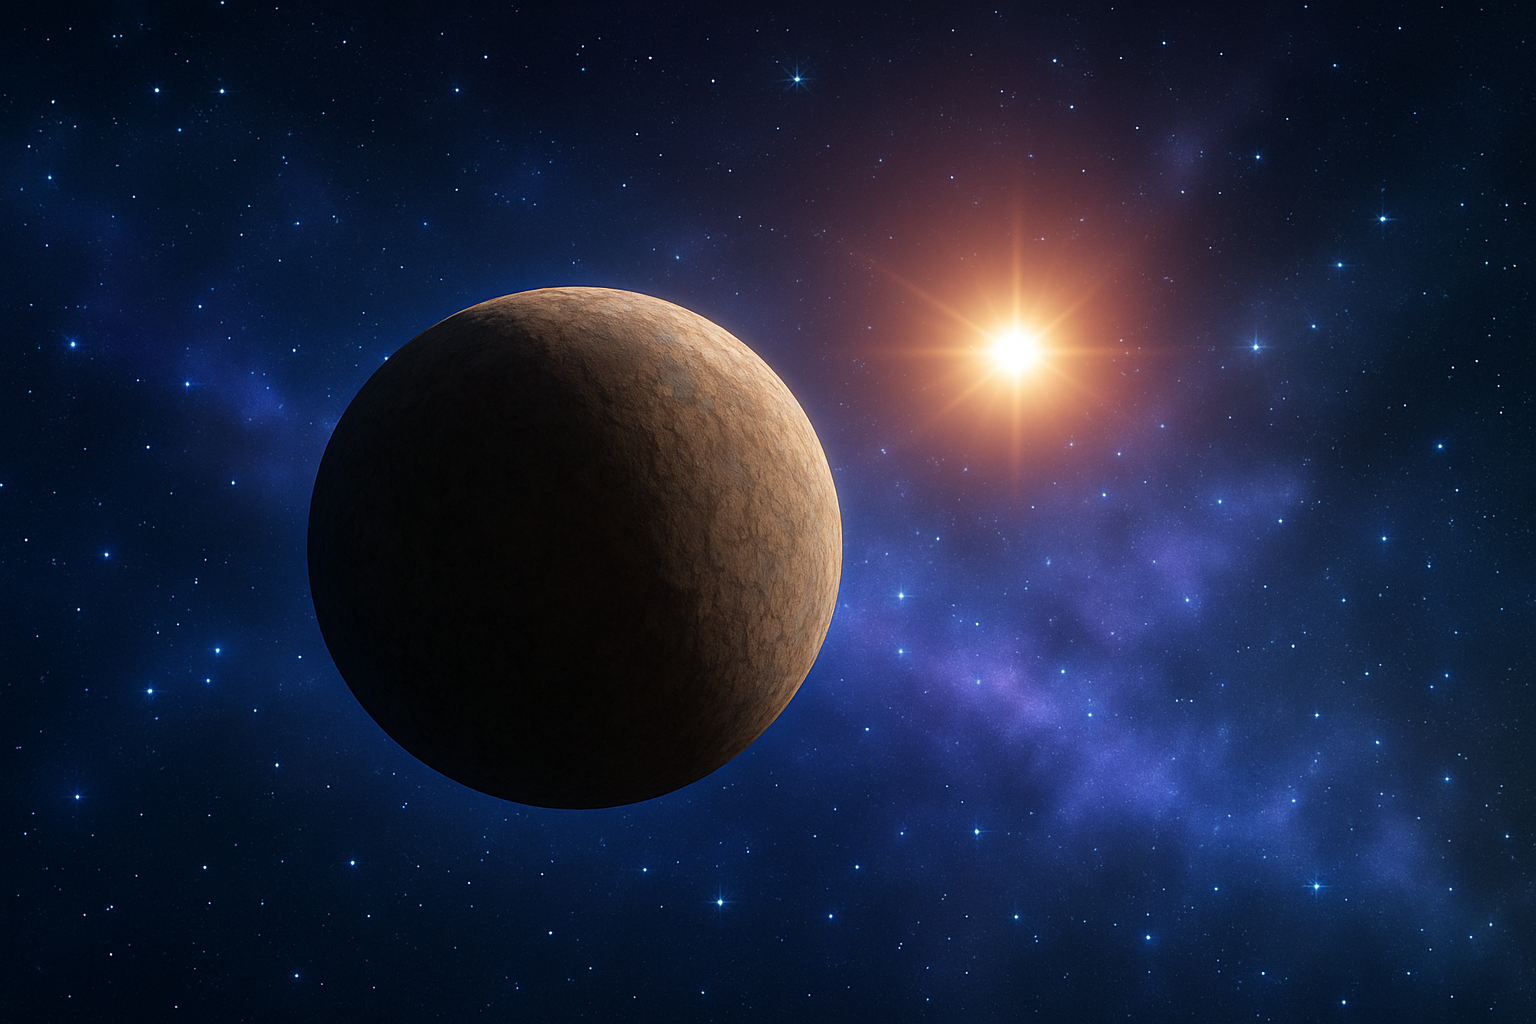
The Finishing Touch: Celestial Sphere and Glows
We’re wrapping up with the addition of a celestial sphere and glows that scream “outer space” chic:
- Create a Celestial Sphere:
– Use the Elliptical Marquee Tool to cut out a section of a rock texture into a perfect circle.
– Go to Filter > Distort > Spherize for the true spherical effect. - Position and Transform:
– Drag and place the sphere onto your star field. Resize withctrl+Torcmd+T. - Adding Glories:
– Double-click your sphere layer.
– Enable and adjust Outer Glow with a celestial-inspired hue:d7cabb8.
– Repeat for Inner Glow. Adjust blend modes and opacity for realistic interstellar shine.
Make sure to throw in a lens flare because who doesn’t vibe with a classic, cheeky starburst right behind the horizon?
Bringing It All Together: Your Personal Slice of Space
And there you have it—a striking starfield filled with layers of interstellar clouds and the glimmer of far-off galaxies. With some patience and Photoshop wizardry, you’ve created an artwork worthy of the cosmos themselves. Feel free to explore further by adding celestial objects or altering colors to make this stellar space art your own.
Ready to give it a go? Grab Photoshop and start turning pixels into planets. Art like this isn’t just about the finish; it’s also about enjoying the journey through your imagination.
Now you’re not just playing with pixels, you’re orchestrating a celestial masterpiece.


