
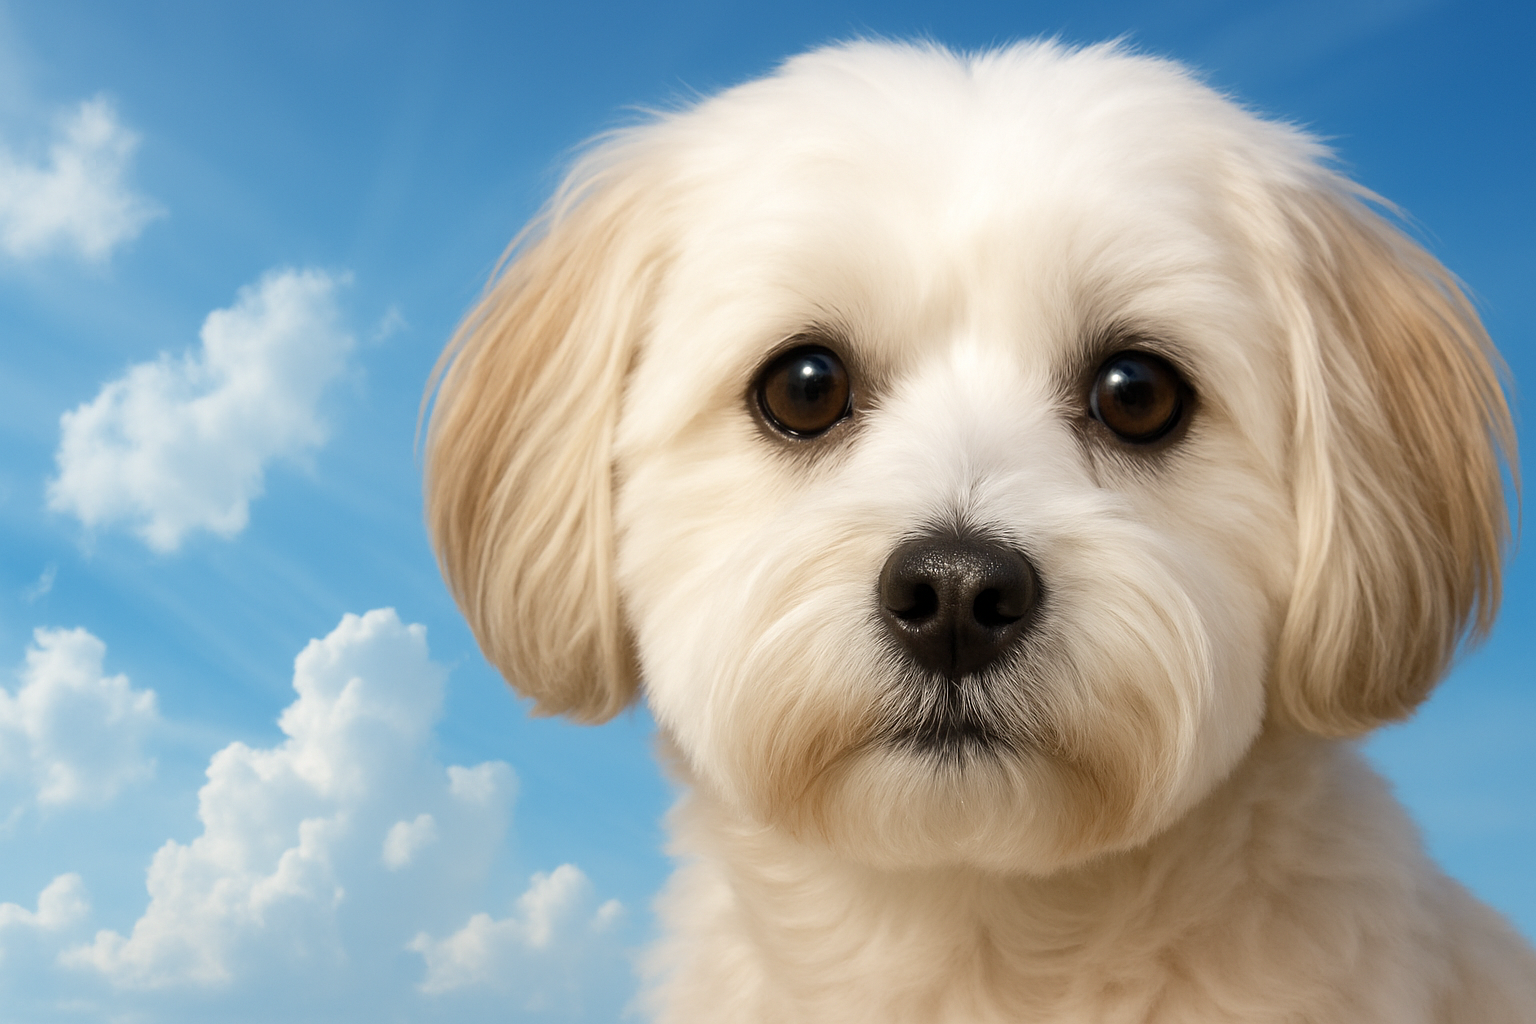
Capturing Memories Through Digital Art
Losing a pet is a heart-wrenching experience, but we find solace in cherishing memories. In today’s digital age, Photoshop offers a creative outlet to memorialize your beloved pet through stunning imagery. This tutorial is designed for those who want to transform their favorite pet photo into a serene and beautiful memorial image.
Diving into the Creative Process
A digital memorial pays tribute to your pet by integrating their image into an ethereal backdrop. Our journey begins with selecting a cherished photograph and a stunning cloud background, making use of powerful Photoshop tools to achieve a serene effect. You can find the cloud background in the video description as a useful project file, sized at 2700×1575 pixels at a resolution of 150 pixels per inch.
Let’s Enhance the Background
- Duplicate and Blur: Start by duplicating the cloud background layer (Ctrl/Command + J). Add a radial blur with
Filter > Blur > Radial Blur. Set your blur to: Amount 100, Method Zoom, Quality Best. Blend mode to ‘Lighten’ creates a dreamy, diffuse look. - Merge Layers: Merge these layers (Ctrl/Command + E) into one smooth backdrop.
Focusing on Your Furry Friend
Selecting the perfect image of your pet and isolating them is key for this project:
- Select & Refine: Use tools like the Lasso to create a rough selection around your pet’s head. Then, head to
Select > Refine Edgeto refine the selection. The Smart Radius tool enhances detail pickup, perfect for those furry edges. Don’t forget to click ‘Decontaminate Colors’ to merge your pet’s colors seamlessly with the background. - Layering with Clouds: Drag your pet’s image over the edited cloud background. Resize with
Transform(Ctrl/Command + T) and position your pet strikingly within the clouds.
Breathing Life through Effects
- Diffuse Glow: Adding shimmer adds to the dreamlike quality. In
Filter Gallery, chooseDiffuse Glow, adjusting settings like graininess, glow amount, and clear amount to suit your photo. - Recreate Cloud Radiance: Duplicate the effect with Radial Blur as done previously, enhancing continuity between the pet and cloudscape. Repeat this for added depth.
- Coloring with Emotion: Go for an ethereal blue tint with a Hue/Saturation Adjustment Layer. Click ‘Colorize’ and aim for a hue of 212 and saturation of 50. The ‘Clip to Layer’ option focuses this effect solely on your pet.
Final Touches with a Soft Vignette
- Creating a Vignette: A new layer with an Elliptical Marquee Tool gives a soft vignette. Use
Select > Modify > Featherto set 150 pixels for a gentle effect. Fill with white (Ctrl/Command + Delete), bringing the focus to your pet.
Adding Personal Text
Opt to leave space for text, perhaps a heartfelt note or your pet’s name. This personalization makes the memory as unique as the bond shared.
Reflecting on Memories
Creating a digital memorial serves both as an artistic endeavor and an emotional release. Engaging in this process can be healing while crafting a visual narrative that holds a special place in your heart. With these simple techniques, remember your cherished companion with love and creativity.
For more tutorials and creative inspiration, stay tuned with Blue Lighting TV’s YouTube Channel. Cherish those memories and embrace the artistic journey of digital remembrance.





