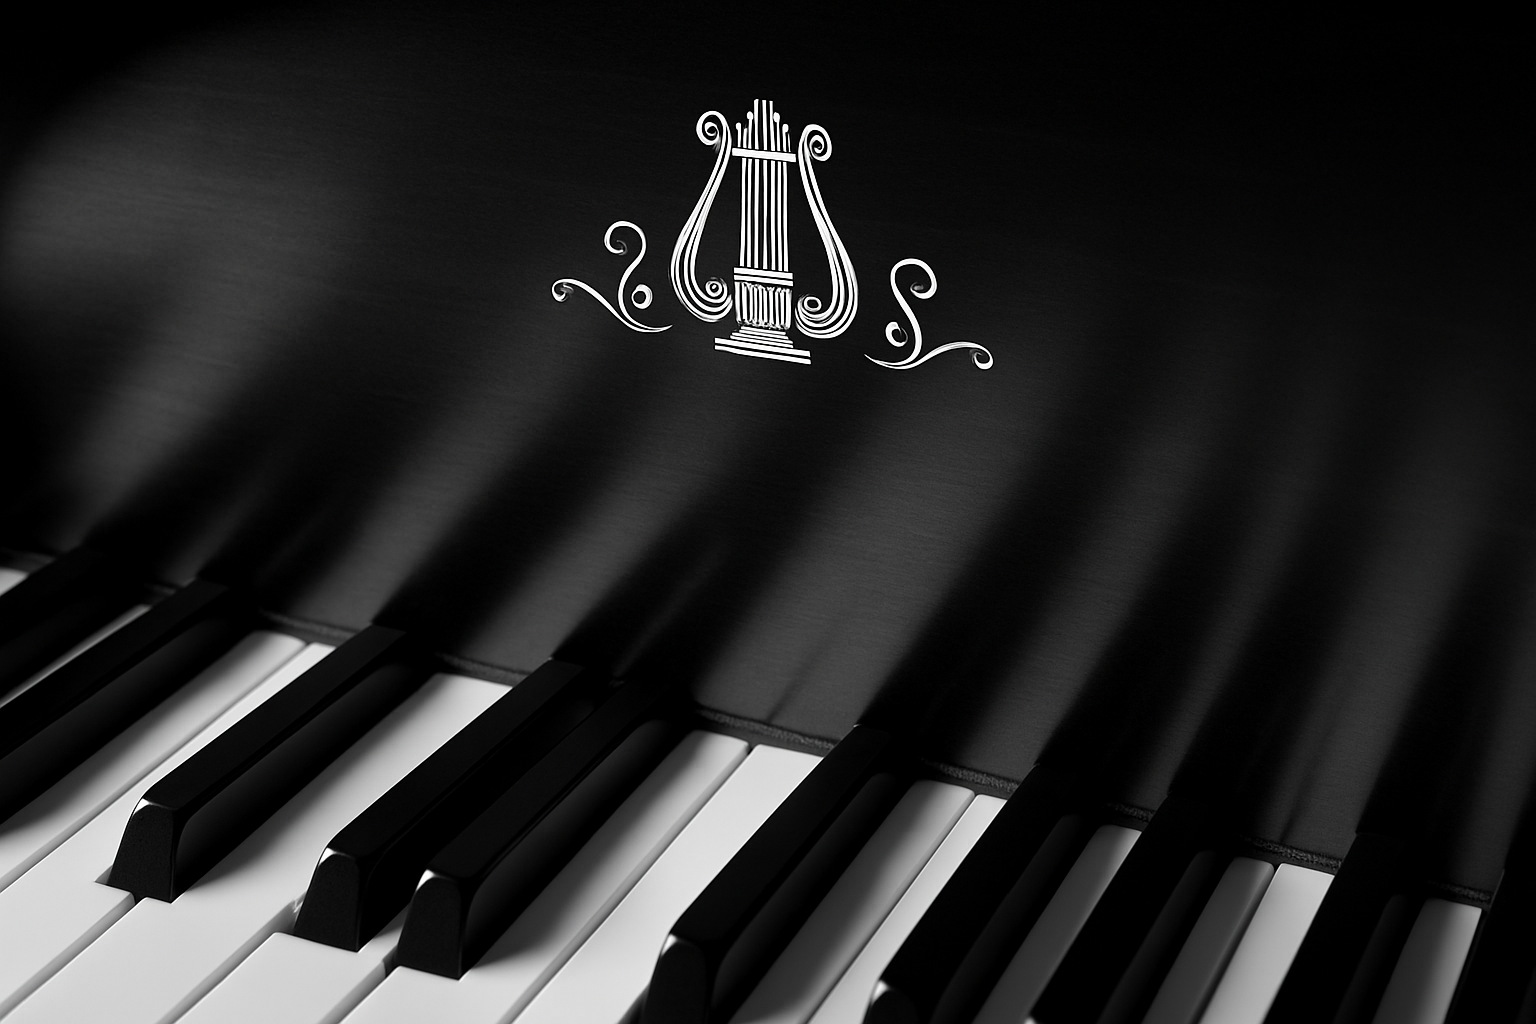
Personalize Your Piano with a Custom Name and Logo Using Photoshop
The art of personalization is an age-old tradition, and who doesn’t love the idea of having a touch of individuality on their favorite items? For music aficionados and piano enthusiasts, adding a custom name and logo to a piano is an exciting way to make it truly yours. With Adobe Photoshop, not only can you design your unique emblem, but you can also ensure that it aligns seamlessly with the piano’s aesthetics. Today, we’ll explore how to do just this, alongside adding some dramatic lighting effects to create a stunning visual presentation.
Setting Up Your Canvas: Dimensions Matter
Before diving into the design world, setting up an appropriate workspace is paramount. Our project setup begins with a document sized at 1280 by 720 pixels, rendered at a resolution of 150 pixels per inch. This high clarity ensures that every detail stands out sharply, every nuance captured.
Getting Started: Resources and Preparation
To kick things off, a PSD file is available for download—an efficient way to follow step-by-step and ensure nothing gets missed. This file smartly accommodates features like vanishing point perspective, comprehending distortion from camera lenses to mend perspectives aptly. Extra templates for initials and logos are at hand, feeding into the promise of customization.
The Font Factor: Choosing the Typography
Typography is one of the simplest yet effective ways to convey emotions—you know that. For your piano’s custom name, the Tragen Pro Regular font is recommended. It exudes a style that balances elegance with modern design. If you’re unsure of how to install the font, fear not, there are plenty of tutorials online to guide you through.
Crafting Your Name: Initials and All
Your initials are as unique as your fingerprint, so why hold them back? These too have a font partner in crime—French Script MT. With a recommended point size of 40, this font strikes between grandiosity and readability. Highlight your initials, input them with merriment, and watch them transform your design.
From Text to Texture: Preparing for Vanishing Points
Once your name and logo are ready, it’s time to convert the layers into a Smart Object, allowing further tweaking without degradation. The magical vanishing point feature is set to absorb your logo and text into the right perspective. Selecting tools, transforming and resizing to nestle perfectly on the piano’s curvature becomes a dance characterized by precision.
Grids and Guides: The Perspective Mastery
Your trusty tools—the vanishing point and grid—will guide you. With a 100-grid size setting as standard, start planting your points to fashion a structure where text can sit kingly. The perspective is your canvas, and playing with points ensures alignment is error-free.
Elevate Your Design: Gradient and Lighting
A shout-out to gradients, unsung heroes in bringing subtlety through shades. By applying a two-stop color gradient where hues transform from darker to lighter tones, your text radiates a dynamic touch.
The Blur Factor: Adding Depth
A simple blur tool lends depth, capturing the feel of a camera’s focus magic. Brushing over text edges, applying a 100% strength blur, softens hard edges, morphing them into a gentle liaison between layers.
The Spotlight: Dramatic Lighting Effects
The final flourish—rendering light effects. Envision a spotlight directing focus onto your masterpiece. Within the filter options, engaging lighting effects, adjusting hotspot scales, or ambiance modifies brightness like an orchestral crescento. Seeing your design illuminated breathes life into an otherwise static image.
Share a Tune: The Gift of Personalized Art
Congratulations! You’ve designed a custom nameplate for a piano, with added flair of professional lighting techniques. Whether presenting this as a gift to a fellow music enthusiast or keeping it as your projects’ crown jewel, this creation is sure to turn heads and raise smiles.
Pardon our enthusiastic urge; would you try it out? Create, design, inspire—and maybe even break into an impromptu sonata to celebrate.
Conclusion
The realm of Photoshop is so vast, it’s easy to feel both lost and found at the same time. But with tools like these—transformations, smart objects, gradient applications, and of course, the bewitching blur—we can achieve results that bring joy and add a touch of art to everyday life. Personalizing your piano or a musical instrument elevates the connection, turning it into a piece that tells its stories through more than just sound. So ready your palettes, and let’s play maestro!


