Unleashing the Cosmic Artist in You: Crafting Nebulas in Photoshop
In the vast, infinite canvas of the universe, nebulas stand out as nature’s most vibrant masterpieces. Their swirling gases and vibrant colors have been a source of inspiration and wonder for creatives around the world. While the real ones are many light-years away, Photoshop gives you the power to bring these celestial beauties right onto your screen. We’re here to explore the creation of mesmerizing nebulas using Adobe Photoshop, ensuring your space art is truly out of this world.
Setting the Scene for Cosmic Creations
Before we start painting the stars, let’s set the stage for our celestial wonders. We begin with a document size of 1280 by 720 pixels, boasting a resolution of 150 pixels per inch. Doing so provides a crisp and clear canvas that will captivate viewers, without overloading your system. The backbone of our nebula is the ethereal wispiness captured in a photograph of cirrus clouds. For this exercise, I’ve provided a PSD file and texture, easily accessible via links in the video description, to ensure you’re well-equipped.
The Starry Background
Every nebula owes its beauty to the star-studded universe it resides in. Here’s how you can create an enchanting starry sky:
1. Create a Base Layer: Begin by crafting a star background. Navigate to the nebula layer and deactivate its visibility for now. Activate the stars layer.
2. Add Noise: The universe is far from quiet, so let’s add some noise. Use the Add Noise filter with a setting of 5% Gaussian and monochromatic noise. It’s subtle, but it’ll sparkle up later.
3. Apply a Blur: Employ a soft Gaussian Blur set at 0.3 pixels to soften those stars, giving them a dreamy, natural appearance.
4. Adjust Levels: Hit Ctrl + L or CMD + L for Mac users to open levels. Set the input blacks to 18 and whites to 48. The stars might seem shy now, but a blend mode will soon make them pop.
Nebula: The Heart of Space
Inner Beauty Revealed: Let’s focus on the nebula, the heart of our project. Reactivate its layer and make it the focal point.
- Desaturate: Strip away color from the nebula by pressing Ctrl + Shift + U or CMD + Shift + U for Mac users. This step reveals the underlying texture without the distraction of colors.
- Level Adjustments: Opening the levels window again, refine the blacks to 12 and mid tones to 0.54, ensuring depth in its details.
- Blend Mode Magic: Change your blend mode to Screen, adjusting opacity to rest between 35% and 40%. This subtlety harmonizes the nebula with its starlit backdrop.
Adding Colors of the Cosmos
Here’s where things get vibrant. Introducing colors to our masterpiece is a science and art combined:
- Create a New Layer: Initiate a fresh layer and set its mode to Color Dodge. This mode intensifies colors, creating an almost electrifying effect.
- Choose Colors Wisely: Navigate to your foreground color and select a medium to dark hue. The scale and spread of your brush strokes will determine the nebula’s vibrancy.
- Brush Strokes with Precision: Employ a large, soft brush at 100% opacity for rich, vivid application. Adjust the size dynamically using bracket keys for versatility during brushwork. Apply gently over areas you wish to highlight.
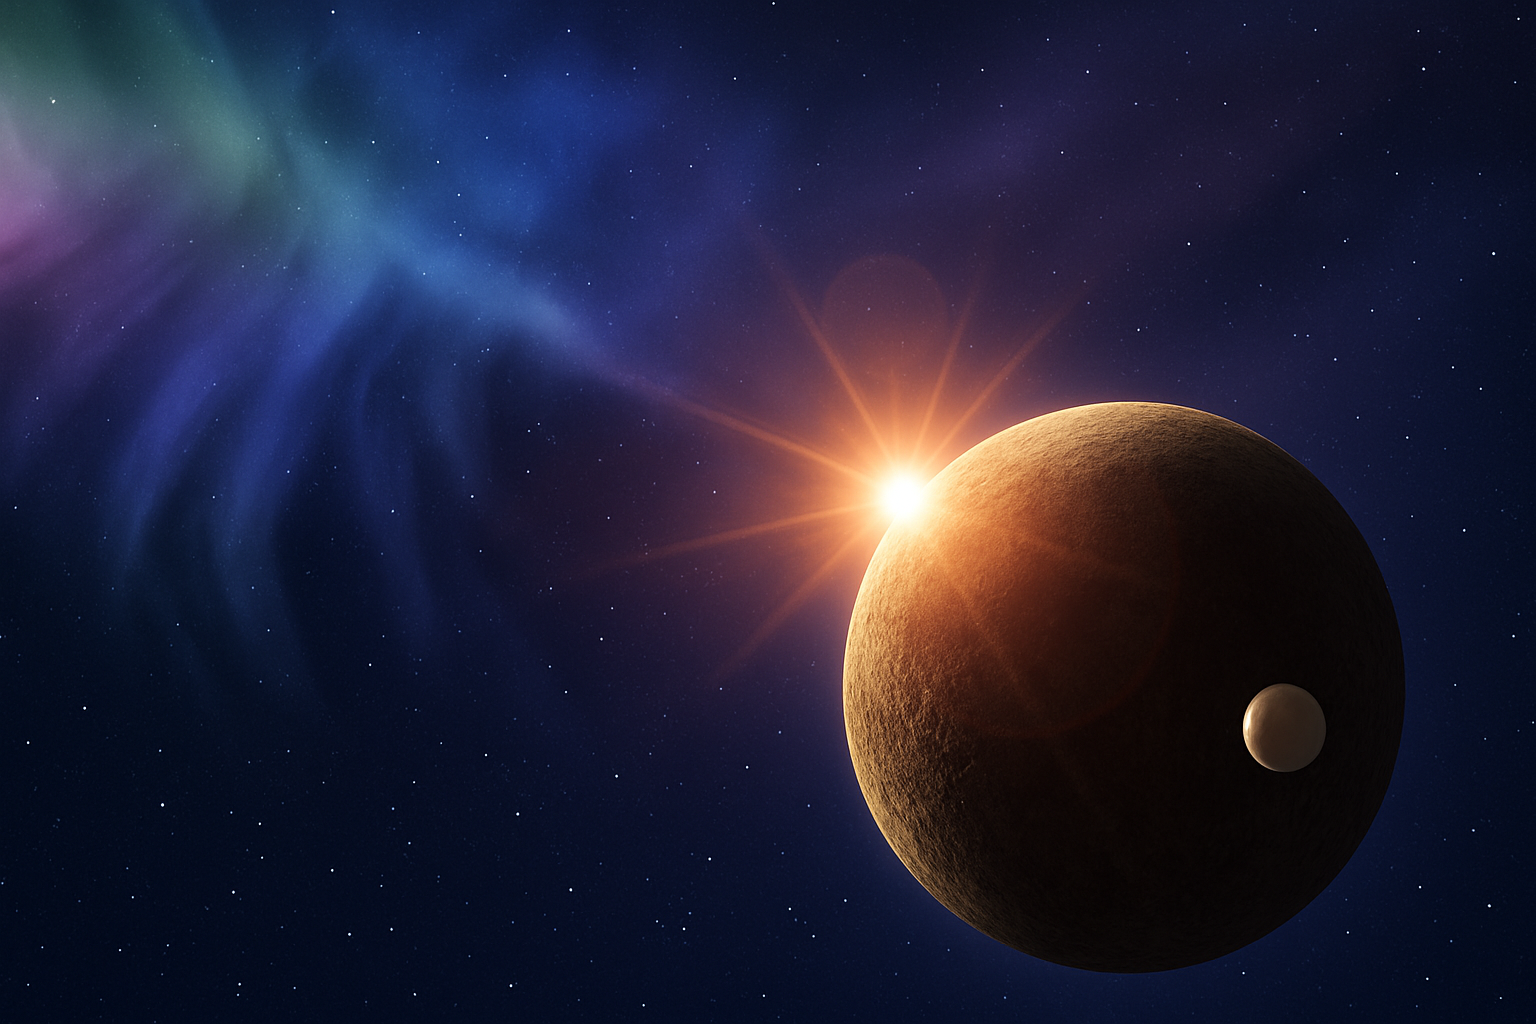
Crafting a Celestial Sphere
No cosmic scene feels complete without a glowing celestial sphere:
1. Sphere Creation: Invert to your provided texture file and find the magic under Filter > Distort > Spherize. Set the influence to 100%, affirming the creation of a sphere-like shape.
2. Positioning: Use the Elliptical Marquee Tool to select and extract your sphere. Transfer it onto your nebula workspace, adjusting position and scale to fit your vision seamlessly.
3. Layer Effects: Add an outer and inner glow through layer styles. For a warm outer glow, use hex values like #d6b380, with sizes shifting from 55 to 60 pixels. Adjust inner glow opacity rightly for that dreamy immersion.
Adding Final Touches with Flares and Shadows
To encapsulate a finishing touch of authenticity, consider integrating lens flares and subtle shadow play:
- Lens Flares: Under Filter > Render > Lens Flare, introduce diverse effects like the 50-300mm zoom or 105mm prime for dynamic lighting effects. Play with positioning to simulate stellar light interferences.
- Shadow Dynamics: Craft shadows that lend depth. By utilizing your transform tools, adjust the shadow’s opacity and position, enhancing the 3D illusion.
By the time you’ve added your flourishes, you’ll be cradling not just a nebula, but a miniature universe of your own making. Mythical, ethereal, this project promises not only a deep dive into Photoshop but a galaxy of creative satisfaction.
So, why not embark on this cosmic journey yourself? With nothing but a few clicks and a sprinkle of creativity, the universe is quite literally at your fingertips. Happy space art crafting!


