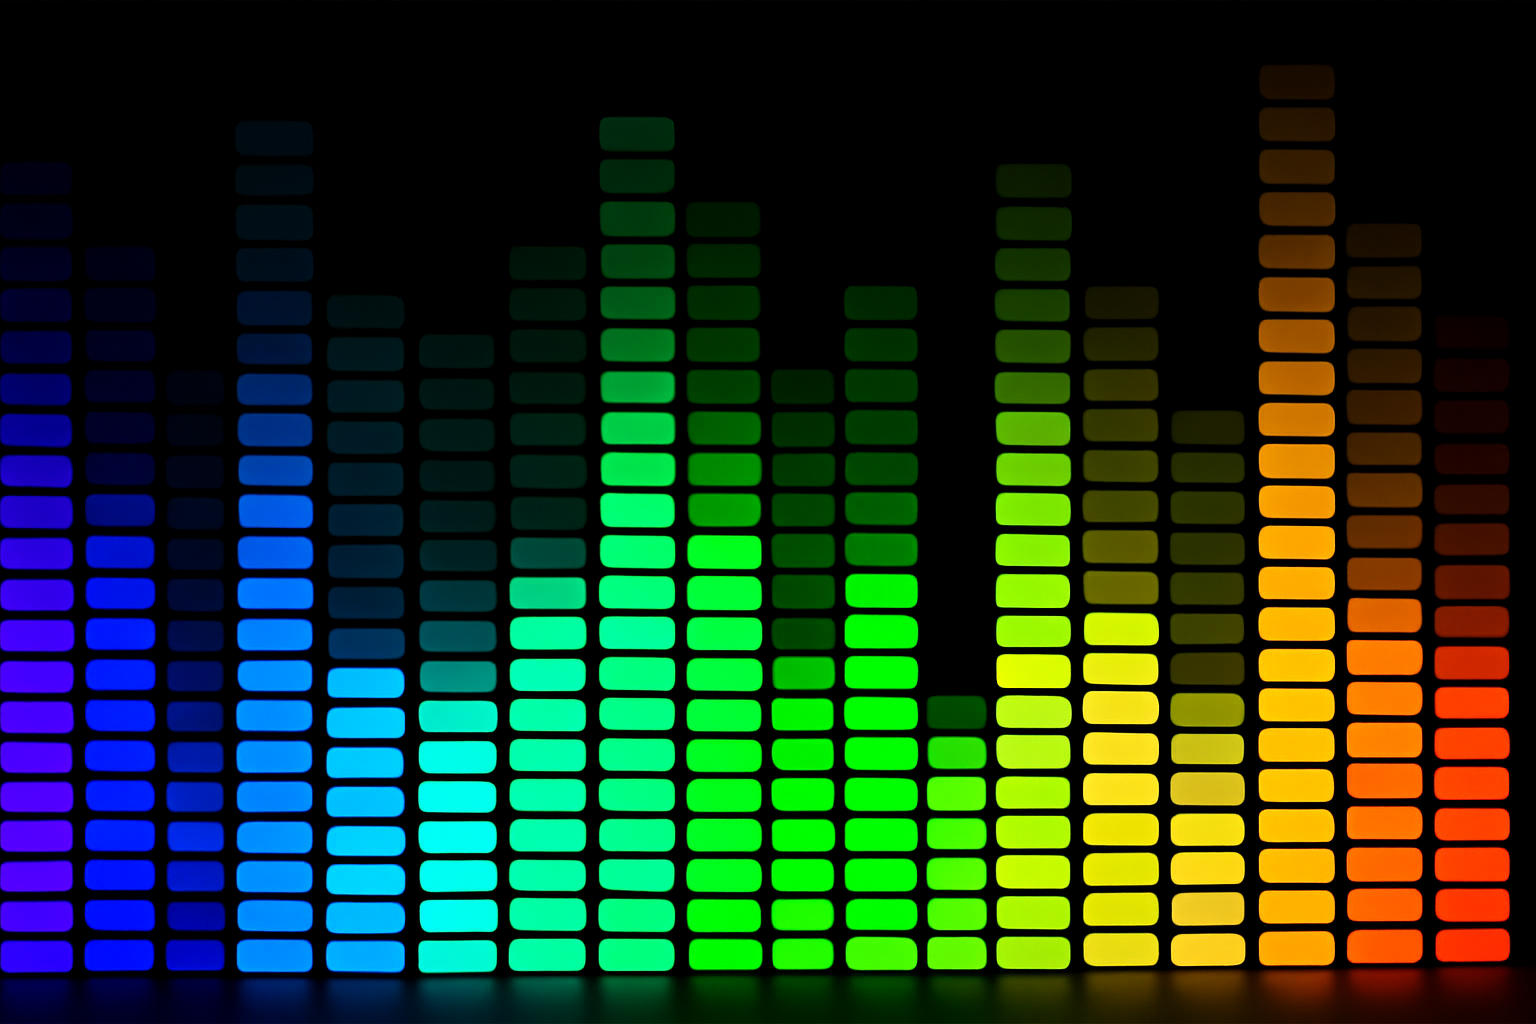
Make Your Image Shine with a Retro Vibe
Nostalgia is BIG, and it’s time to dial back the clock to the days when disco balls reigned supreme and everything was flashy. Today, we’re going to walk you through the creation of a spectacular retro-styled music equalizer image in Photoshop. This trend is not just about any equalizer—it’s one with the nostalgic flair of the 70s. And who wouldn’t want to jazz up their digital art game with a snazzy graphic equalizer fitting for a retro disco party? Stick around, because this is going to be a glitter-sprinkled journey through pixels and patterns.
Part 1: Setting the Stage for Your Equalizer
We’re diving into part one today where we’ll be focusing on creating the music equalizer itself. But fear not—this isn’t your run-of-the-mill equalizer. We’re kicking it old school, serving the epic retro vibes so strong, you might feel like cranking up some Bee Gees or Donna Summer for ultimate effect.
Creating the Equalizer Pattern
Let’s start by whipping up the right pattern for our equalizer. Open Photoshop and head over to File > New. Set your dimensions to 51 x 15 pixels and 150 pixels per inch. Don’t forget to punch that Ctrl 0 on Windows or Cmd 0 on a Mac to fit the image on your screen.
Adjust your foreground and background colors to black and white because we’re all about that sleek, classic monochrome. If your colors refuse to play nice, press D on your keyboard to get them in line. Fill your image with black using Alt Delete on Windows or Option Delete on a Mac.
It’s time to make some guidelines do the heavy lifting—drag them from the view rulers to precisely intersect your canvas center. This sets the stage for when you create your shapes, ensuring accuracy is on your side.
Sculpting the Perfect Shapes
Switch to that rounded rectangle shape tool, inputting 47 pixels for its width and 11 for its height, with a deliciously hefty corner radius of 100 pixels. Place it right in the center, using Ctrl H or Cmd H to hide those guidelines and keep your workspace clean and zen.
Save this as a pattern by going to Edit > Define Pattern. We called ours “equalizer”—catchy, right?
Building the Disco Layout
Let’s create the canvas for this musical marvel. Under File > New, set your dimensions to 1280 x 720 pixels. This snazzy ratio is one trusty standard for many screen sizes. Slide over to the Adjustment Layer section and select “Pattern.” Your freshly minted equalizer pattern should pop right up.
Hold off on resizing the scale—100% should do the trick. Now, conjure up that magical selection circle from the channels panel. It’s like Photoshop’s way of saying, Shazam! to the tonal values in your image. Save that as your equalizer selection to make returning to it later a breeze.
Adding the Retro Touch
Before we leave you with all the swirling color escapades, turn to your layers panel once more. Create a new layer and fill your background with a splash of black, adding a gradient of your choice for color. We highly recommend the “Spectrum” gradient for maximum pizzazz, drawing it in a line across your canvas with the Shift key held tight.
The beauty of this technique is that it allows the intricacies of your pattern to shine through, adding a retro disco nod right where it counts—on your canvas.
Bringing to Life the Motion and Blur
For an eye-catching twist, randomly conceal portions of your pattern using the Rectangular Marquee tool. Play with pattern lengths to see what resonates most—because this is your disco to dance! Introduce some glamorous motion blur via Filter > Blur > Motion Blur, using a vertical 90° angle. Thickens out at a distance of around 425 pixels, perfect for that subtle touch of movement.
And just like that, with a few pattern selections in place, you have your disco equalizer—one that’s practically waving hello from the dance floors of yesteryear.
In Conclusion
You’ve just crafted an exciting retro disco equalizer, and while part two may hold promises of retro text and glittering stars, you’ve just laid the foundation for an exciting vintage creation. This masterpiece stands as a testament to what can be done with a dash of creativity and the right digital tools. Keep experimenting, keep creating, and may your inner disco diva sparkle ever brighter.
Stay tuned as we bring more creative walkthroughs from design elements of the past, present, and not-yet-danced.


