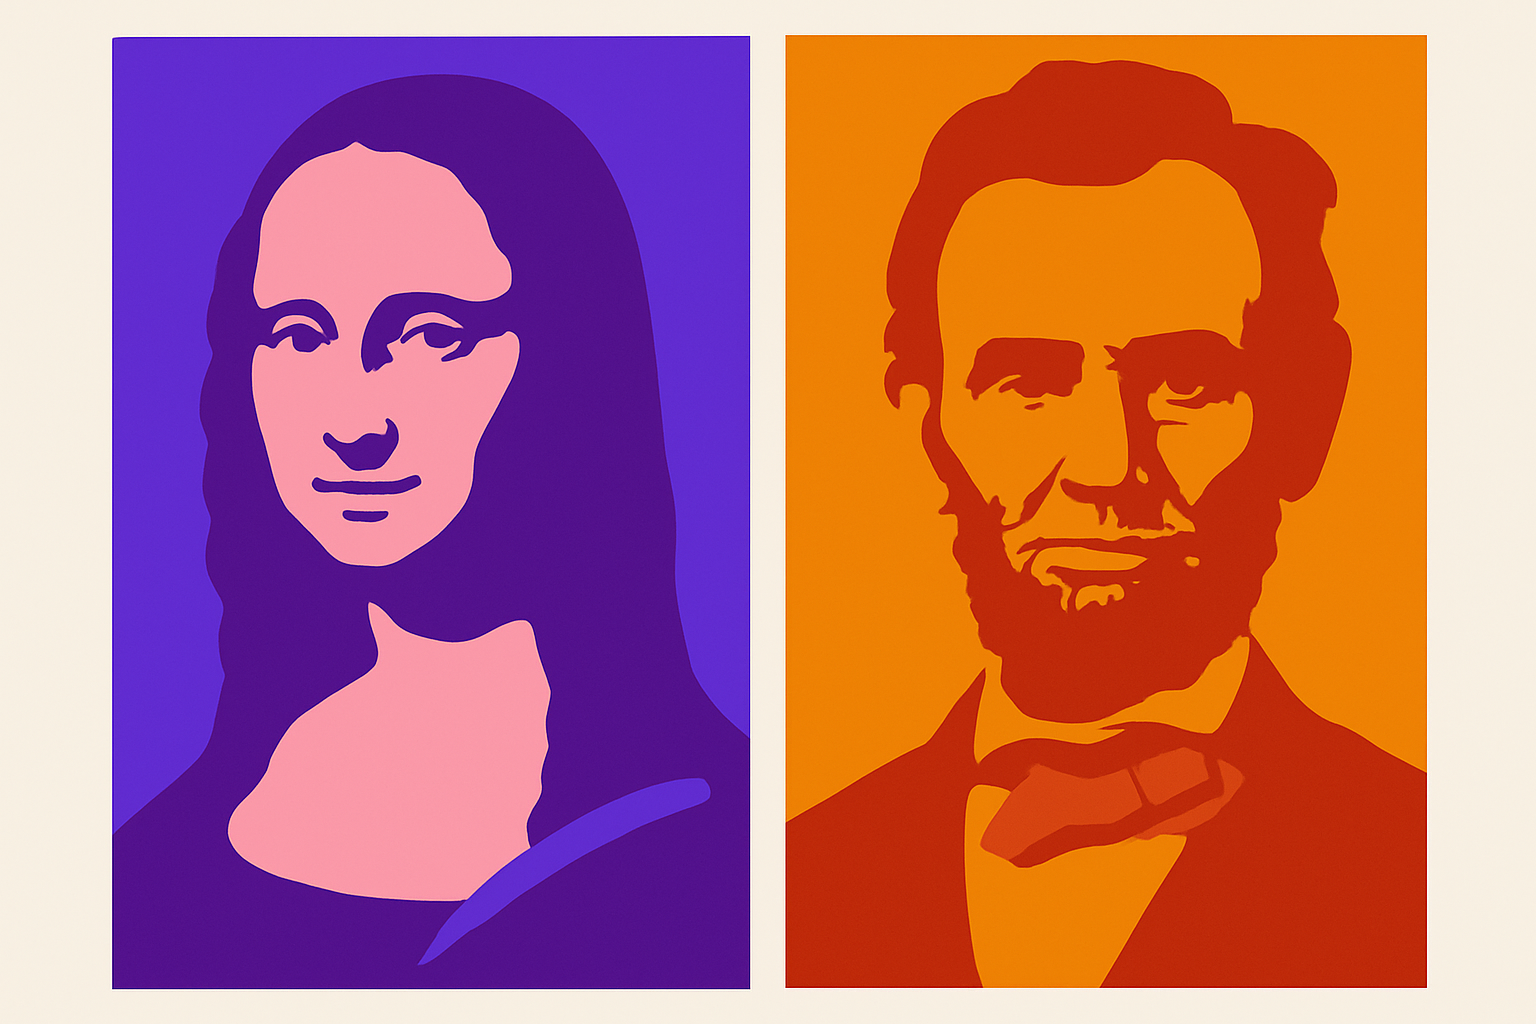
Transforming Your Photos with the Vibrant World of Pop Art
If you’re itching to breathe new life into your photos, why not dip your digital brush into the vibrant world of pop art? This guide will walk you through creating sensational pop art posters using Adobe Photoshop. It’s a straightforward process that promises to turn your mundane images into vivid pieces of art, with bold colors and iconic styles reminiscent of the 60s. And, because we live in the age of the tutorial, here’s the trusty video guide to complement our instructions. Enjoy!
Setting the Stage: Prepping Your Canvas
Our aim is to convert any standard image into a pop art masterpiece, with an initial setup of an 8×10-inch document at a resolution of 150 pixels per inch. If you’re wondering about the significance of resolution—more dots per inch (DPI) means more detail. So let’s keep it sharp enough for those gallery walls.
Step 1: Stripping Down to Basics
Start by opening your desired image in Photoshop. Duplicate the layer by pressing Control (or Command if you’re using a Mac) + J. This tactic keeps your original image safe and sound, while we manipulate our copy.
To achieve that classic pop art look, we need to remove the color. Tap Control + Shift + U (or Command + Shift + U for Mac) to decolorize. It’s just like giving your image the black-and-white movie treatment!
Step 2: The Magic of Auto Levels
After erasing the color, coax out the details using Auto Levels. Just hit Control + Shift + L (Command + Shift + L for Mac). This auto-magic tune-up will balance the tone and contrast to make those features stand out. This is akin to hiring an exceptional stage manager for your digital performance.
Step 3: Selecting Your Star
Now for some intricacies—separating your subject from the background. Photoshop offers a myriad of ways to make selections!
- Pro Tip: Choose a selection method that suits you best.
- Example: The Pencil Tool—embracing the nostalgia of sketching out a character before they leap off the page.
Whichever tool you choose, ensure your foreground and background colors are set to black and white. You can easily reset them by pressing ‘D’ on your keyboard.
Step 4: Creating the Pop Art Aesthetic
Next, it’s time to posterize the image. Navigate to “Image” > “Adjustments” > “Posterize,” and set the levels to ‘2’. This step reduces the number of colors in your image—essentially translating your portrait into bold, distinct shapes of color typical in pop art.
For that smooth, logo-like finish, head to “Filter” > “Noise” > “Median,” selecting a pixel number that aligns with your artistic vision. Adjust until it’s just right.
Step 5: Frame It Right
Create a striking border around your portrait for added emphasis. Click on the FX icon, select “Stroke,” and tinker with size and position (inside, please) to frame your work just so.
Step 6: Gradient-rich Background
Selections now made, switch to your channels panel, choose the dotted circular icon, and craft a new layer. Here, gradients steal the show. Use the Gradient Tool to pick contrasting colors, which you’ll apply from the bottom to the top of your image. The secret is in the stopping points—choose different hues for depth and interest.
Step 7: Text THAT Pops!
Lastly, no pop art poster is complete without some on-point typography. Select the Type Tool, choose a bold font like ‘Arial Black’ or something with a retro flare. Settle on a size—ours is a confident 197 points—and color it harmoniously with your background. Use your Move Tool to center the text, and prepare to marvel at your handiwork.
The Final Act: Your Pop Art Showcase
With a finishing flourish, fill the remaining areas with colors or gradients of your choice. Add more text if desired, and amplify the poster’s storytelling if you wish. The beauty of pop art lies in its simplicity and capacity for individual interpretation. By following these steps, you’re adding a touch of Warholian magic to your digital portfolio.
Strong, bold, and unmistakably you—your pop art masterpiece is complete! Ready to star in its own lighted frame, your work is as worthy of Instagram fame as it is of highbrow art critiques.


