Dive into the Horror Theme with Photoshop Magic
No one does Halloween like Adobe Photoshop. At Blue Lightning TV, we understand that fans of the macabre need more than just costumes and candy. They need chilling, spine-tingling artwork to match their love for all things spooky. In this post, we’ll break down a tutorial that helps you conjure up a mysterious and eerie text effect using Photoshop—a perfect blend of creativity and software wizardry.
Starting with the Basics
Before we dive into the scares, let’s talk fundamentals. We begin by setting up our Photoshop document. For this tutorial, a 1920 by 1080-pixel canvas with a 150 pixels-per-inch resolution should suffice, giving you clear and crisp textures.
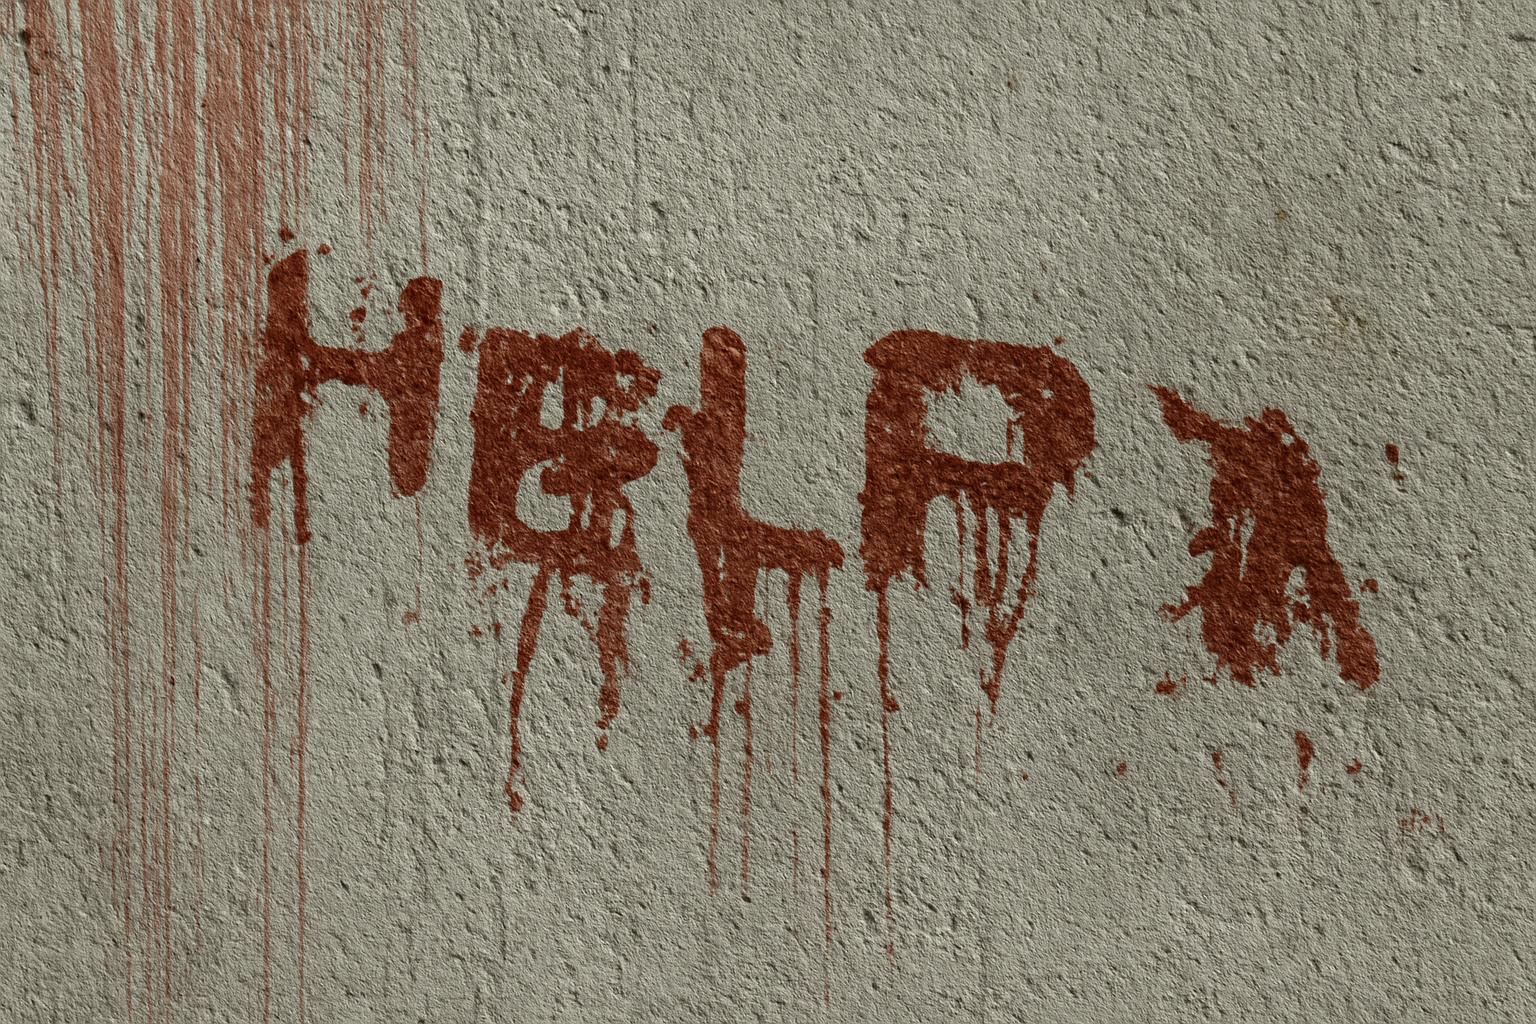
For our texture background, we snagged a spooky wall texture from CG Textures, ensuring a robust canvas to haunt. The immovable foundation of our ghastly design gives it an irrefutable sense of depth and realism.
Building Shadows with Layers
Layer work in Photoshop—it’s like layering stories in a good ghost tale. First up, we create a new layer and fill it with black. This dark void acts as the base for our spectral text. The steps proceed as follows:
- Fill with Black: Activate your settings such that black is the foreground color, and use
Alt + Delete(orOption + Deletefor Mac users) to fill the void. - Render Fibers: Employ the Filter and Render menu to add noise to your scene. Put your spectral hands to work by adjusting variance to 5 and strength to 10.
- Adjust Levels: Brighten or darken the composition by playing with the Levels. Tweak sliders until your ghostly visage emerges.
Layers, Channels, and the Magic of Masks
In this tale of Photoshop prowess, making selections and using masks is your wand and incantation. Head to your Channels panel for depth and drama in your haunted design:
- Create Selections: Select tonal values using the trusty circular icon. Remember to trash unneeded streak layers.
- Quick Masking: With
Q, enter Quick Mask mode, invert selection usingControl + Shift + I(orCommand + Shift + Ifor Mac), add in a blood-red foreboding color, and apply it withAlt + Delete(orOption + Delete).
Continue this spectral recipe by refining hues and saturations, changing blend modes to Color Burn for dark, shadowy texts, and adjusting opacities to ensure your ghosts are visible, but not too visible!
Type it Scary with Fonts
No haunted masterpiece is complete without the right font. We recommend the sharp, jagged Cold Night For Alligators font—available free from DaFont. After choosing your font, channel the spectral vibes by aligning your text with the color and blend mode settings we outlined earlier.
Achieving Atmospheric Dread
Creating powerful tension in your art involves more than just eerie fonts and colors. Let’s amp up the drama by adding atmosphere with zoom and shadow effects:
- Create Light and Shadow: Forge mysterious shadows, using your Pen tool to shape, and your Zoom tool to magnify the atmosphere.
- Feather Like a Phantom: Apply a feather radius of 87 pixels for blending the light path and ensuring seamless transitions.
- Compose, Adjust, Transform: At this point, it’s all about finessing—use level adjustments to dial in your shadows and final tweaks with the Transform tool to angle your image to spooky perfection.
Final Verdict
Completing your haunted scene involves making those last few alignments. With a composite snapshot, you ensure everything sits together like it should in your spectral scene. Adjust the angular perspective with some quick transformation moves to finalize your piece.
In conclusion—by following this detailed recipe for digital terror, your artistic creation will surely haunt the Photoshop galleries. Remember, dear readers, the best part of digital horror is that you’re always in control; just a few clicks and you can satisfy that haunting itch when it strikes. Until then, let your creativity envelope in the chilling embrace of the macabre.
Happy haunting, friends! Embrace your inner goth, indulge your shadowy side, and remember—Photoshop is your Ouija board to the spectral dimension.