Unlocking the Artist Within Using Photoshop’s Oil Paint Filter
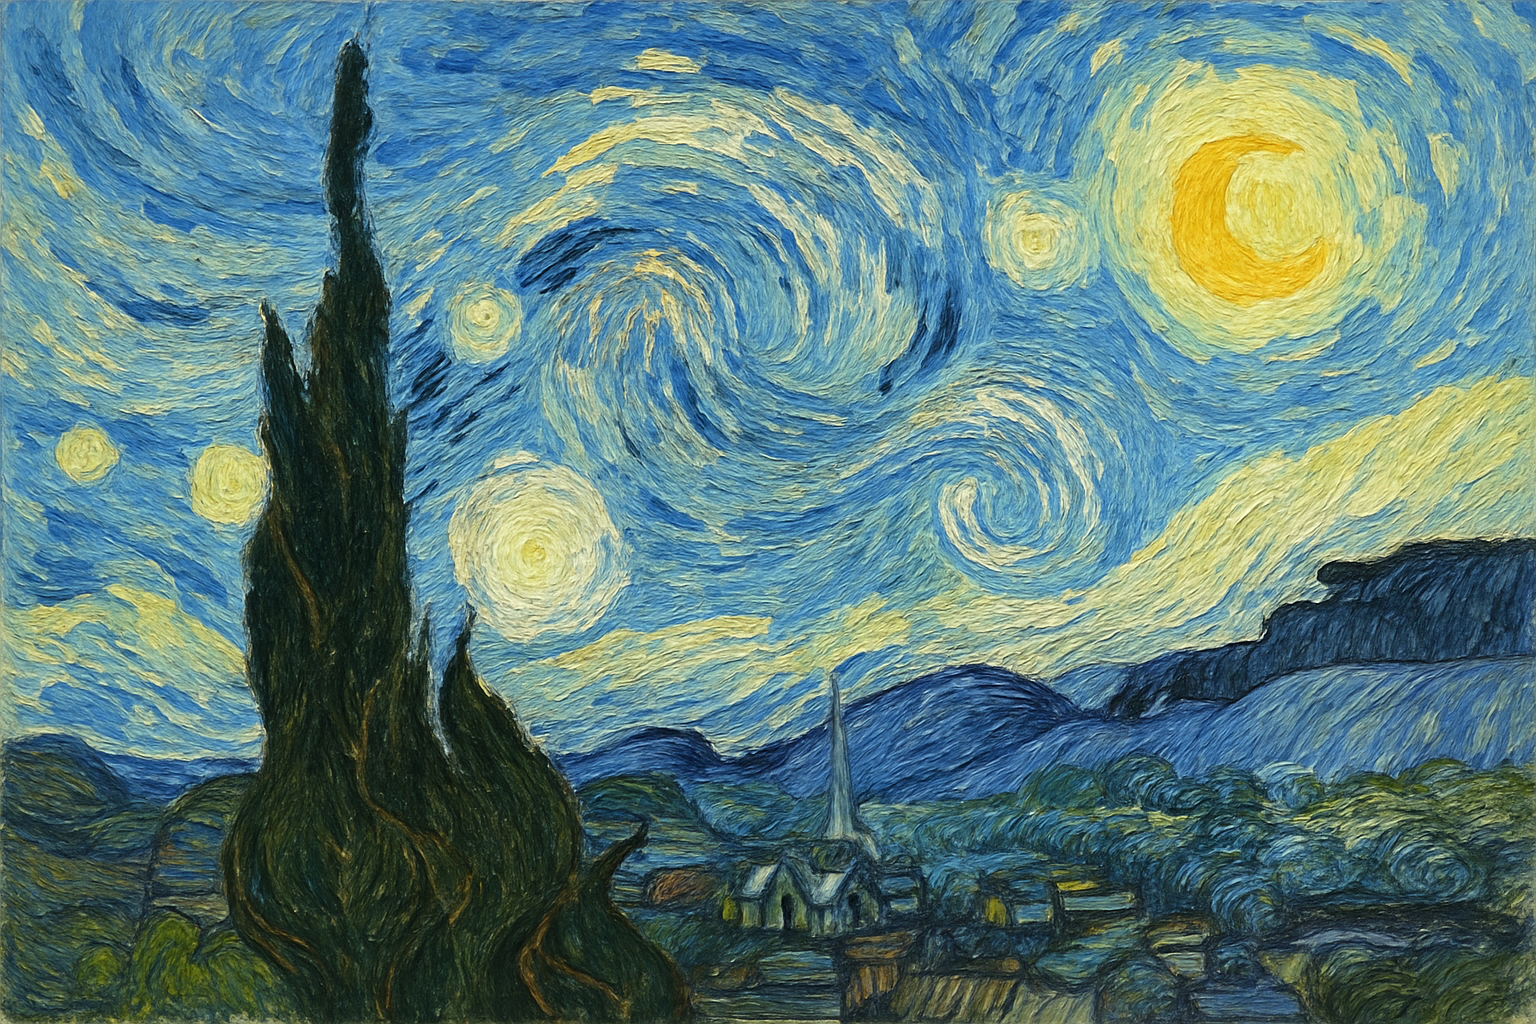
Ever wondered how to morph a regular photograph into a stunning digital painting reminiscent of Vincent van Gogh’s iconic “Starry Night”? Let’s dive into an exhilarating creative journey with a magical transformation that involves a few strokes in Photoshop! Whether you’re a Photoshop veteran or a hobbyist with a curiosity for digital experiments, this technique offers a fresh way to contemporize your favorite snapshots with an impressionistic flair.
Channeling Van Gogh: The Creative Process
Photoshop CS6 users are in luck, as this program comes equipped with an oil paint filter, a potent tool for achieving painterly effects. If you’re wielding CS5, fret not! You too can harness similar powers by incorporating Adobe’s Pixel Bender plug-in. The creative process will transform any picture into an artwork alive with swirling skies and vibrant colors akin to Van Gogh’s masterpieces.
Setting Up for Success
Before we wield our digital brushes, ensure your image is optimized for transformation. A good size to work with is 1920 x 1080 pixels at a resolution of 300 pixels per inch. First, duplicate the original image (Ctrl/Cmd + J) to preserve it and rename this layer to “base.”
Next, head to the Filter menu and select ‘Liquify.’ This tool is perfect for our task as it allows us to distort the image gently – a strategy similar to finger painting. Set the brush size and pressure to your preference, and begin sweeping your brush in mesmerizing curving patterns. Keeping some parts of the image, like any defined objects, clear will help maintain a recognizability amidst the swirls.
Blending Smooth Brush Strokes
Harness the might of Photoshop’s ‘Brush Tool’ to add dimension and pizzazz. By selecting a brush preset like “Thick Heavy Brushes,” you can inject your photo with textured strokes similar to an oil painting. Splash hues of bright yellow onto central swirls to capture those starry-night-like highlights, and don’t shy away from contrasting these with some whites to add depth.
Utilizing Filter Gallery for Artistic Touch
Head to the ‘Filter Gallery’ in Photoshop where various effects live. Start with the ‘Distort’ options and choose ‘Glass’ for distortion and smoothness; this adds to the texture, evoking the look of impasto paint. For size manipulation, scale your adjustments to fit your image dimensions.
Switch gears to the ‘Artistic’ tab and select ‘Poster Edges’ to accentuate outlines, making your photo pop with sharp contrast and color differentiation. Adjust thickness, intensity, and posterization to finesse your desired effect, striking a balance between abstraction and definition.
Finishing with the Signature “Oil Paint” Filter
Finally, unleash the magic: apply the ‘Oil Paint’ filter (or its equivalent if using CS5 with Pixel Bender). Here’s where the impressionist drama really comes alive. Customize your settings for stylization, scale, and cleanliness to tailor your photo’s transformation. Throw in some strategic glare with adjustments in bristle detail and angular direction to curve the light.
The result will be a digital painting brimming with swirling motion and emotive color—a digital homage to Van Gogh’s iconic style.
Adding Realistic Texture to Your Artwork
To further enhance authenticity, mimic a painter’s canvas texture. This can be achieved by sourcing a canvas texture file (for example, from a site like CG Textures). Paste it beneath your painting layer and adjust the edges with a layer mask, revealing slight patches of canvas border. This touch lends authenticity, simulating a stretched canvas beneath the gesso.
The New Age of Artistic Transformation
The power of Photoshop offers us endless possibilities, where each photograph becomes a potential artwork residing in our imaginative galleries. Use these techniques to transform not just sights, but experiences into visual masterpieces, basking in the legacy of art’s greats while riding the wave of technological innovation. Happy transforming, and may your digital canvas burst with creative life!


