
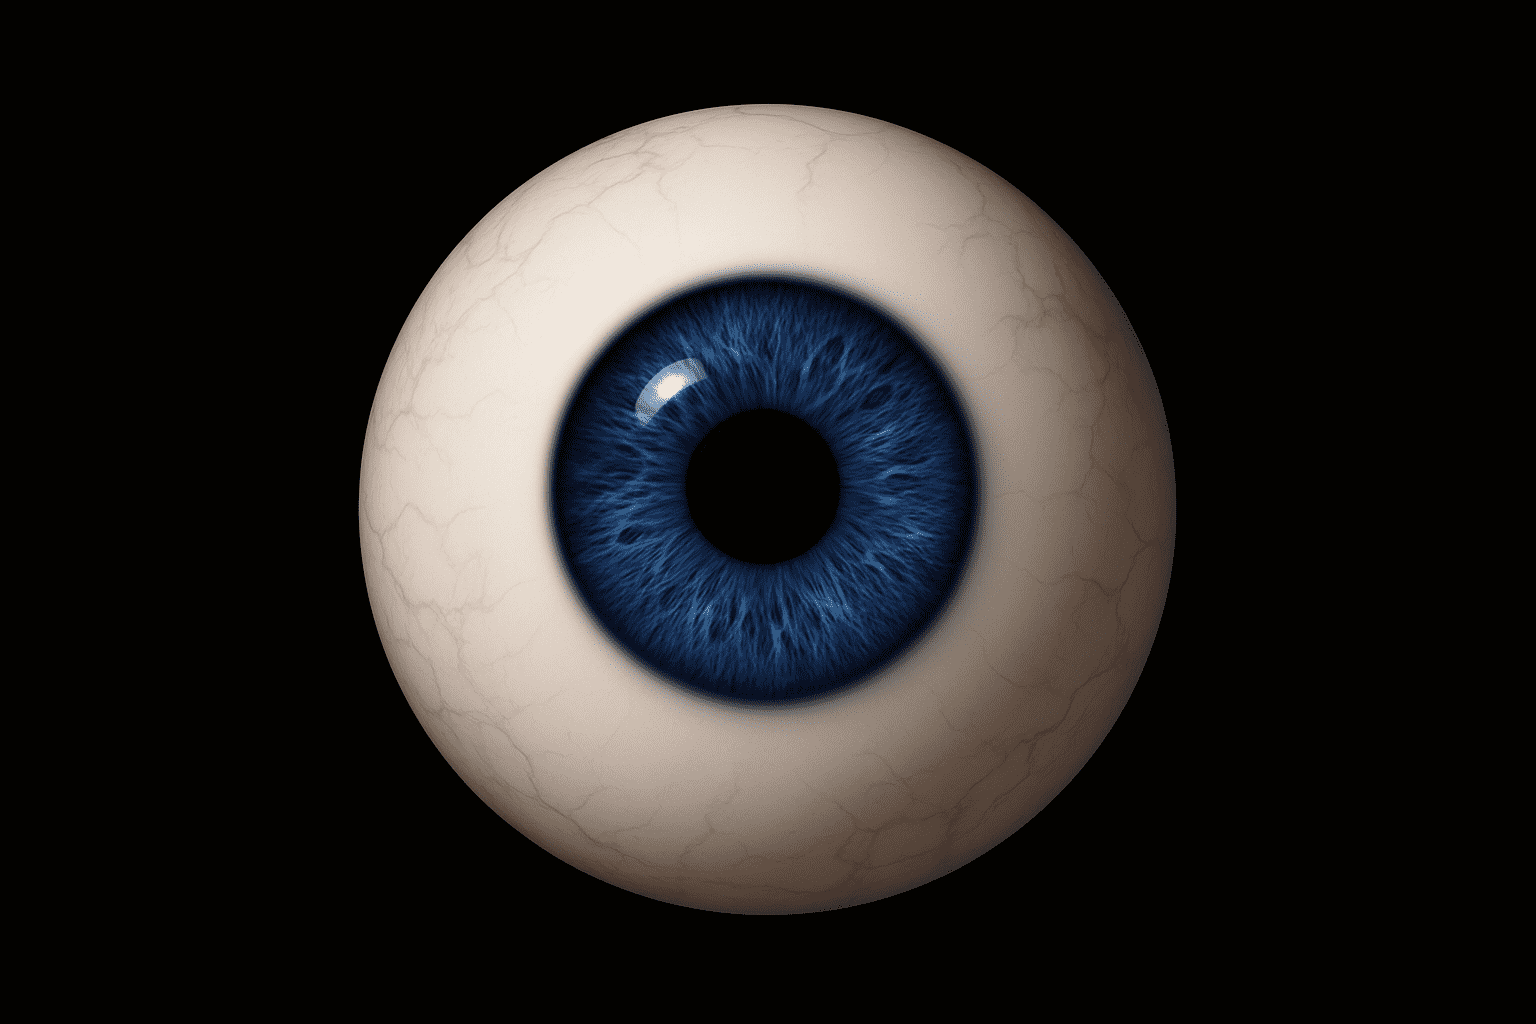
Craft Mesmerizing Eyeballs Using Photoshop
Creating realistic eyeballs in Photoshop may seem like an unusual skill to develop, but for artists, designers, and digital creators, the ability to manipulate elements with precision and creativity can truly elevate a project. Whether you’re working on detailed character creations or enhancing the hyper-realism in your artwork, mastering the art of crafting lifelike eyeballs is a game-changer. Grab your stylus and prepare to be captivated by this step-by-step guide to making stunning, authentic eyeballs in Photoshop.
Designing the Creates a Visual Perspective: Document Essentials
Every artistic vision begins with a blank canvas—or in this case, a Photoshop document. Let’s start by setting up a 1280×720 pixel document with a resolution of 72 pixels per inch. This will be our foundation on which the extraordinary will be realized.
Foreground & Base Layer Magic
Grab your Elliptical Marquee Tool, place the cursor in the center of your canvas, hold down Shift and Alt (or Shift and Option on a Mac), and drag out a perfect circle. This is your pro-tip for creating symmetry. Doing this dance with the circles sets the stage perfectly.
Transform this shape into a base by altering your foreground color to 90% brightness—like a shadow hiding in daylight—and filling a new layer. Enhancing the realism starts by applying an Inner Glow with a black color set to 20% opacity and a size of 40 pixels, alongside an Inner Shadow set to 60% opacity, 63 pixels of distance, and a 141-pixel size.
The Iris & Pupil: The Heart of Your Creation
Awe-inducing digital artwork isn’t born but crafted. Center stage is taken by the iris—the focal point capturing attention.
Iris Textures and Patterns
Create another new document, 720×720 pixels this time. Choose Filter > Render > Fibers, harnessing the settings: Variance at 16 and Strength at 4. The resulting texture morphs into a radial marvel using Filter > Distort > Polar Coordinates. Copy and paste this ethereal creation into the eyeball document, etching it into perfection with a layer mask.
Equipped with the right textures, we dive into the color palette. Convertible gradients like ‘Noise’ samples add vibrancy—art on a whole new spectrum.
Pupil Precision and Consistency
Similarity can seem boring, but not so with the pupil’s repetition of geometric mastery. Using the Transform Selection tool, tweak it to your heart’s content, donning this drapery with shadows using Feather and Fill tools—100% black to be exact.
Adding Life: Light Reflections and Vessels
What’s art without a touch of realism? The absence of reflections leaves the eyes hauntingly vacant.
Creating Reflections
Add brilliance by replicating light reflections: dragging layers with transformative flair, utilizing Feather selections, and enlivening each stroke with an arc (originating from a minimalist donut shape we bid farewell immediately).
This is completed with dynamic layer merging, transforming, and repositioning—the delight of digital brushstrokes and shimmering overlays breathing life into this ocular narrative.
The Web of Vessels
Synthetic becomes organic with the inclusion of blood vessels—whisps from rendered clouds duplicated and inversed, their tonal dance providing textural depth. A spherized iteration flits onto the vast setting, embracing soft opacity for balance.
The Artistic Leap: Experimenting with Creative Variants
Beyond technique, creativity flourishes as you let your imagination roam across search for diverse color palettes, experimental pupil shapes, or alien-inspired designs.
In the vast realm of digital art, your unrestricted innovation births another masterpiece from the patterned chaos—a tangible expression forever framed in the canvas of reality. This is Blue Lightning TV, and as always, here’s looking at you.





