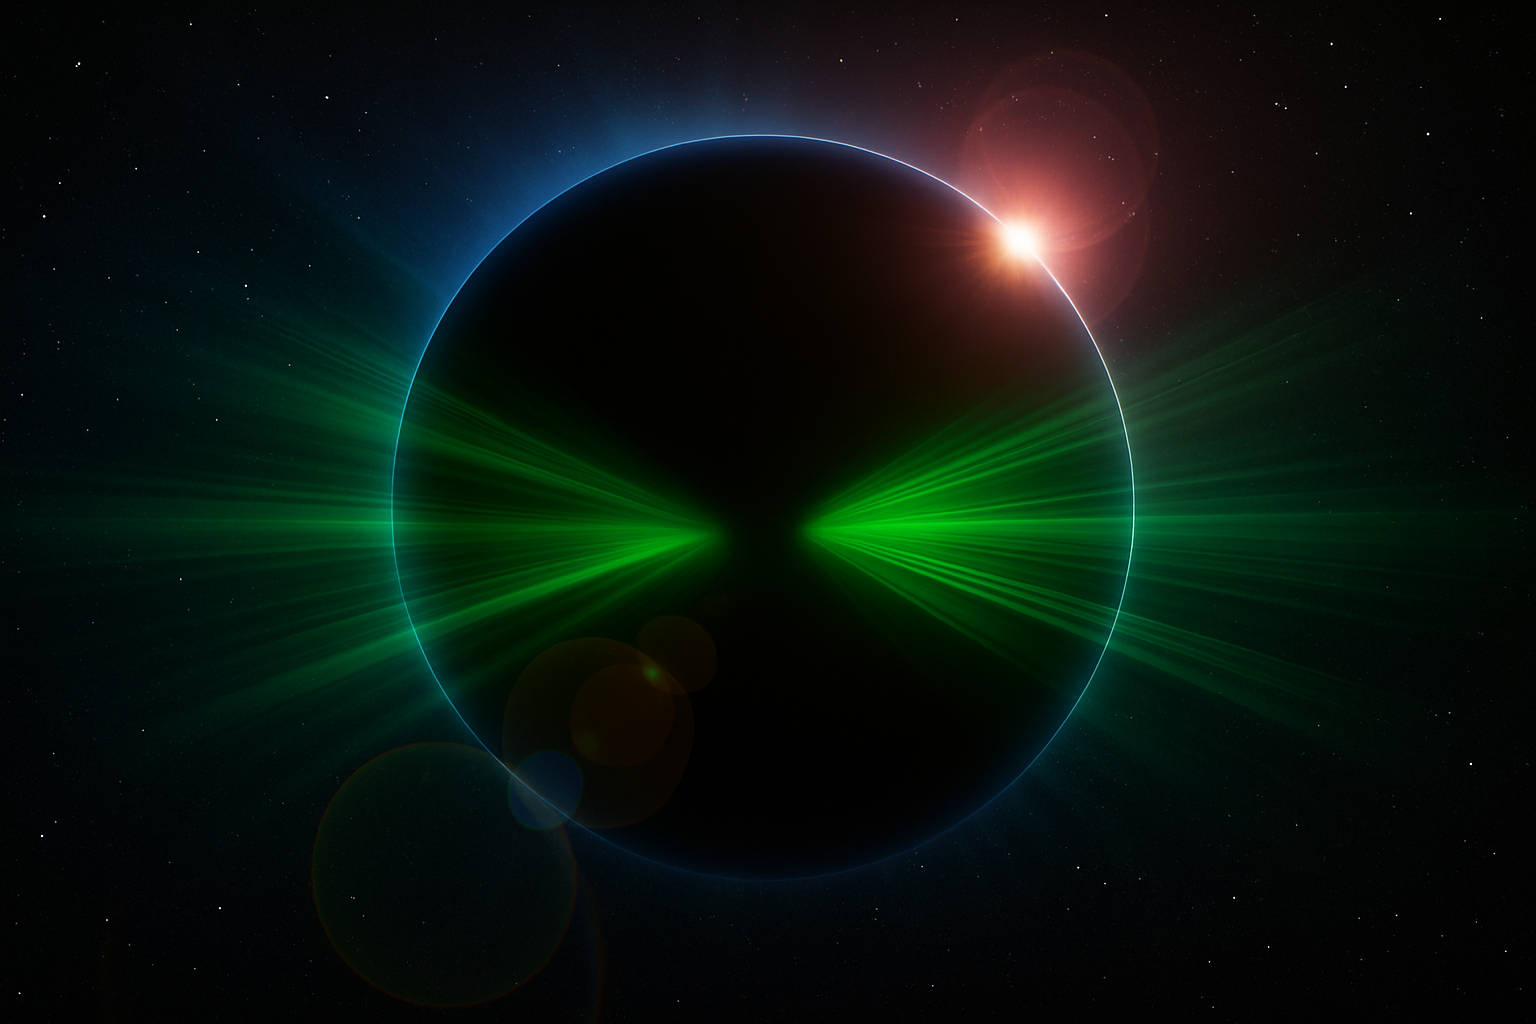
Mastering the Art of Digital Eclipses
Picture this: the dark silhouette of a moon creeping over the face of a sparkling planet, set against a backdrop of twinkling stars. It’s awe-inspiring. Now, how about recreating that cosmic splendor right on your computer screen using Photoshop? That’s where today’s exploration takes us. Get ready to delve into the intricate process of creating a breathtaking planetary eclipse using some nifty Photoshop tricks and tools.
Setting the Stage: Your Digital Canvas
Before we can paint our cosmic masterpiece, we need the right canvas. In this instance, it’s a document sized at 1280 by 720 pixels with a resolution set to 72 pixels per inch. As any artist would tell you, preparation is key, so double-check your settings to ensure they are ticked just so — with foreground colors set to black and options like rulers and snap checked for optimal alignment.
Guides and Grids Are Your BFFs
Once your canvas is deceitfully simple yet complex black, it’s time to lean heavily on your rulers. They’re not just there to add to the interface’s visual complexity — they’re crucial for precision. With the ruler set to visible, you can drag guides to the center axis of your canvas, setting the stage for symmetrical artwork.
Diving Into Type: Setting the Galactic Tone
Typography can give your design that extra flair, and in this cosmic adventure, we’ll use a font called Alien League. You can find this font on dafont.com. With a text tool in hand and color set to the most encompassing of all — black — the stage is set to dazzle with whatever space-themed word you choose. Great care is put into typeface because, let’s face it, space is all about the spectacle and grandeur.
By playing around with font effects like stroke and ensuring everything is centered correctly using various transforming tools, you’re starting to see the beginnings of your astral design come into focus.
Welcome Light and Shadow: The Planetary Play
Creating the illusion of a planet requires a series of intricate layers. You’ll be moving back and forth between different panels, using blending options, layer masks, and a generous amount of blur filters. As you add layers of blur and glow, you begin sculpting the light into a planet that bursts forth from the darkness.
Creating Depth and Realism
Your masterpiece will rely heavily on the convincing use of color, blur, and layering. Moving layers, applying masks and filters carefully allows the planet to emerge as a 3D figure floating in digital space. This is where the magic happens — merging layers to blend into one another and creating subtle shifts that give your planet that spherical realism.
Background Stars: The Final Frontier
A planet without a galaxy is like a guitar missing its strings — why bother? To fill your backdrop with the twinkling eyes of the universe, you need to noise up your background, blur it gently for depth, and voila — instant starfield! Allow the Gaussian Blur to ease in the sparkles that punctuate the vast emptiness of space.
The Crown Jewel: Adding Lens Flare
While adding a lens flare might feel a bit cliche, it’s the cinematic cherry on top of any space scene. A subtle positioning on the planet’s perimeter adds that celestial glow that defines the artistry of your planetary eclipse.
Feel free to take creative liberties here. You’re practically the god of your mini-universe and how you position your light source makes all the difference.
Your planetary adventure through Photoshop is now complete! Customize your eclipse with your unique text and continue to hone your creative prowess with these techniques. Keep exploring, keep creating, and enjoy the process as much as the stellar result. Whether you’re a digital art hobbyist or a Photoshop aficionado, you’ve just added a magnificent new skill to your repertoire.


