Elevate Your Evening Sky Photos
Ever gazed up at a dull sky and wished you could sprinkle some magic to make it unforgettable? With a few digital brushstrokes in Photoshop, you can effortlessly turn a mundane evening sky into a breathtaking celestial spectacle. Whether you want to sprinkle stars, emulate the Northern Lights, or ensure your landscapes pop against the night, we’ve got the scoop on all the digital wizardry you need. Buckle up, as we’re about to give your sky photos the fairy godmother treatment they deserve.
A Soft Start: Document Setup
Before you jump into crafting your digital masterpiece, you’ll want to start with a reasonably sized canvas. A document size of 1280 by 720 pixels with a 72-dpi resolution is a practical choice, offering a balance between detail and speed.
- Tool Selection: Quick Selection Tool – It’s time to grab your Quick Selection Tool and mark territories by clicking and dragging over trees and landscapes. Remember, precision in the beginning pays off.
Mastering the Art of Selections
To finesse your selections, leverage the “Refine Edge” feature. Just a gentle nudge of the Smart Radius slider to about 33 pixels can go a long way (although you’ll want to adjust based on your unique image characteristics). A fairly broad brush size will help you paint over the detailed nooks and crannies, including the tree tops.
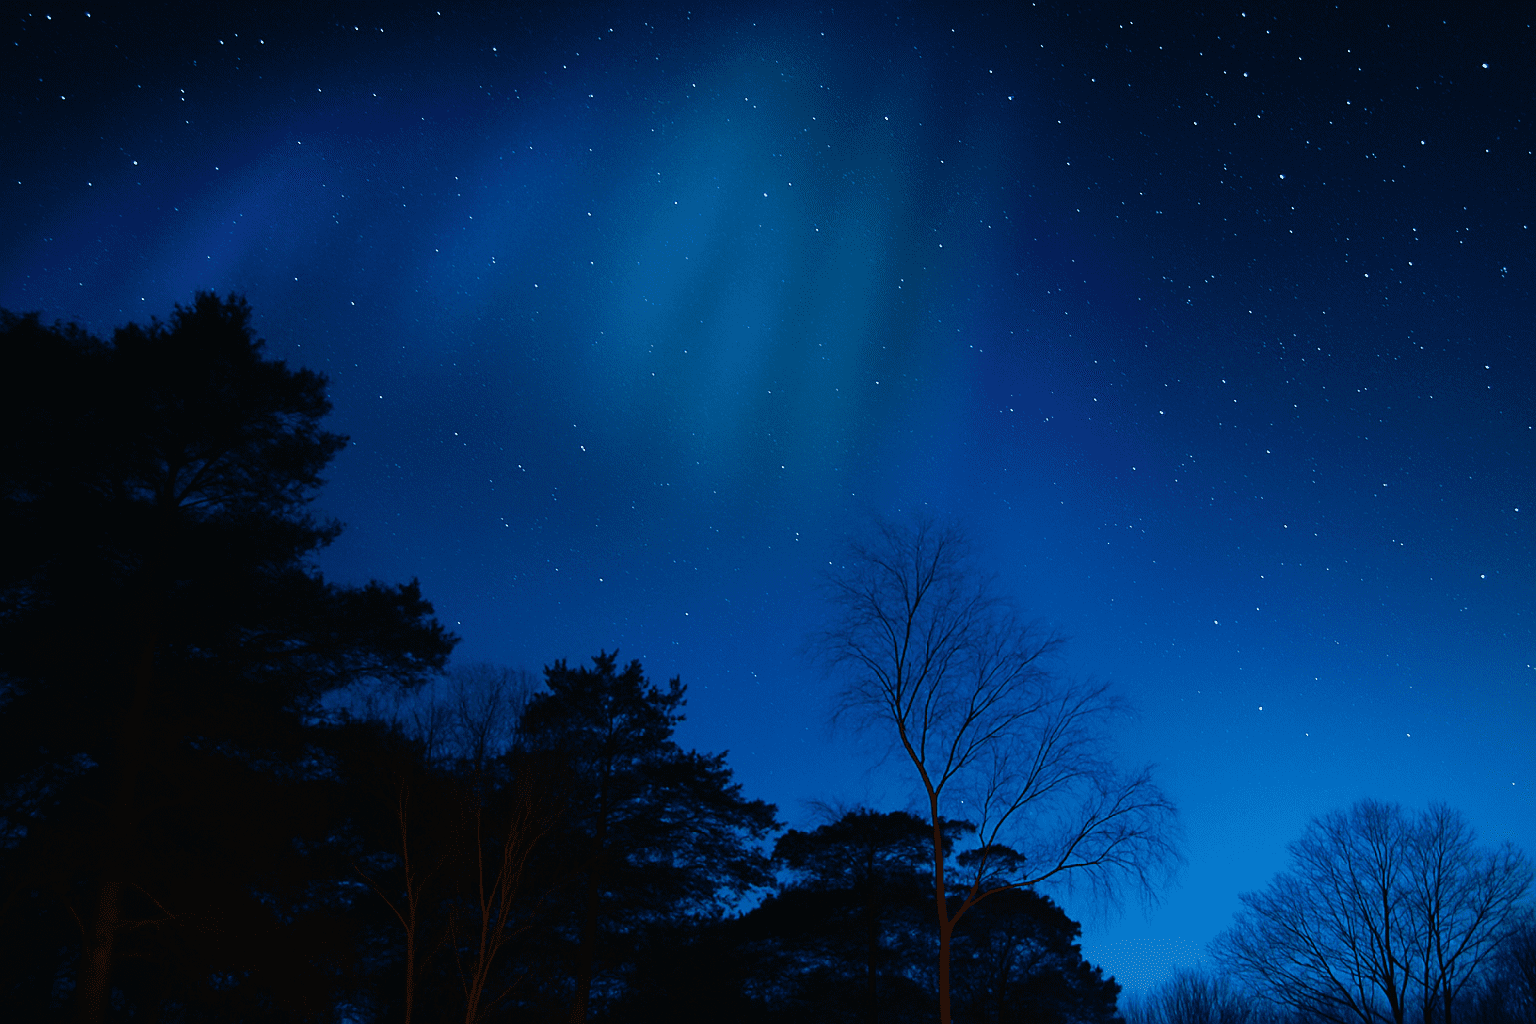
The Celestial Rollout: Adding Stars
What’s a night sky without a dash of stardust? Creating stars involves a surprisingly simple fill-and-flourish approach.
- Layer it Black: With black as your foreground color, fill your new layer with the ominous darker hue by pressing Alt or Option + Delete.
- Make Noise: Add some noise into the mix through the Filter > Noise path.
- Blur Out: Speed over to Filter > Blur and engage Gaussian Blur at a mild 3-pixel radius, channeling the cosmic haze of a starry night.
Then Comes the Hue
Kindling your stars with soft colors makes a world of difference. Tweak the Levels by pressing Ctrl (or Command for Mac users) + L and adjusting highlights and shadows to bring your stars into focus, resulting in a radiant canvas. Consider screening your star layer for added depth and vibrancy.
Northern Lights, Activate!
Nothing says unforgettable like the mystique of the Aurora Borealis. To imitate this fascinating phenomenon:
- Gradient Settings: Choose a gradient preset like ‘Noise Samples,’ and modify settings like transparency to stay dynamic.
Perspective and Depth
Unleash the Perspective option under Edit > Transform. Dragging corners subtly widens angles, simulating an overhead auroral burst, whatever the season.
Smooth Finishes and Flourishes
While your sky bursts with newfound life, the final touches involve filtering redundancies and accentuating details:
- Subdue the Brights: Begin by adjusting opacities of various layers to prevent overshadowing other elements.
- Brush Your Way: Employ larger brushes to mask unwanted areas and bring focus to the essentials.
A Kiss of Color
Add final shimmers by adjusting blending modes to color and finesse the opacity to a whispering 10%. With hues like fuchsia, bring warmth to the ever-glowing lights.
In the realm of Photoshop, the power of transformation knows no bounds. With these strategic steps and tools at your disposal, your evening skies can transcend into mesmerizing nights skies filled with stars and Northern Lights. So why let Mother Nature have all the fun when you can create magic from the tips of your fingers? Dive into the world of digital art, and have fun converting your drab sky shots into enthralling photo revelations!


