Forge Your Words in Stone with Photoshop
Ever found yourself inspired after watching a classic film, like the grandiose “Gladiator”? Well, you’re in the right place. Today, we’re diving into the artistic world of Photoshop to create a strikingly ancient and powerful title card that looks like it was carved right out of history. We’re talking about a luminous stone texture with bold text that could easily make its way back to the days of Roman Empires or the wild medieval times.
Your Canvas, Ready for Creation
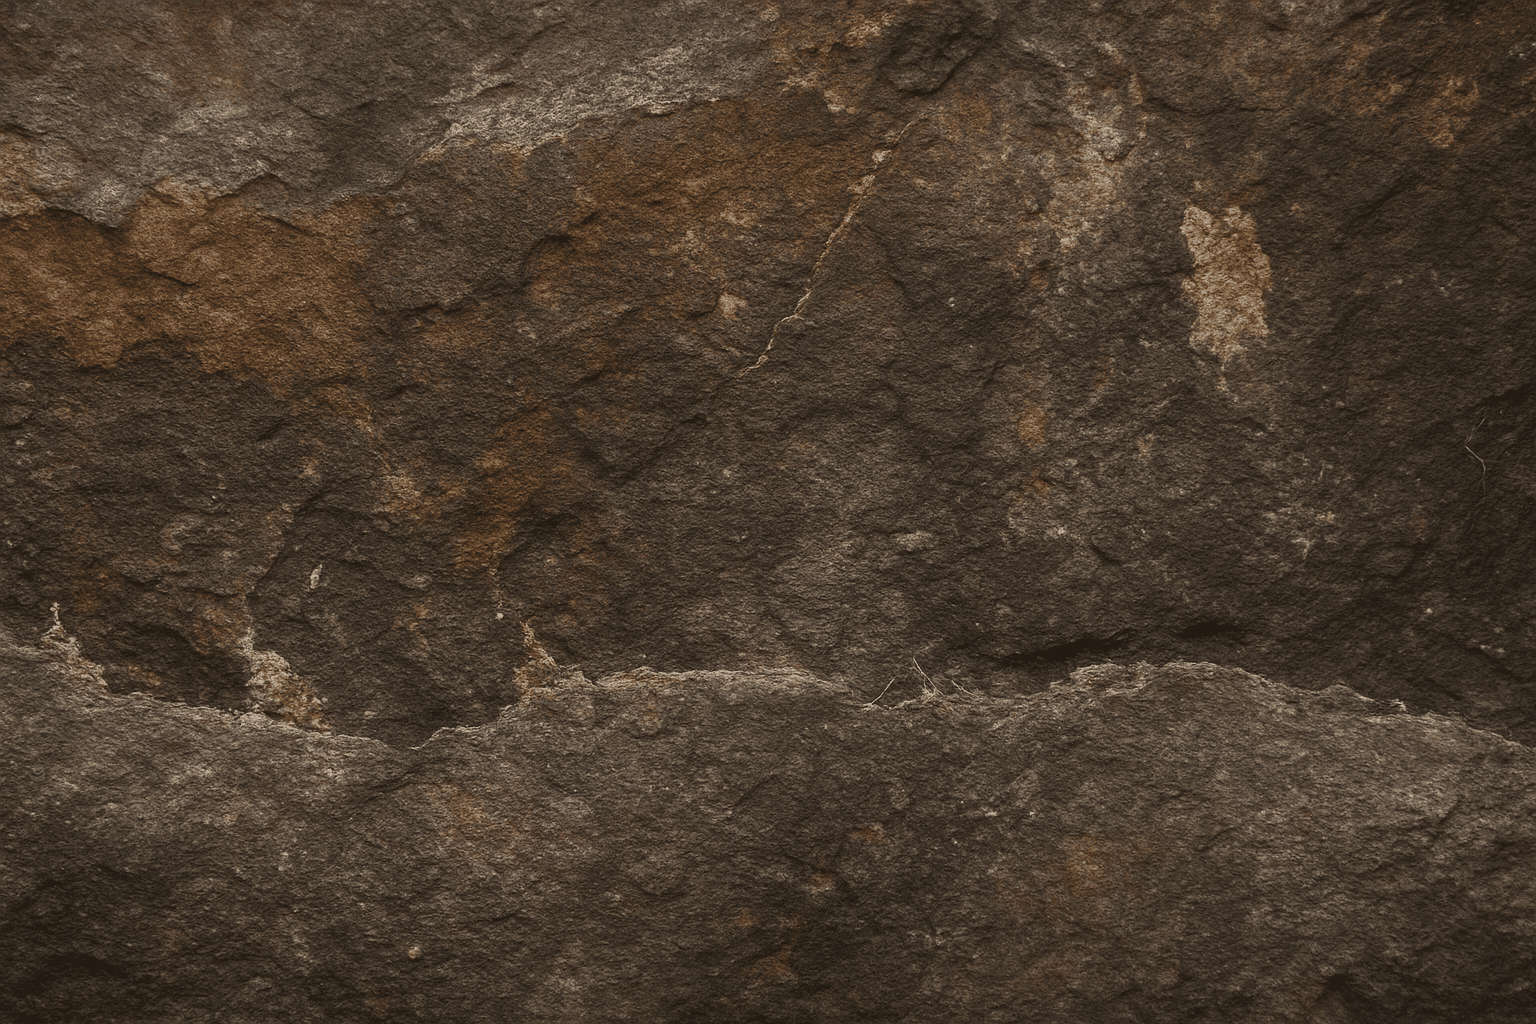
To begin this journey, we’ll need a document that’s 1280×720 pixels with a crisp resolution of 72 pixels per inch. Open Photoshop and create this document—it will serve as your grand canvas. Use an ancient stone texture as the base, which you can find for free over at CG Textures. Here’s where the magic begins.
Laying the Groundwork with Layers
Start by duplicating your stone texture layer. This is as simple as pressing Control or Command + J. Hide the original layer for now, because, like any good plot twist, it’s best saved for later. Now, add a solid color adjustment layer, choosing a solemn black. But don’t worry; we’re not going full goth here—reduce the opacity of this black layer to a mere 40%.
The Words of Ages
Time to add that ancient and powerful text! Press T to summon your text tool and select a font that screams “ancient wisdom.” Our recommendation? A font called Celtic Gamond, downloadable for free from DaFont. Choose a stark white for your text color. Now type out your word and use the Move Tool (press V) to position it perfectly.
Kerning – Because Space Matters
Pay attention to the space between those letters, known in the design world as kerning. Fine-tune it by placing your cursor between letters and using Alt or Option with the arrow keys to achieve the perfect spacing. Remember, making it look just right is half the battle.
Adding a Luminous Glow
With your text looking just right in terms of spacing, let’s add some glow. Double-click the text layer to open the Layer Style window. Here, you can add an “Outer Glow” and set the blending mode to Hard Mix, with an opacity of 27%. This gives it that otherworldly glow essential for your stone-carved text.
Crafting Depth and Texture
Depth is key to your ancient masterpiece. Jump back into the Layer Style window and choose “Bevel & Emboss.” Set that depth to a whopping 1000% with a size of 9 pixels. Now, to amplify the colors, select “Gradient Overlay” and work your way through the color settings—imagine it as choosing the hues of a setting sun eternally casting its light over your chiseled words.
The Final Touches: Shadow, Light, and Refinement
Bringing your masterpiece together involves refining those shadows and highlights. Use Levels adjustments (accessible with Control or Command + L) to tweak your text brightness. This step requires a bit of artistic intuition as you balance the highlights and shadows to complement your stone texture.
Finally, ensure any wayward cracks or unnecessary crevices inside your letters are patched up, particularly if they’re not part of your intended drama. A little patience here goes a long way.
Show Off Your Cinematic Words
Voilà! Your title card is ready to take a place in the hall of fame, or at the very least, be the new desktop wallpaper that’ll impress any visitors. This process not only gives your projects a refined look but also helps you harness Photoshop’s powerful tools in a way that’s effective and fun. Whether you’re creating for a fan-made project or just brushing up your skills, this look is versatile and timeless.
So grab your sword, mount your steed, and let your creativity conquer the digital realm with this stone-inspired design. Just imagine: what other eras, myths, and legends might you illustrate next?


