Recreate the Iconic Gritty Look of the 300 Movie Poster
Ah, “300” — the film that not only captivated audiences with its intense storytelling but also made a splash with its striking visual style. It’s been a hot minute since the movie premiered, but that bold, gritty aesthetic can still be emulated using Photoshop. We’re diving into how you can quickly recreate that high-contrast, cinematic look using photo filters and gradient maps. Buckle up, Spartans, because this is Photoshop at its finest!
Setting the Stage with the Perfect Image
The starting point for any epic scene is a suitable backdrop. For our tutorial, we use a stormy sky image provided in the project’s files and description. The image is a dramatic canvas at 1500 by 675 pixels and a resolution of 150 pixels per inch. Its size mimics the grand widescreen aspect ratio of many theatrical movies, setting the perfect stage for the digital artistry to follow.
Adjusting Contrast and Levels
To capture the brooding spirit of “300,” first tackle the contrast levels. By pressing Ctrl + L (or Command + L on a Mac), open the Levels window. Dragging the input dark arrow helps bring out the shadowy depth of the sky and clouds, while a slight nudge of the midtones increases this impact.
Layer Your Way to Glory with Gradient Maps
Gradient maps first debuted in Photoshop CS6, introducing a more dynamic approach to toning. Add an adjustment layer for a gradient map, delving into the “Photographic Toning” presets. Choose “Gold 2” and drop its opacity down to 60%, replicating the golden hues iconic to 300’s scene coloring.
Deepen the Scene with Photo Filters
Pump up the drama with a photo filter. Set this layer to a specific color, reducing its opacity to 60% to blend seamlessly with your scene. These filters intensify the pre-existing colorization, embedding the stoic mood synonymous with 300’s narrative.
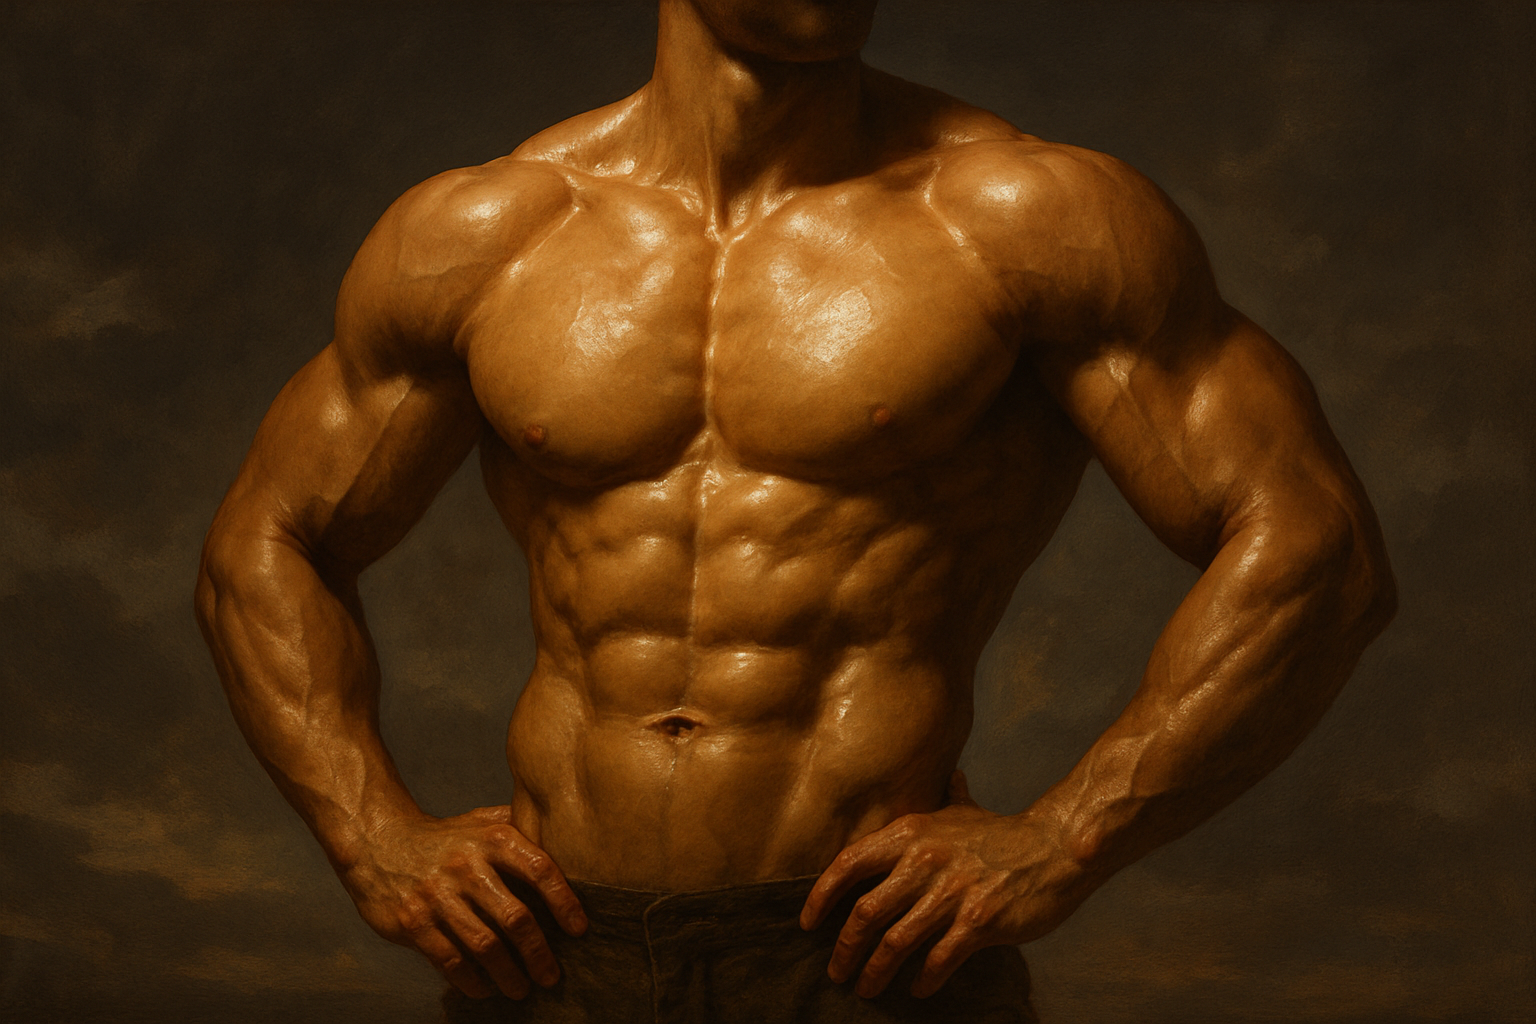
Introducing the Heroic Figure
Your stormy sky is set; now for the hero entrance! Cut out your chosen figure from its background—a technique we’ve covered in numerous tutorials here on Blue Lightning TV. Once freed from its mundane surroundings, transport your figure into the epic tableau. Just a flick of the Move Tool and your warrior stands amid stormy turmoil.
Enhance with Overlay & Blend Modes
Next, to give your figure the gritty edge, create a duplicate layer (Ctrl + J or Command + J), switching the blend mode to Overlay. This process amplifies the textures and tones that scream cinematic drama. Remove any color from the original figure layer using Ctrl + Shift + U to ensure monochromatic fidelity.
Artistic Flair with Textual Finishes
What’s an epic poster without a tagline or title? Venture deeper into Photoshop’s artistic arsenal by crafting custom text that echoes the fierceness of “300’s” logo. Harness dynamic brushes, opening the Brush Presets and selecting options like “Square Char” with adventurous exactitude. Adjust size and angle for customized texture—your phrases should reflect the might of your dramatic vision.
Brush Settings Table
| Setting | Value |
|---|---|
| Size | 60 pixels |
| Angle | 0° |
| Roundness | 100% |
| Spacing | 5% |
| Size Jitter | 100% |
| Control | Pen Pressure |
| Minimum Diameter | 100% |
| Angle Jitter | 5% |
| Dual Brush Size | 76 pixels |
| Spacing Dual | 30% |
| Build-up | Checked |
Final Flourishes
With these steps, you’re ready to produce powerful cinematic scenes, the likes of which made “300” a touchstone classic. From contrast setting skies to showcasing text drenched in drama, each element gels to create an unforgettable image.
So, Spartans at heart, grab your digital swords (or, you know, stylus pens) and dive into this fierce aesthetic. Share your scenes—as epic as history and as grand as myth—with the world.
And you’re ready! Let’s paint our digital worlds with cinematic intensity and Spartacian flair, proving once again that Photoshop isn’t just a tool—it’s a weapon for creativity.


