
Transform Ordinary Photos into Iconic Magazine Covers
Ever admired the iconic ‘Person of the Year’ covers that adorn the front of prestigious magazines, with their bold fonts and captivating photography? Now, you can create your very own custom magazine cover with ease, perfect for gifting or simply showcasing someone special. We’re diving into a simple, snark-free (almost) method using Photoshop templates that you can adapt and personalize. No newsstands necessary.
The Blueprint for Your Custom Magazine Cover
Conjuring up a custom magazine cover involves more than just slapping a photo and text onto a page; it’s about creating the illusion of professionalism with just the right amount of flair. Here’s how you can turn your vision into a reality.
Unleash the Magic of Templates
Start with a solid foundation – our nifty template. These templates come pre-loaded with everything you need: the base layer, a layer mask for your photo, a barcode for authenticity (because we love accuracy here), and all the necessary text layers. You can snag this template from the link provided in the description of the video.
Document Specs
- Size: 11×14 inches—a respectable size that commands attention.
- Resolution: 150 pixels per inch is your sweet spot, ensuring your photos look sharp without requiring excessive enlargement (which, let’s face it, no one likes).
Bring Your Star to the Limelight
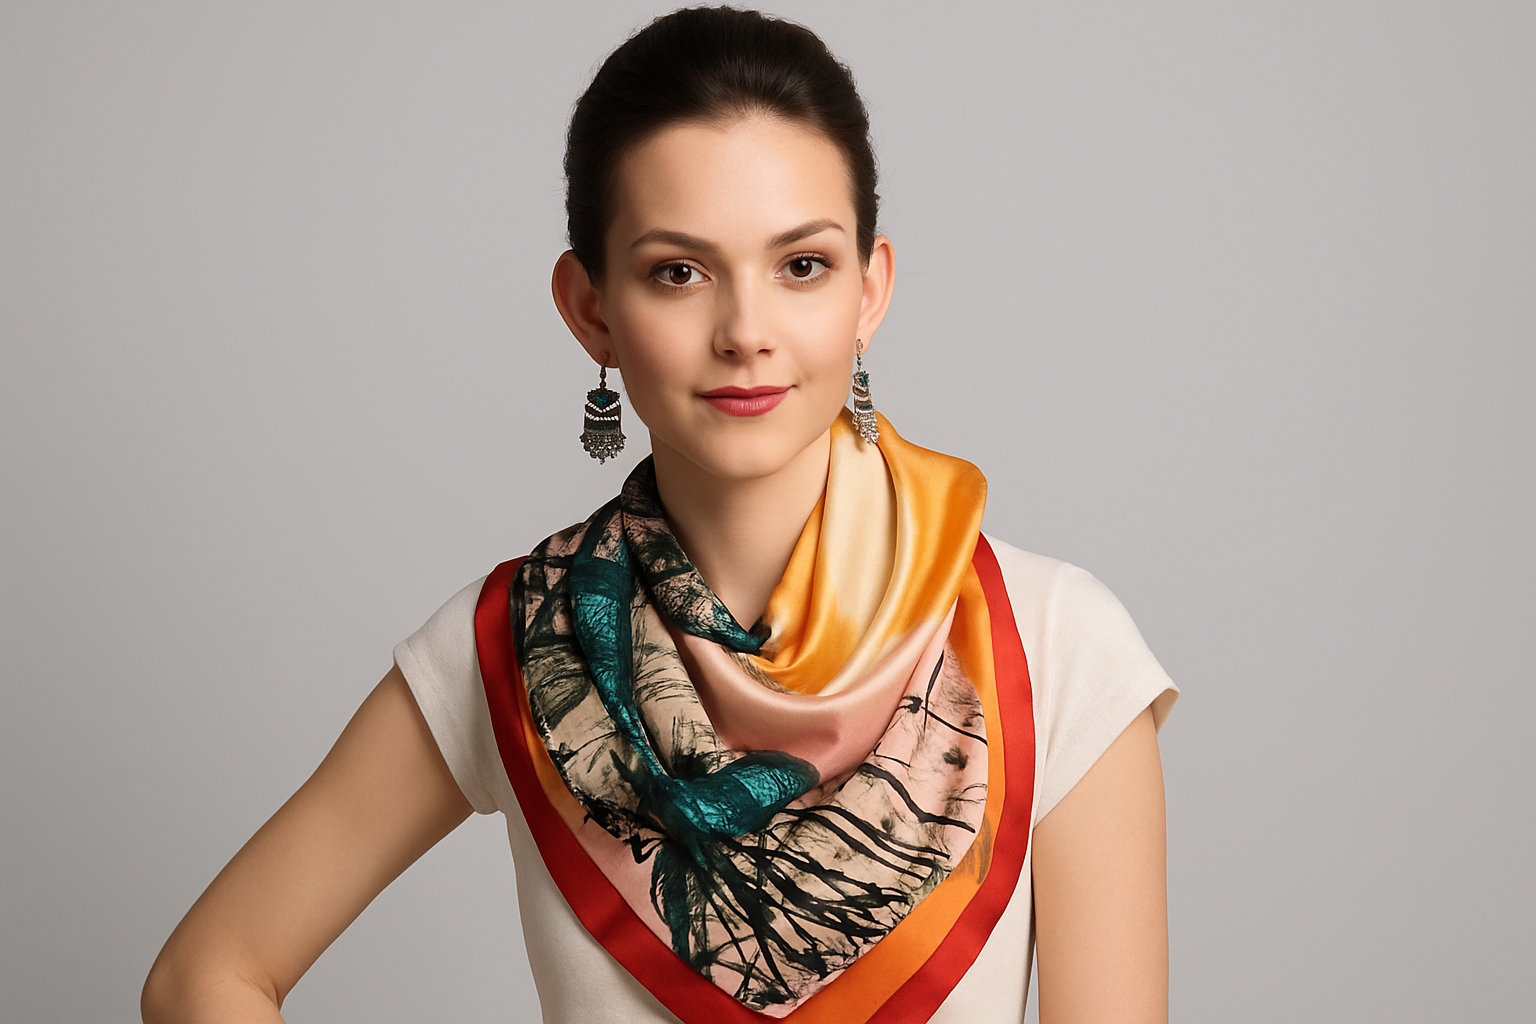
Open up a photo of your would-be magazine star. The journey to becoming a cover model starts here.
Using the Move Tool (V for the shortcut savvy), drag the photo into our trusty template. Remember to place it below the barcode for that true magazine feel. Protip: Toggle visibility off your original photo to streamline the workspace.
Resizing and Repositioning Like a Pro
Resize and position your image with the Transform Tool. Simply press Ctrl+T (or Command+T if you’re aboard team Mac). While resizing from a corner, hold Shift and Alt (on a PC) or Shift and Option (on a Mac) to maintain proportions—because no one likes a squished superstar.
When it’s picture perfect, hit Enter or Return to lock it in.
Text Layers: Where Personalization Takes Center Stage
Every great cover is defined by its words. Let’s break it down:
Editing Text Layers
- Fonts: Our go-to font is Tran Pro Regular—a free download from dafont.com. If font installation isn’t your forte, there’s always our handy tutorial.
- Customization: Substitute text to fit your theme. Swap Genius of the Year for Model of the Year, or whatever floats your creative boat.
- Masthead Makeover: Rename the magazine and tweak the size by highlighting the text and sliding the T icon to adjust the point size.
Avoiding Snap Traps
If your text clings to odd locations like it’s its job, head to ‘View’ and ensure ‘Snap’ is unchecked. You’re welcome.
The Finishing Touches
Here’s where the real magic happens—where your magazine cover goes from good to something worthy of an Instagram story.
- Name Game: Update the person’s name by making it active, hitting T to use the Type Tool, and replacing it with their name.
- Colored Flair: Want to add a splash of color? Highlight text and choose a new hue in the color box.
- Effect Mastery: Want to nix that soft glow? Simply toggle off the eyeball next to effects.
Showing Off Your Work
Present your final work as a heartfelt gift or as an homage to your creative buddy. Seeing their face on what’s undoubtedly the most happening magazine of the year is bound to generate heartfelt smiles (or the occasional gasp).
Creating a custom ‘Person of the Year’ magazine cover requires a dollop of creativity mixed with straightforward steps. Armed with this guide, you’re set to design the cover of their dreams and yours. Go on, make someone the next cover sensation!
And there you have it—because at Blue Lightning TV, we believe anyone can be a cover star with the right toolkit. Here’s to your endless creativity!





