
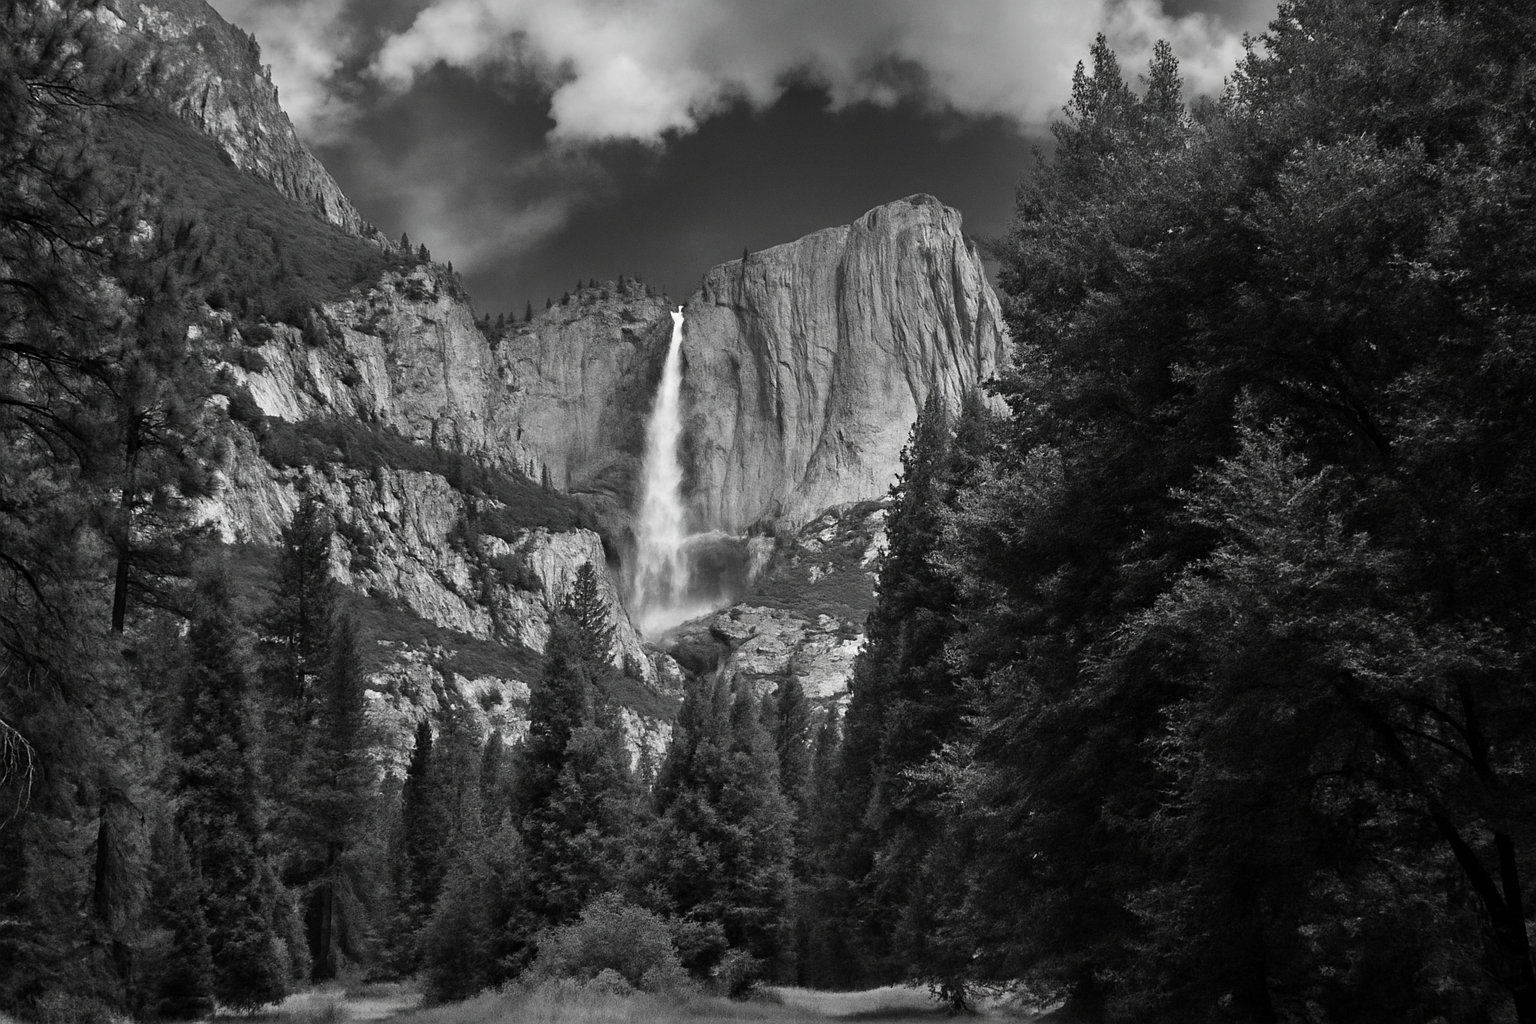
Unleashing the Power of Photoshop’s Black and White Conversion
Have you ever found yourself staring at a vibrant color photo and wondered, What would this look like in black and white? Converting color images to black and white isn’t just a throwback to the good ol’ days of film photography. It’s about crafting dramatic visuals that capture the essence of the scene sans any color distractions. Let’s dive into the most effective and powerful way to transform your photos using Adobe Photoshop’s formidable tools.
The Magic of Adjustment Layers
Photoshop is an alchemist for photographers, and understanding its features can turn a benign photo into a masterpiece. Start by clicking on the adjustment layer button and selecting ‘Black and White.’ This action turns your vibrant color photos into neutral monochromatic images. The beauty of this method is its non-destructive nature. The original colors lie just beneath, hidden but not lost, ensuring that your edits are entirely reversible.
Mastering the Sliders for Artistic Control
One of the most exciting parts of the black and white conversion is using the six main sliders. Each slider controls a different color in your photograph, allowing you to emphasize or de-emphasize parts of the photo. Slide them delicately to achieve the artistic touch you desire.
- Cyan Slider: Notice how it moves as you slide your cursor over a cyan-rich area. This fine control allows you to lighten or darken areas containing blue hues, like the sky.
- Green and Yellow Sliders: Planning to make that forest photo pop? Slide the green and yellow bars carefully to bring out the luscious tones of nature.
Toning and Presets: The Secret Ingredients
For those who crave a dash of character, Photoshop provides options like tinting. By checking the ‘Tint’ box and adjusting the sliders, you can infuse your images with different saturations and intensities. Want more? Explore the diverse presets ranging from dark green to high contrast blue and more, each offering unique aesthetic vibes.
Enter the Photographic Toning with Gradient Maps
Photoshop CS6 introduced something delightful for monochrome enthusiasts—the gradient map adjustment layer. This allows for nuanced photographic toning, replacing the existing presets with a professional-quality selection. From adjusting highlights and shadows to experimenting with split toning effects, this feature is inspired by actual photographic chemical processes. It’s like having the world of analog photography at your fingertips in digital form.
A Table of Gradient Map Effects
| Effect Name | Characteristics |
|---|---|
| Blue Filter | Subtle blue tones, great for skies |
| High Contrast Red | Enhances reds for dramatic effects |
| Infrared | Mimics infrared photography |
| Neutral Density | Balances exposure across the image |
Why Black and White?
So why all this fuss over black and white? Besides the nostalgia, black and white images hone in on the subject, reduce distractions, and evoke emotions in a simplistic yet powerful way. It strips down the noise and lets the bold shapes and textures take the stage, creating a visual narrative that’s often more poignant than its colorful counterpart.
Through Photoshop’s black and white adjustment layers, your color photos gain new life in monochrome. They become canvases for emotive storytelling, with every tweak of a slider shifting the mood and focus.
In the end, converting color images to black and white using these techniques not only beautifies your work but transforms it into timeless art. So, why not give it a shot on your next photographic venture?
For more fantastic Photoshop tips and tricks, be sure to explore Adobe Photoshop and see how these adjustments can elevate your imagery!





