
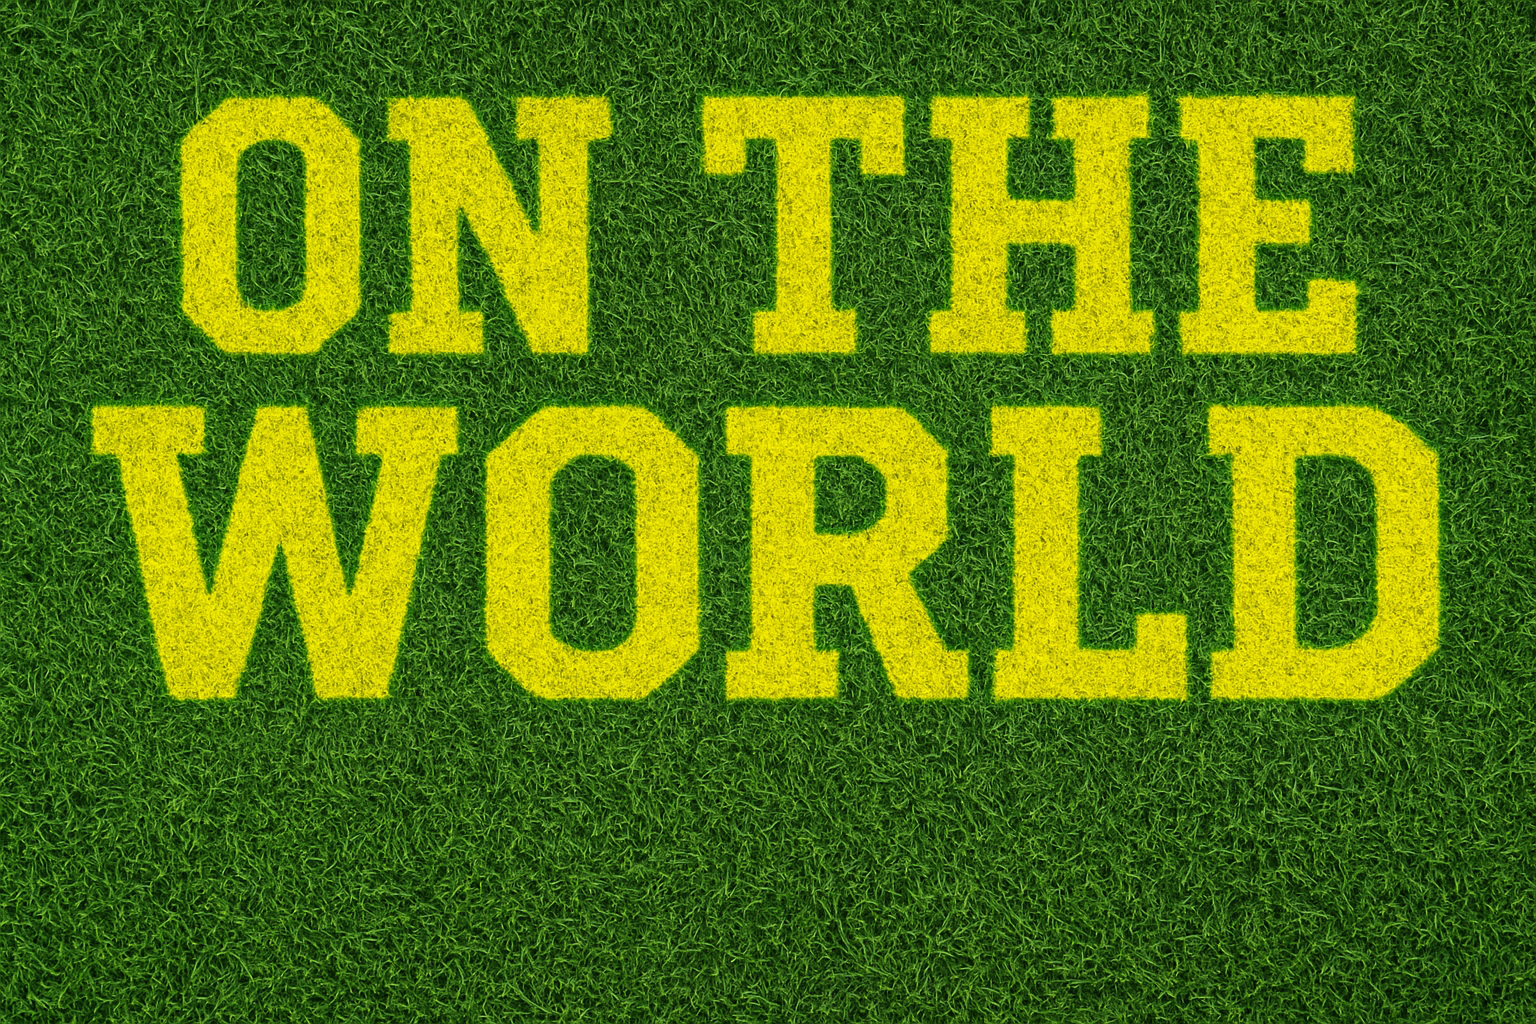
Digital Lawn Art: Transform Text and Shapes to Look Painted on Grass
In the world of digital creativity, it often comes down to creating effects that make your work stand out. One such exciting technique is making text or any shape look like it’s painted right onto grass. Whether it’s for digital art, advertising, or social media graphics, this eye-catching effect can add a unique touch to your projects. So buckle up, creatives—it’s time to get your hands digital-dirty forming that perfect grassy nail-biter of a design.
Setting the Stage with Textures and Fonts
First things first: let’s talk textures. A painted-on effect would be nothing without a realistic grassy texture to begin with. By visiting CG Textures, you can download high-quality grass textures to serve as the base for your masterpiece. Choosing a document size of 3000 x 2000 pixels with a resolution of 72 pixels per inch is a solid start—ensuring you’ll have the detail needed without crashing your computer.
When it comes to text, the font you choose is key in achieving the desired look. Sportsworld font can be downloaded for free from dafont.com. Choose a size around 370 points, although this can be adjusted to suit the specific dimensions of your project.
Creating Your Text and Selecting the Perfect Hue
Begin by typing out your text in Photoshop and adjusting each line to ensure your text is balanced across the width of your design. Use the Move Tool to position your text perfectly. Once happy, bring the text into a selection mode and then create a new layer for applying colors. Here’s where the magic starts—filling the text with a vibrant color, like bright yellow, before hitting ALT+DELETE to solidify your color choice. This gives the text foundational brightness and contrast against the textured grass.
Applying Textured Borders: Brush Up Your Skills
To blend your text seamlessly into the grass, the edges must look appropriately rugged. Convert the text into paths and consult your trusty Brush Tool for some texture wizardry. Open your brush presets and select an “Assorted Brush” option. Adjust settings like spacing and size—keeping the look natural. Shape Dynamics set to ‘Direction’ will ensure the brush follows the path smoothly, after which you stroke the path to texturize the letters.
Switch your text layer’s blending mode to “Soft Light,” which helps imbue your text with the underlying grass texture. Hide the original text layer to tidy up your workspace.
Polishing Up with Effects
Now it’s time for the cherry on top: layer effects. Using strokes, first apply a soft light blend. Duplicate the layer, and this time change the stroke to an inside position with an “Overlay” blend. Opt for a hue like #0488C—a muted blue that’ll marry well against your yellow text. The Overlay mode lends a greenish-blue glow on yellow, creating a naturally earthy finish.
Playing around with fill values—perhaps lowering the opacity to about 60%—ensures the inner stroke takes the spotlight over the yellow text, dimming the main body but boosting the detail on edges.
Adding Perspective for Realism
To wrap this up in style, skew your canvas for a perspective view. This little-known Photoshop trick gives your design a ‘peeking-out-from-ground’ appearance. Use the perspective transformation feature, draw out each corner in small increments, and voila—your text gains realistic depth.
Finalize the design by transforming and repositioning until it feels exactly right—whether for a sports banner, promotional graphic, or fun project for someone’s birthday party.
Conclusion: Flex Your Design Muscles with Gratifying Grassology
In summary, creating a painted-on-grass effect in Photoshop is not just about slathering paint over pixels—it’s about understanding layers, effects, and a bit of artistic whimsy. Armed with these techniques, you’ll be able to transform any text or shape into a seemingly tangible, freshly-painted message that leaps from the digital lawn. Remember, creativity is about stepping out of the box—or, in this case, onto the ‘grass’—and trying new things. Until next time, happy creating!





