
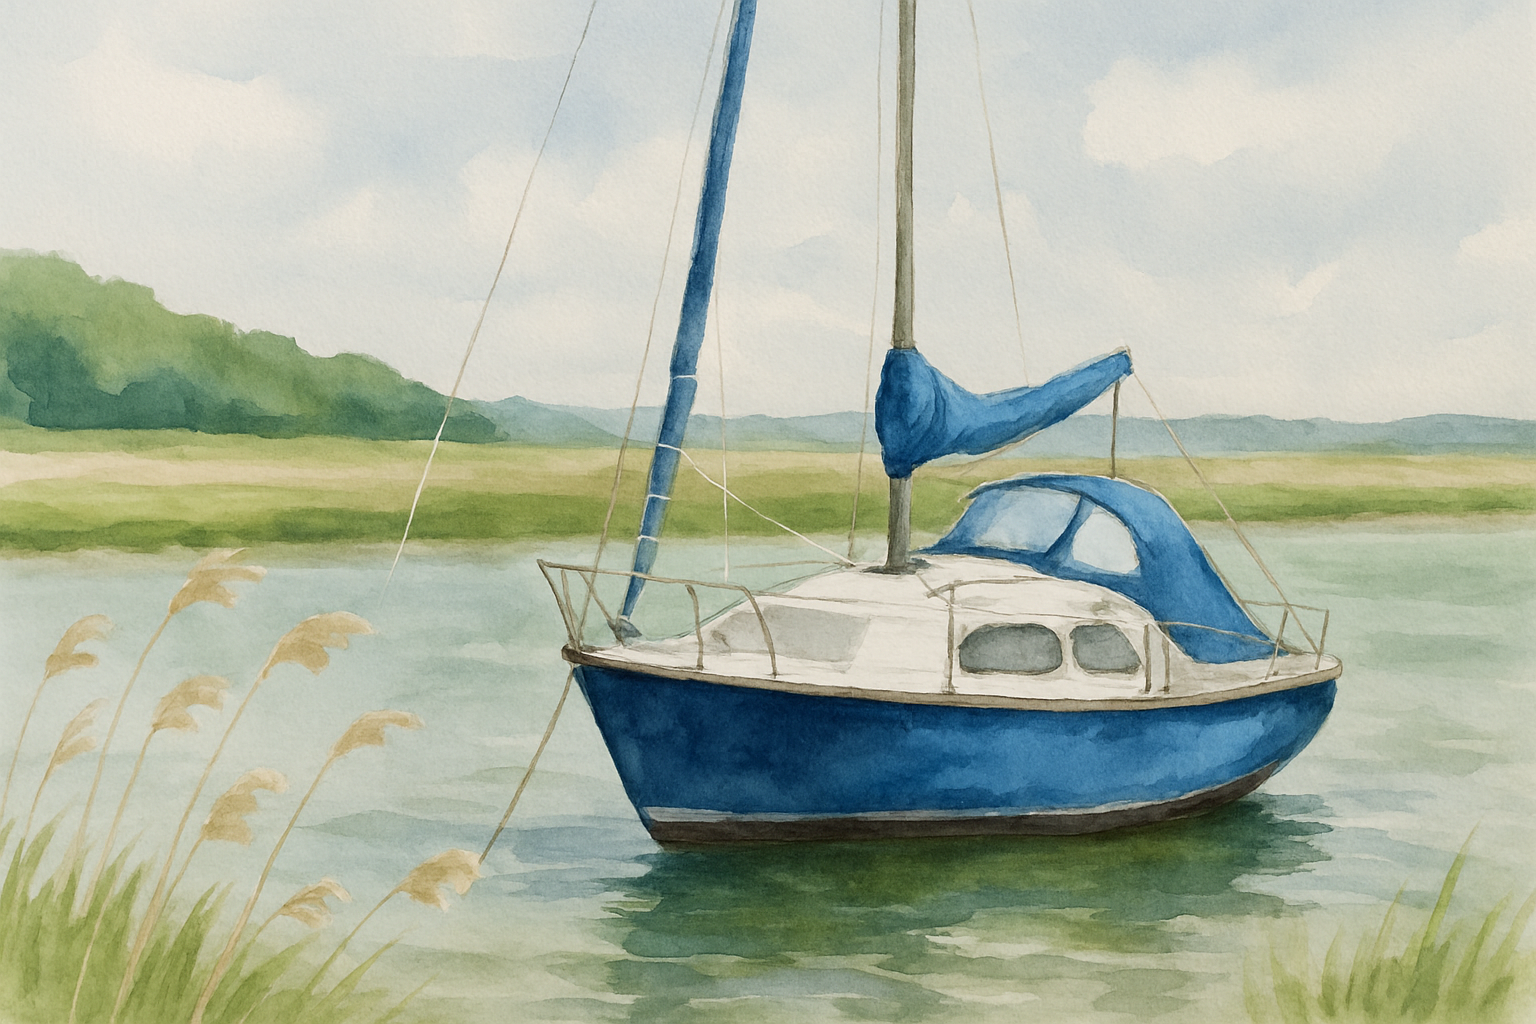
Why Settle for Filters When You Can Paint with Photoshop?
In the age of swipe-filter modifications on mobile apps, where the click of a button morphs one masterpiece into another mundane lookalike, real artistic control seems hard to find. Photoshop’s watercolor filter is handy, sure, but if you’re aiming for a nuanced touch—something that speaks to your artistic sensibilities and gives your image that authentic hand-painted vibe—you might want to look beyond automated effects. Today, we’re diving into a technique that allows you to convert your ordinary photograph into a stunning hand-painted watercolor piece, wielding nothing more than the mighty Photoshop. Ready to level up your creative game? Let’s paint the digital canvas together.
Setting Up Your Canvas in Photoshop
Begin your artistic endeavor by opening your photo in Photoshop. Ensuring your document is sized at 1280×720 pixels with a resolution of 72 pixels per inch is crucial for maintaining quality without chugging down your computer’s performance. Once you’re set, double-click on the layer and rename it “Base.” Simple, right? But don’t worry, things will get more exciting from here.
Blurring the Lines
Copy your base layer using Command/Control + J and rename it as “Smart Blur.” The art lies in the details, and here, you’ll explore the intricacies of your image using the Smart Blur filter. Head over to Filter > Blur > Smart Blur.
1. Set your radius to 10.
2. Threshold to 30.
3. Quality to high.
4. Mode to normal.
These settings can vary depending on your original image’s size and resolution, so feel free to tweak as needed—think of it like prepping your paintbrush before it meets the canvas.
Drawing Pencil Lines
Select your base layer again, and create another copy, dragging it to the overhang. It’s time to christen this layer “Pencil Lines.” Navigate to Filter > Stylize > Glowing Edges.
1. Adjust your edge width to 1.
2. Edge brightness to 12.
3. Smoothness to 15 for that sketchy outline vibe.
Invert the layer (Cmd/Ctrl + I) after which you’ll desaturate it (Cmd/Ctrl + Shift + U). Switch its blend mode to Multiply and nudge down the opacity to about 80%. You’re now laying the blueprint for where your watercolors will flow.
Brush Strokes to Watercolor Mastery
With your Smart Blur layer active, create a fresh copy named “Brush.” To capture the vibrant splendor of watercolor, invert the selection and set the blend mode to Color Dodge.
Summon your inner Bob Ross and pick up your digital brush tool. Go ahead and reset your brushes for a clear palette, then choose from a dry brush set with a size of roughly 140 pixels and an opacity of 10%. Time to dip in—brush randomly over the image. Build those first layers of watercolor beauty.
Next, switch gears with Wet Media brushes, selecting Watercolor Textured Surface. With an opacity change to 50%, your strokes are beginning to mimic authentic watercolor effects, revealing rich, dark regions where overlapped, like tangible paint mounds.
Amplify the Colors and Texture
Once your image is suitably painted, take a snapshot of the layers with Cmd/Ctrl + Shift + Alt/Option + E. Picking up adjustments, navigate to the Vibrance option from the Adjustment Layer icon, and crank that vibrance to 100%. Ah yes—let those colors sing a little louder!
Almost there! Activate the composite snapshot, and finalize your piece with a textured finish by heading to Filter > Texture > Texturizer. Here, utilize the Sandstone preset, with a scaling of 50% and relief set to 3. This final touch brings the tactile element of watercolor paper straight through the screen, with light cascading beautifully from the top.
Personalizing Your Digital Masterpiece
Instead of being stuck within the boundaries of a filter, these techniques hand over the reins to you—every brushstroke is your choice; every detail showcases your unique touch. Transform your snapshots into vibrant, stunning watercolor paintings, ready to be shared or even printed to hang. So, next time you’re fumbling through filters like sweets in a jar, remember the command at your fingertips, and paint one click at a time. Keep experimenting, keep creating, and most importantly, keep having fun with it.
Enjoy the fusion of technology and artistry, and create something that is not only visually compelling but also personally rewarding.





