
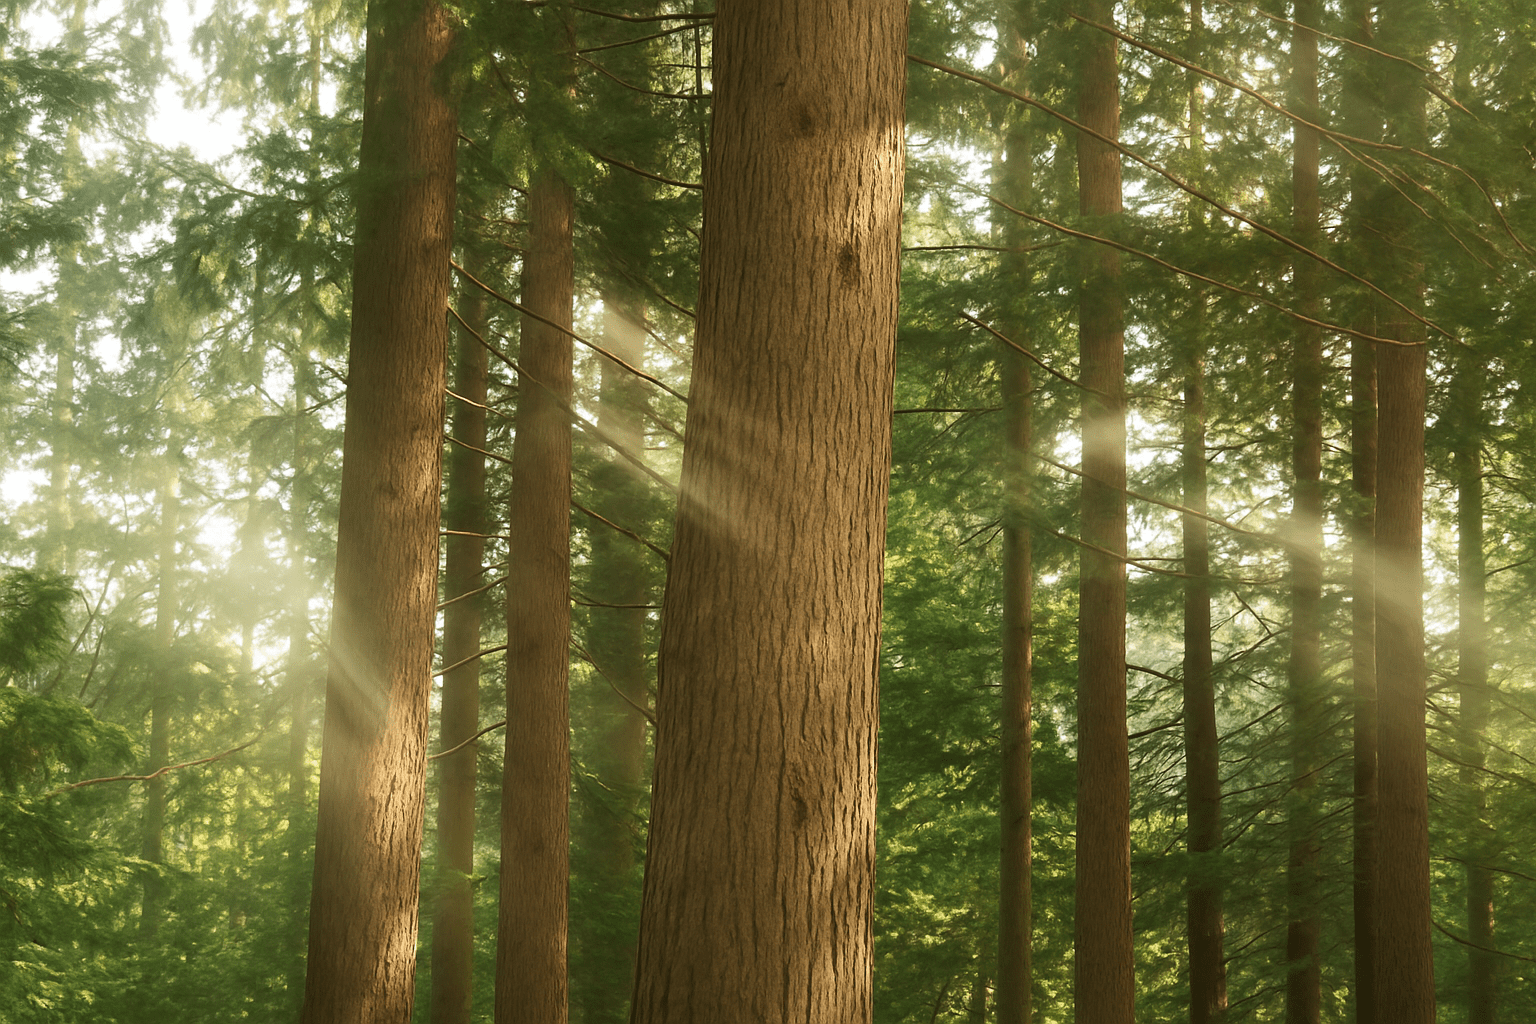
Elevate Your Photo-Editing Skills with a Dramatic Sunbeam Effect
Ah, the great outdoors. Who doesn’t love a striking landscape photo? Yet, sometimes, even the most awe-inspiring scenes can look a bit…well, mundane. If you’re tired of underwhelming outdoor photography and yearn to add a sprinkle of drama and dash of beauty, this post is for you. Here, we’re going to enlighten your landscape photos (pun intended) by teaching you how to add sunbeams using Photoshop.
Let’s dive into the sun-drenched world of photo editing and bring out that inner artist!
Preparing Your Image: Setting the Stage for Sunbeams
Begin with a high-resolution photo; ours is a whopping 48 x 29 inches with 72 pixels per inch. This might sound excessive, but you want those beams to look sharp and crisp, not pixelated and sad. To fine-tune your image, first, make a backup layer by pressing Ctrl or Command J. This ensures your original image stays intact—you know, just in case things go haywire.
Next, desaturate your image by pressing Ctrl Shift U or Command Shift U. This isn’t just some random mumbo-jumbo. By desaturating, you’re simplifying the image to focus solely on the light aspects—where those beams are going to stream through majestically.
Pumping Up Contrast Like a Pro
The key to a striking sunbeam effect lies in contrast. You need to emphasize the areas where light would naturally stream through. Open the Levels window (Ctrl or Command L) and jack up the contrast by sliding the shadows to the right and the highlights to the left. Don’t worry if it looks a bit intense; our goal is to identify the brightest areas.
Brushing Up: Isolation Game Plan
Using your trusty brush tool (B), paint over regions you don’t want sunbeams to pass through. In our example, the floor under the forest canopy doesn’t need beams—and unless you’re brewing a new photorealistic sci-fi look involving rogue sunbeams lighting up the dirt, you probably feel the same.
Selecting Tonal Values: Channeling Your Inner Photo Wizard
Click on the Channels tab, then roll on over to that circular dotted icon. Voilà! You’ve selected all the tonal values in your image. Once back to Layers, get a new one poppin’ and fill the selection with white using Ctrl or Command + Delete. You’ll soon see why this move is cunningly brilliant.
The Real Glow Up: Adding and Perfecting Sunbeams
Copy your handy white highlights layer with Ctrl or Command J, then go to Filter > Blur > Radial Blur. This neat tool helps you decide how intense and from which direction the sunbeams shine. Choose the best radial blur setting, moving from drama-level excitement (full-blown solar flare) to a more delicate glow.
An outer glow effect adds a soft finish to the sunbeams. With the FX icon, go for an outer glow adjusted to “Screen” blend mode, with 75% opacity and a 1-pixel size. For some artistic flair, choose a light yellow color here, mimicking the sun’s natural rays or a thematic color of your choosing.
All About The Soft Focus
Finally, soften up your sunbeams using Gaussian blur. It’s all about that delicate dance between dreamlike mistiness and defined beams. Blurring by about 54 pixels will give you that larger-than-life sunbeam effect—we’re talking ethereal and supernatural.
With our sunbeams adequately dreamy, let’s see our masterpiece by restoring the image’s normal view (Ctrl or Command 0).
Finishing Touches
Now, the coup de grâce: activating your high-contrast layer again. Another Gaussian blur here (around 5 pixels) with a blend mode change to “Overlay” further blooms the highlights, giving a soft, halo-like effect.
And there you have it! By following these techniques, you can upgrade any outdoor picture from “meh” to “wow.” Once you’ve mastered this, there’s no outdoor scene you can’t jazz up a bit with some digital sunbeam magic.
So there you go, an epic photographic transformation in the palm of your hand (or your mouse!). Let your creativity shine as bright as these sunbeams—your social media followers will almost be able to feel the warmth!





