
Turbocharge Your Photoshop CS4 with the Adobe Extract Plugin
If you’ve been rummaging through your Photoshop toolbox yearning for that magical tool to simplify your editing life, you’re in for a treat. The Adobe Extract Plugin is like adding a dash of precision and magic to your Photoshop CS4 experience. In this guide, we’ll walk you through how to download and install this plugin to elevate your design game. So buckle up, because this is about to get fun!
Why You Need the Adobe Extract Plugin
First off, let’s answer the burning question: what is the Adobe Extract Plugin, and why should you care? The Adobe Extract Plugin is a nifty Photoshop add-on that allows you to isolate intricate details of an image with surgical precision. Dealing with complex backgrounds? Trying to cut out wisps of hair or jagged edges? This plugin makes those frustrating edits as easy as pie.
Forget the painstaking pixel-by-pixel adjustments; the Extract Plugin streamlines the process, ensuring you get it right on the first try.
Getting Started: Setting the Stage
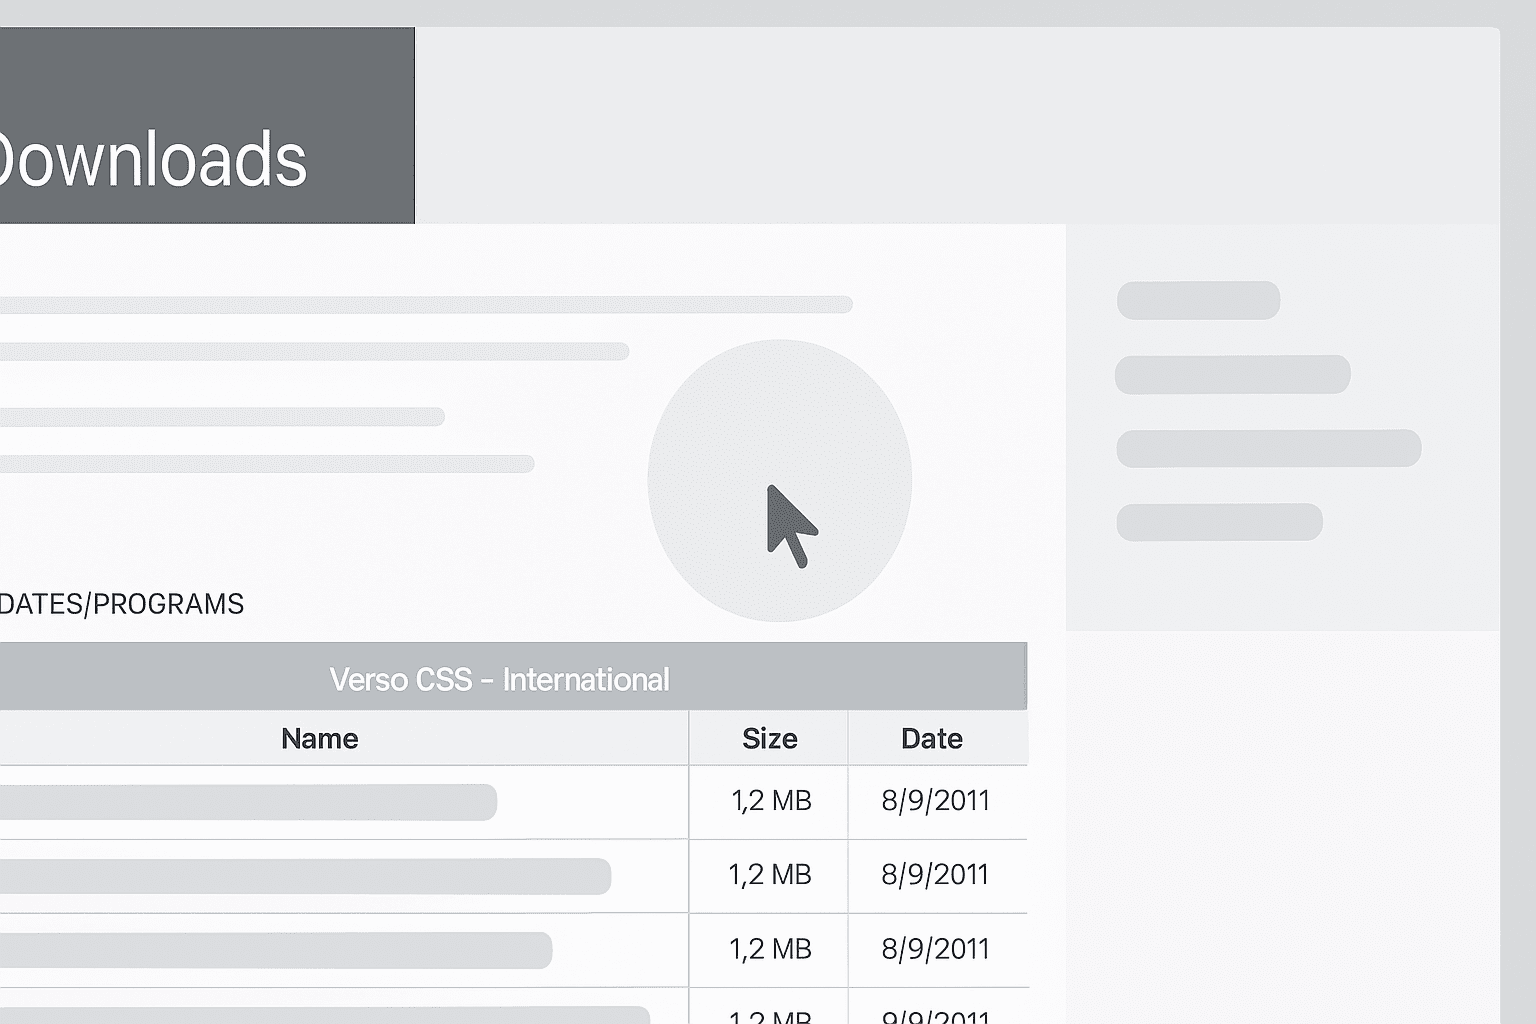
Ah, the home stretch! But before we get there, we need to set the right stage. Open up your browser and get ready for a thrilling journey down the Internet rabbit hole or, more specifically, to the Adobe Download page.
- Google It: Fire up Google and search for “Adobe Extract Plugin download.” Look out for the result that mentions Photoshop CS4 plugins from Adobe.
- Select Your OS: Once on the Adobe page, you’ve got a simple choice ahead of you—click on Windows or Mac, depending on your glamorous choice of the Operating System.
- Drill Down: Look specifically for version CS4 and skim down the list until you see “Optional plugins for English, French, and Spanish.” Ready for a treasure hunt?
Downloading the Plugin: Mission Possible
After reaching the download page, it’s roll-up-your-sleeves time. This involves a bit of clicking, so have your mouse at the ready.
- Proceed to Download: First, click “proceed to download.” Easy, right?
- Click Download Now: Next, hit “Download Now” and welcome a zip file to your computer, like an old friend you never knew you needed.
- Extract the Zip File: Click on the downloaded zip file to extract its contents. Here’s where it gets real.
Navigating the Files
Alright, the files are extracted. Your computer is brimming with potential. Now, where do we go from here?
- Choose Your Folder: When asked, set your extraction destination to something that even a digital detective could find—perhaps your desktop.
- Find the Plugin: Navigate brazenly through folders like
Photoshop Content > English > Goodies > Optional Plugins > Plugins… Need a compass yet? - Check for Extract: Inside the
32bit filtersfolder, you’ll find the elusive extract plugin. Cue the applause.
Installing the Magic
Now comes the plug-and-play part—or as techies refer to it, “drag-and-drop.”
- Navigate to Local Drive: Crack open
My Computer, head to the localC Drive, and zero in onC > Program Files > Adobe > Photoshop CS4folders. - Drag the Extract Plugin: Now is when you transfer your newly-found friend—the Extract Plugin—into the Photoshop filter folder. Your Photoshop is now one step closer to being out of beta and released into the wild.
Enjoying the Fruits of Your Labor
Open that glossy icon we all know and love—Photoshop CS4. Head over to the filter menu. What’s this? Standing proud is your freshly-installed Extract Plugin, ready to turn complex selections into child’s play.
The Adobe Extract Plugin is your secret weapon to streamline your editing process. Complex extractions are no longer a chore; cutouts and selections should never be a four-letter word.
For more snazzy tips, tricks, and tutorials, Blue Lightning is your go-to digital sherpa. Ready to subscribe to cutting-edge tutorials that make Photoshop your creative playground? You’re just one click away.
So why wait? Unleash your creativity with the power of the Adobe Extract Plugin and show those layers who’s boss!





