Dive into the Digital Rain
Ever wondered how to recreate that intense, mind-bending feel of The Matrix’s digital rain right on your computer screen? Imagine not only seeing those cascading green codes but also adding your personal touch by embedding an image of your own face into it. Welcome to the intersection where art meets tech—and we’re about to reveal how you can paint the cyberspace just like they do in sci-fi flicks.
From Concept to Creation
There’s something eerie and exciting about the classic Matrix screen. Those flowing lines of green code aren’t just captivating—they’re iconic. For this project, you’ll need nothing more than a text editor, Photoshop, and a bit of patience. We’ll guide you through the process of rendering your very own Matrix-inspired digital milieu, topped with your personal portrait as the backdrop to this cryptic cascade.
Start with a Simple Text Editor
On Windows, boot up Notepad. Mac enthusiasts can use TextEdit or BBEdit. The task? Drag a random image into your editor. In an unexpected plot twist, you’ll find your screen bombarded with random characters—perfect raw material for our artsy endeavor. Your goal here is to select a juicy stretch of text with minimal spacing. Highlight it, copy it, and let’s take it into Photoshop for the real magic!
Crafting Your Matrix Canvas
Photoshop time! Create a new document with these settings:
1. 1550 pixels in width
2. 870 pixels in height
3. 150-pixel resolution
4. RGB Color Mode, 8 bits per Channel
Next, hit Ctrl or Cmd + N. Ready to paint it black? Use Shift + F5 to fill your canvas with cool, pitch darkness.
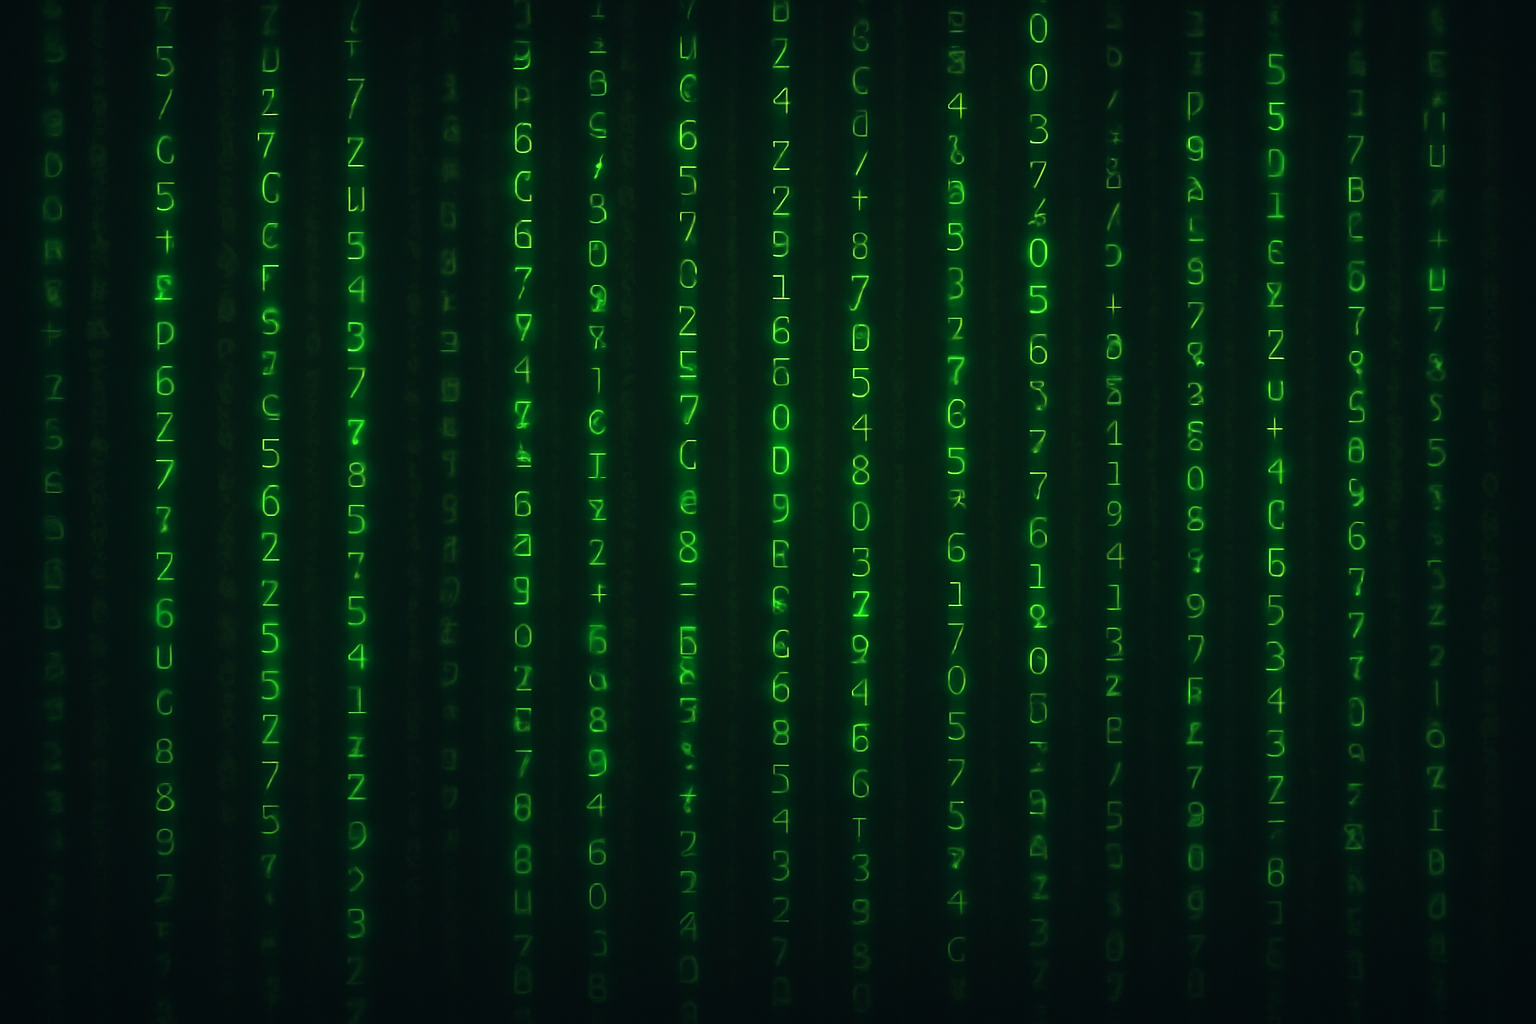
With your Vertical Type Tool, channel your inner designer. Instead of inputting a full-on message, grab the text you copied earlier. Now comes an important style choice: we’re using the “Benegraphic Regular” font. Its quirky digital flair suits our Matrix theme impeccably, setting your font to a size of 6 points with no anti-aliasing. For that classic Matrix green, use the hexadecimal code: 00FF0C.
Pasting Your Text Block
Your canvas now beckons your dropped text. Drag your text box from corner to corner, filling the screen with chaotic brilliance. Dive into the Character menu to tidy things up—make sure Vertical and Horizontal scales sit nicely at 100%, and fiddle with the leading and tracking values for that snugly fit look. The layers should feel dense but coherent, like the perfectly untangled chaos you see streaming in Neo’s computer.
Layer Up for Depth and Motion
Copy that text layer—Photoshop is all about layers, darling. Juggle your leading and tracking values, ranging from 10 points to 25, adding dynamism to your layout. By layering text strategically, you’ll add shadows, depth, and intrigue to your Matrix screen, creating the illusion of cascading, overlapping text.
Next, enter the realm of layer masks and filters. With the Clouds filter, craft dynamic textures to mingle with your textured text layers, plunging deeper into the realm of Matrix-esque illusion. Adjust your midtones with a dash from the Levels window, giving your digital creation even more depth.
Step into Motion
For that significant Matrix appeal, introduce motion blur. It’s not just for retro aesthetic vibes—the blur gives your text an authentic, alive movement. Rename your motion magic layer and set the motion blur at an angle of 90 degrees with a distance of 20 pixels. Without losing a beat, check out the before-and-after look. See? It’s all about that slight pixel push that lets your piece pulsate with energy.
Personalizing with a Portrait
Now for the pièce de résistance: embedding a face. Choose a striking image—ideally, one bearing your likeness. Opt for the Quick Selection Tool to lasso in the head image you desire, sculpting shapes instantly recognizable even in lines of code.
Brush away background colors until your subject turns grayscale with a single key combo—Ctrl or Cmd + Shift + U. Shroud your image in high contrast with the Levels tool, sharpening the contours.
After weaving your portrait into your coded page using the Move Tool, save this facial feature landscape as a displacement map. It’s critical tech, ensuring texts curve expertly around your facial contours.
Distorting Deliberately
Get your Matrix text in line—literally—by applying the Displace filter. Adjust horizontal and vertical scales ensuring that Matrix code appears intelligently cradled around your face, thus completing the illusion of a three-dimensional space matrix across a two-dimensional canvas.
Finish up with a subtle layer of polish. Adjust the blend modes, like Soft Light or Overlay, to balance face and background, conjuring an image comparable to Keanu’s digitally situated self.
Your Matrix Moment
And there you have it! A homebrew of code, creativity, and colossal coolness, wrapped neatly in a Matrix-inspired masterpiece. Whether you’re taking your art to new heights, improving Photoshop skills, or simply on an epic quest for the ultimate profile picture—this exercise is a testament to the timeless message of art’s boundless bounds. Go revive those digital dreams, and inject your reality with a little bit of Matrix magic.


