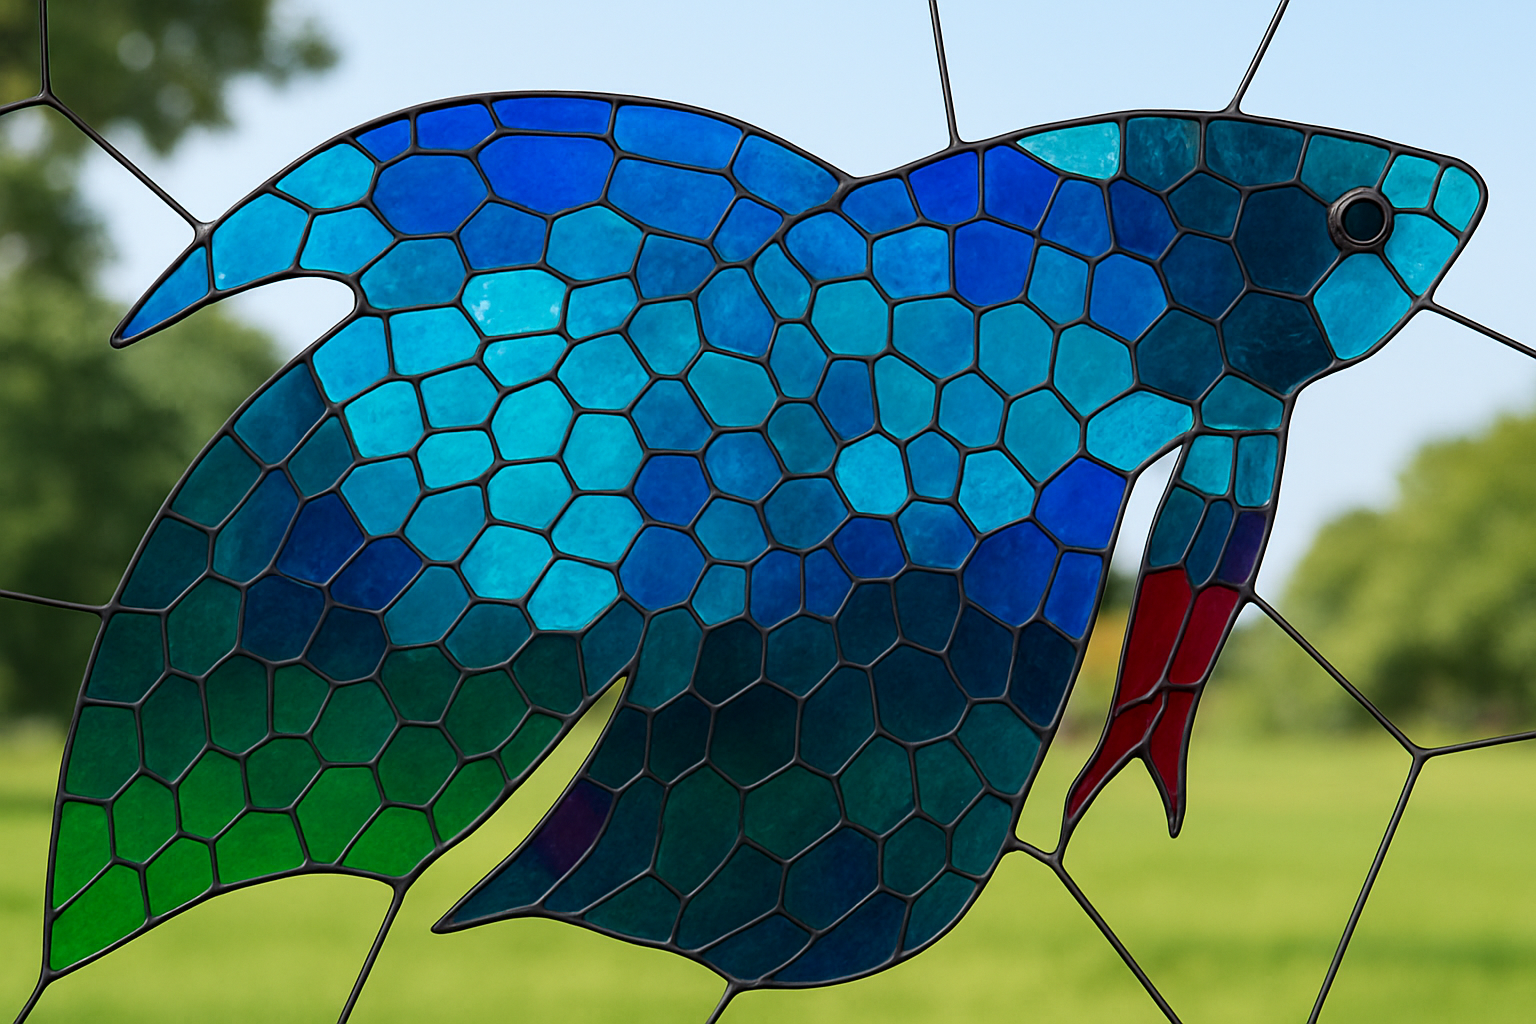
Unleash Your Inner Artisan with Photoshop’s Stained Glass Effect
Who doesn’t love the intricate beauty of a stained-glass window? The way colors dance through those delicate panes is nothing short of magical. While creating a real stained-glass window takes considerable skill and patience, the digital world offers a shortcut for the rest of us. With Photoshop, a dash of creativity, and just the right tutorial, you can transform any photo into a stunning stained-glass masterpiece. Dive in with this step-by-step guide as we unveil the secret to creating this mesmerizing effect.
From Nature Scenes to Abstract Art
Begin by selecting two photos: one vibrant and colorful for the stained glass and another for the background scene that your faux window will reveal. Opt for something dramatic—a cityscape, a lush forest, or an emotional close-up. This layer is where your art will come to life.
Lay Your Foundation with Smart Objects
Photoshop veterans know the value of non-destructive editing. Convert your background image into a smart object so you can manipulate it without fear of permanent loss. This step is crucial for maintaining flexibility as you play around with effects.
Adding a Blur for Depth
To simulate an authentic stained glass look, apply a subtle Gaussian Blur to your background image. A setting of around five pixels works wonders, softening the image and adding depth without overwhelming the vibrancy of your design.
Crafting the Glass Pane
Build Your Canvas
With a new layer labeled “glass pane,” fill the layer with white—making it ripe for transformation. Set your foreground color to a dark grey to mimic the leading between stained-glass pieces. This is where the magic begins!
The Texture Revolution
Enter the Filter Gallery and select the ‘Stained Glass’ option from the texture folder. This step defines the size and thickness of your glass cells and leading. Don’t worry; you can play around with these settings until you find the look that feels just right for your project.
Sculpting the Lead and Glass
Select your highlights in the current layer and delete the white areas to let your background peek through. Detract any unflattering fringes with the defringe feature, ensuring crisp edges that scream professionalism.
Breathing Life into the Glass
Bevel and Emboss for Depth
A smooth, inner bevel can add an impressive dimension to your leading. With fine tweaks to angle and size, this effect provides a convincing 3D quality to the virtual metalwork framing your glass.
Populating with Color
Temporarily hide the leading to focus on your stained-glass colors. Extract the subject from its backdrop, define the edges, and use this vibrant new layer to imbue your glass with brilliant hues. The Quick Selection Tool, among others, will be your best friend here.
Seamless Integration
Transfer your subject into your stained-glass project, using smart objects to keep your edits reversible. Scale and position your design within the window’s confines with a deft press of Ctrl or Command T.
Polishing the Pane
Final Flourishes
Refine the look with a subtle outside stroke to mimic beveled edges. You’ll want to ensure this final stroke is smooth, matching the existing thickness precisely. It’s these fine finishing touches that elevate your final piece from good to grand.
Amplify the Vivid Vibes
Brighten and contrast your colors for sparkle and shimmer by using adjustment layers. Increase contrast, play with vibrancy, and watch as your window transforms into a scene-stealing, color-soaked masterpiece.
Synthesize and Save
Form a composite snapshot of the final piece, allowing any person you show to view the item in all its glory. Flatten layers, clean up stray elements, and celebrate your creation.
And there you have it—a digital stained glass window any artisan would admire. Master this technique, and you’ll have a skill that’s both show-stopping and versatile for any Photoshop project. Get ready to dazzle with digital stained glass and stay curious—Grounded in the craftsmanship of Photoshop with a spritz of snark and oodles of charm. Enjoy crafting your own colorful masterpieces!
Remember, practice makes perfect, so keep tweaking different elements to create the stained-glass window that’s uniquely you. Until next time, keep your creative juices flowing and your Photoshop skills sharp!


