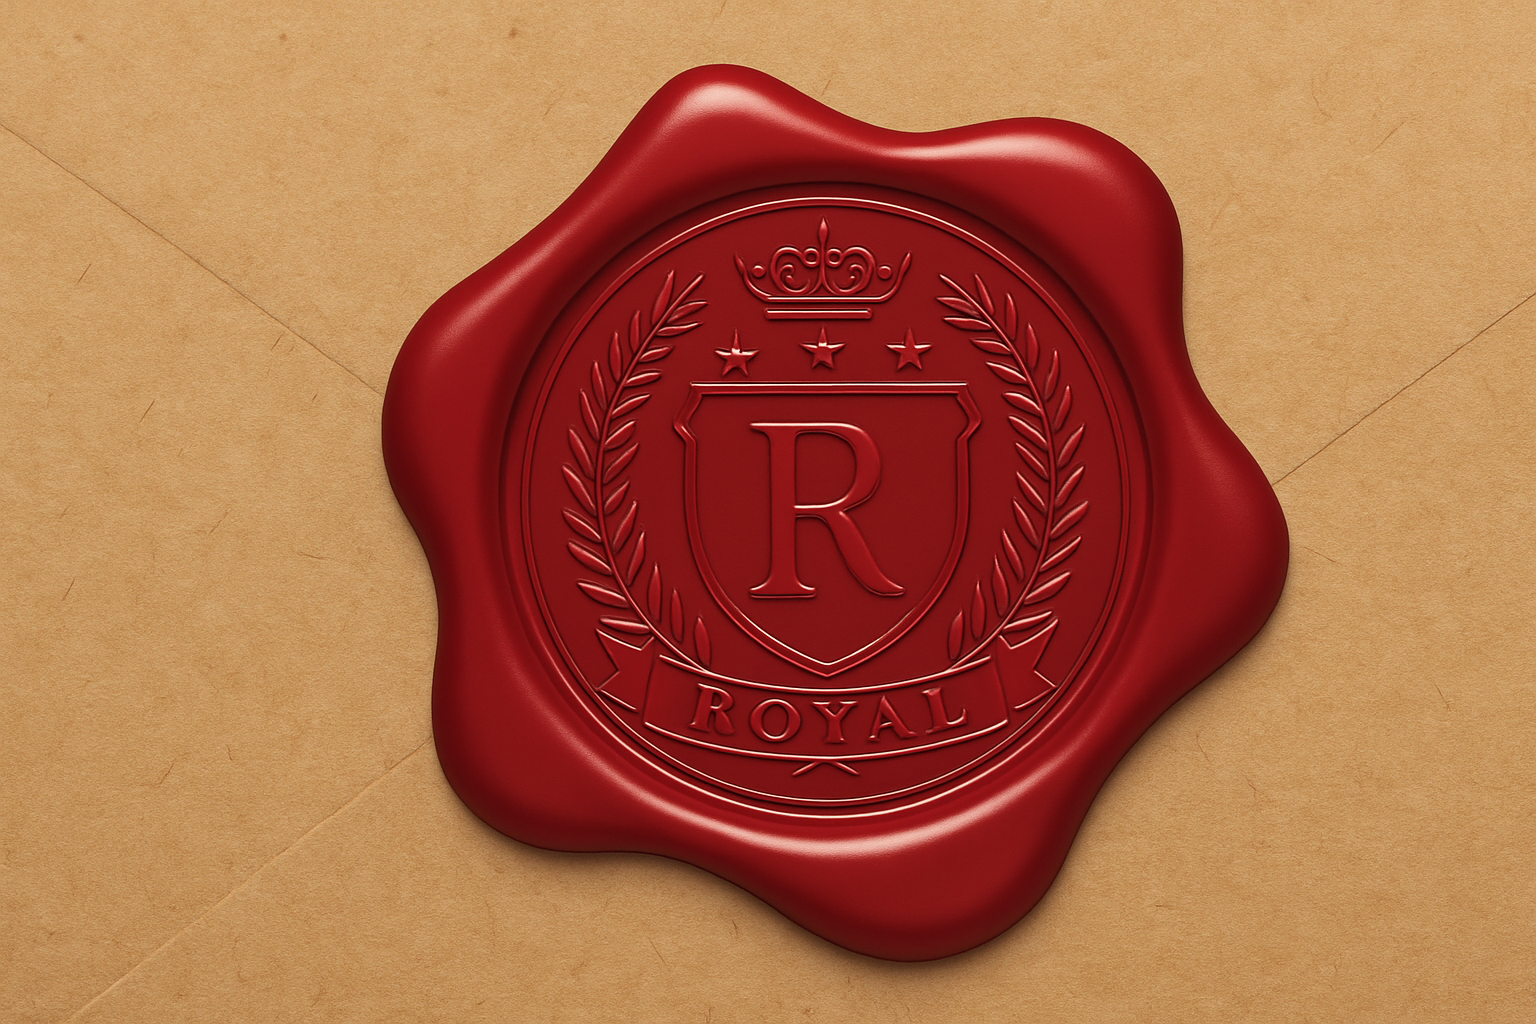
Create a Stunning Wax Seal with Ease
Remember those old-school letters with a wax seal, offering a sense of mystery and a personal touch? Well, as much as we might long for the art of the handwritten letter, there’s a digital way to add that charm to your designs. Today, let’s talk about crafting a custom wax seal using Photoshop. Think of it as digital calligraphy for your modern projects.
Why Consider a Digital Wax Seal?
Digital wax seals are one of those nifty tricks perfect for adding a personalized touch to your projects. Whether it’s a playful addition to an invitation, a sleek accent for your typography, or even just an impressive piece in your design portfolio, wax seals can elevate your creations. And if you’re tired of the mundane and want a pop of vintage elegance, this is your go-to technique.
Getting Started: Your Digital Envelope
In this project, we’re basing our work on an image of a tattered envelope. This background establishes the aesthetic foundation of our wax seal. You can find the project files in the video description. Once equipped, let’s dive into the intricate craft of making a seal on your virtual envelope.
Craft the Base for Your Seal
1. Begin with a New Layer: Click on the ‘New Layer’ icon to open a fresh canvas for your wax seal.
2. Design Your Shape: Use the Elliptical Marquee Tool to carve out a circle, the quintessential shape for most wax seals. Holding the Alt or Option key in combination with the Shift key helps in centering and sizing your circle symmetrically.
3. Pick Your Perfect Hue: Fill your shape with a rich wax-like color. In the Color Picker, enter the hex code A3000. This creates a bold base for our seal.
The Layer Style Adventure
Now comes the cool part: we’re going to work magic with layer styles to bring depth and realism to your wax circle.
– Convert to a Smart Object: This step ensures that any edits remain non-destructive.
– Bevel & Emboss: Set your style to Inner Bevel, fine-tune the technique with ‘Smooth’, and get playful with depth and size settings. Make sure your angles capture that perfect light play for realistic contours.
Here’s a glimpse of the vital settings:
– Direction: Up
– Size: 50 pixels
– Gloss Contour: Linear
Moving through these configurations, you’ll step into a brand new realm of texture and embossment, making the wax seal pop right off the screen.
Adding the Shadows
Drop shadows bring a whole other dimension to your design. By adjusting its angle, distance, and size, you anchor the seal to your envelope convincingly.
1. Apply the Drop Shadow: In layer styles, set your shadow color to an earthy 3E1100, ensuring the shadow remains subtle but effective.
2. Non-Destructive Play: With Smart Objects, you’ll always have the liberty to change things up as you wish. Don’t hesitate to experiment.
Adding the Signature Touch: Text or Design
Onto the pièce de résistance: giving your seal its signature. Whether you opt for a design or your initials, they need to look part of the wax.
1. Use High-Contrast Imagery: Ensure your design maintains genuine black and white tones for the finest conversion outcome. Adjust levels to perfection using Ctrl or Cmd + L.
2. Place It Just Right: Carefully drag your design into the wax seal canvas and adjust it to fit like a glove. Nothing spells finesse better than precision.
3. For Text: If text is more your vibe, use the Type Tool to spell out your mark. Remember, the font you choose can dramatically shift the seal’s personality.
Concluding with the Color Theme
To see your creation in all its colorful glory, we’ll use adjustment layers for final tweaks:
– Clipping Mask for Precision: Ensure your Hue/Saturation adjustments only affect the wax seal layers.
– Flexibly Shift Hues: Even after all the heavy lifting, feel free to maneuver hue and saturation sliders till the color fits your vision.
This entire process leaves us with a digitally crafted seal that exudes sophistication and individuality. The seal you create could adorn anything from a luxury product mockup to novel illustrations. Let’s not forget to appreciate how these small details translate into immense creative freedom.
So, creators, arm yourself with these skills and go have some fun with those virtual envelopes. The digital charm of yesteryear awaits your artistic touch.